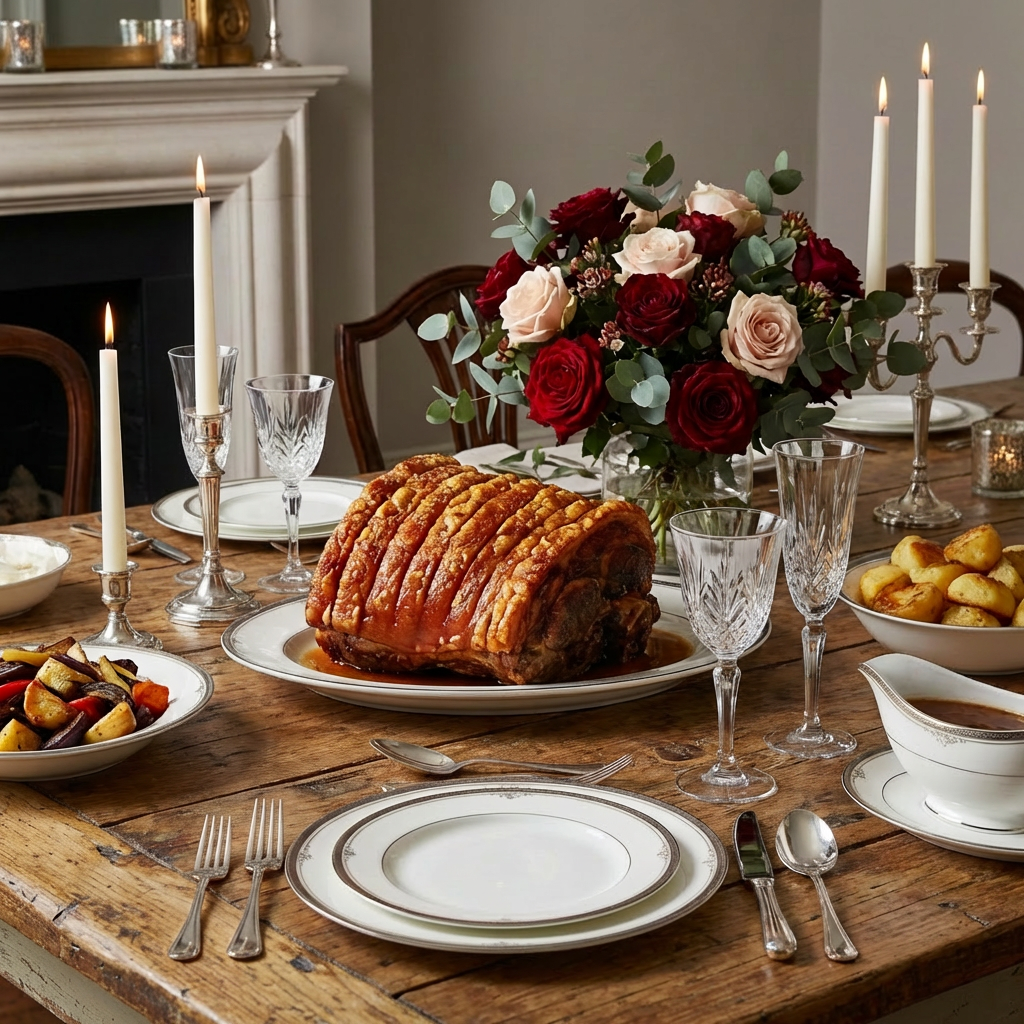
A beautifully prepared roast pork dinner serves as the centerpiece of an elegant and festive table setting.
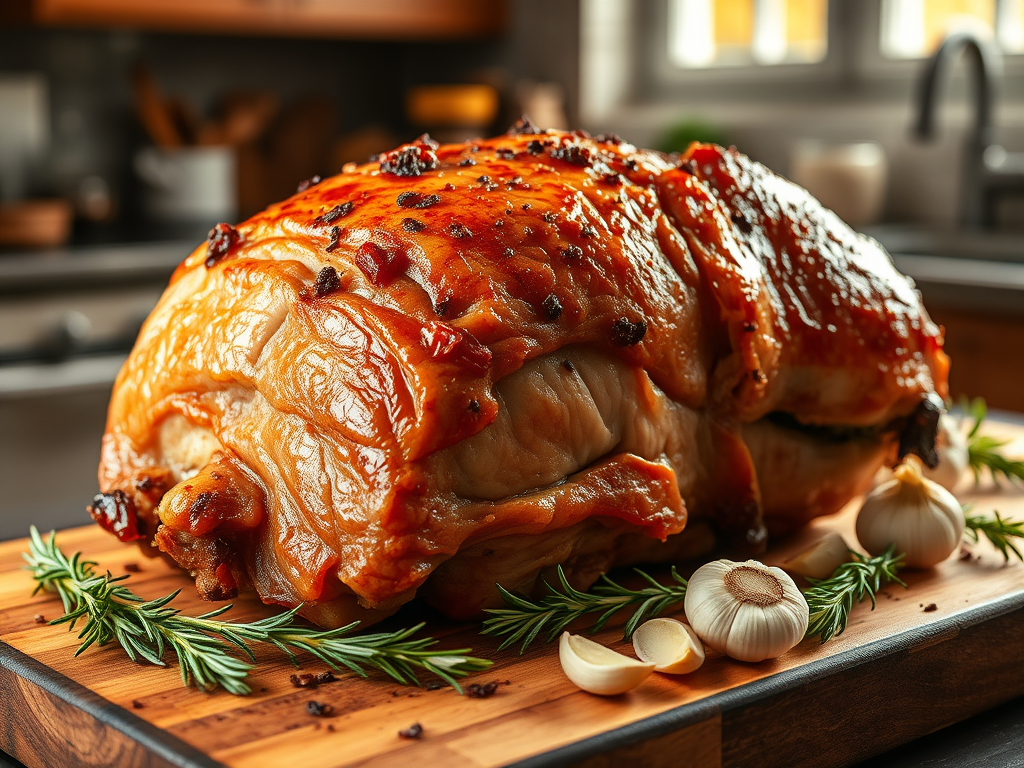
During Easter dinner, the aroma of roasted pork shoulder is both inviting and comforting, filling the room with a warm, savory scent that hints at the rich flavors to come. As the pork cooks, the exterior develops a golden-brown, crispy crust, infused with a blend of herbs and spices such as rosemary, thyme, garlic, and black pepper. This crust releases a tantalizing aroma characterized by hints of caramelization and roasted meat, creating an irresistible smell that stimulates the appetite.
Each bite delivers a satisfying combination of textures and flavors—crispy, tender, savory, and aromatic—making roasted pork shoulder a centerpiece that elevates any Easter celebration. The balance of aroma and taste creates an inviting atmosphere, encouraging guests to indulge and enjoy the festive meal to its fullest.
Ingredients
9-10 lb bone-in Pork Shoulder
Bake 1.5 – 2.0 hours per pound in a low heat oven (250° – 275°F.)
Will take about 8 – 12 hours to cook
It is done when an internal meat thermometer reaches 195 – 205°F. for shredded pulled pork.
Or 160°F. for slicing.
Seasoning
2 tablespoons coarse salt to season overnight
4 – 6 garlic cloves
1 tablespoon coarse salt
½ tablespoon fresh cracked peppercorns
1-1/2 tablespoon ground mustard
1-1/2 tablespoon onion powder
3 tablespoons of minced fresh rosemary
Process
Rub the pork shoulder with 2 tablespoons of coarse salt all over, tie it, wrap it air-tight with cellophane, place in a sheet pan or roasting dish, and refrigerate overnight.
Pull the pork out of the refrigerator about 30 minutes before cooking to bring to room temperature.
Preheat the oven to 450°F. line the bottom of a roasting pan with aluminum foil for easy clean up and fit a roasting rack inside the pan.
Cut each garlic clove into slivers. With a small knife poke holes in the pork that are about ½ inch deep (or the length of the garlic clove) to create slits and push the garlic sliver into each slit.
Mix the seasoning together and rub into the pork shoulder, seasoning on all sides.
Place the seasoned pork onto the roasting rack in the pan.
Place the pan into the oven and let it roast for 15 minutes at 450°.
Lower the heat to 275°F. and let it slowly cook until it reaches the tender internal temperature of 200 – 203°F. internal temperature.
Pull pork out of the oven, tent with aluminum foil and let rest for 1/2 hour up to 1 hour.
The Pennsylvania Dutch started the tradition of eating pork and sauerkraut on New Year’s Day. This tradition is linked to hopes for good luck and prosperity in the coming year.
Eating sauerkraut on New Year’s Eve is a common practice in Germany. People believe that eating sauerkraut will bring blessings and wealth. Before the meal, people at the table wish each other good fortune and money, symbolized by the amount of shredded cabbage in the dish. The pig is also a symbol of good luck and well-being. Many believe that eating pork will bring luck for the new year. The pig is seen as a symbol of looking forward because it cannot turn its head from side to side or look behind. Instead, it faces forward, reminding us to focus on future opportunities rather than past events.
Ingredients
9-10 lb bone-in Pork Shoulder
Bake 1.5 – 2.0 hours per pound in a low heat oven (250° – 275°F.)
Will take about 8 – 12 hours to cook
It is done when an internal meat thermometer reaches 195 – 205°F. for shredded pulled pork.
Or 160°F. for slicing.
Seasoning
2 tablespoons coarse salt to season overnight
4 – 6 garlic cloves
1 tablespoon coarse salt
½ tablespoon fresh cracked peppercorns
1-1/2 tablespoon ground mustard
1-1/2 tablespoon onion powder
3 tablespoons of minced fresh rosemary
Process
Rub the pork shoulder with 2 tablespoons of coarse salt all over, tie it, wrap it air-tight with cellophane, place in a sheet pan or roasting dish, and refrigerate overnight.
Pull the pork out of the refrigerator about 30 minutes before cooking to bring to room temperature.
Preheat the oven to 450°F. line the bottom of a roasting pan with aluminum foil for easy clean up and fit a roasting rack inside the pan.
Cut each garlic clove into slivers. With a small knife poke holes in the pork that are about ½ inch deep (or the length of the garlic clove) to create slits and push the garlic sliver into each slit.
Mix the seasoning together and rub into the pork shoulder, seasoning on all sides.
Place the seasoned pork onto the roasting rack in the pan.
Place the pan into the oven and let it roast for 15 minutes at 450°.
Lower the heat to 275°F. and let it slowly cook until it reaches the tender internal temperature of 200 – 203°F. internal temperature.
Pull pork out of the oven, tent with aluminum foil and let rest for 1/2 hour up to 1 hour.
The main difference between city ham and country ham is how they are cured. Country hams are dried and cured with salt and seasonings over several months. This slow process makes them saltier and gives them a strong, unique flavor. They tend to be dry and are best sliced very thin, like prosciutto. City hams are soaked in a salty water solution for a shorter time, which keeps them moist and tender. They are milder in flavor and can be sliced thicker. The curing method affects the taste, texture, and how each ham is served. Country ham has a salty, intense flavor and is good for appetizers or charcuterie boards. It is often used in small slices. City ham is more versatile, suitable for sandwiches, main dishes, or breakfast. It has a milder taste and is easier to slice in thicker pieces. When choosing between the two, consider the flavor you want and how you plan to serve the ham. Both types are popular and can be the main part of a meal. Proper preparation can make either type of ham more enjoyable for different occasions.
Applying a glaze to your ham during the final stages of cooking enhances its appearance and flavor, resulting in a caramelized, lightly crisp exterior. It is important to time the glazing appropriately; applying it too early, especially during prolonged cooking, can lead to burning and an undesirable burnt glaze.
Ingredients
1 city style (brined) ham, hock end
¼ cup brown mustard
2 cups dark brown sugar
1-ounce bourbon (poured into a spritz bottle)
2 cups of crushed ginger snap cookies
Directions
Heat oven to 250°F.
Remove ham from bag, rinse and drain thoroughly. Place ham, cut side down, in a roasting pan. Using a small parting knife score the ham from bottom to top, spiraling clockwise as you cut. Be careful to only cut through the skin and first few layers of fat. The aim is to create a diamond pattern all over the ham.
Tent the ham with heavy duty foil, cook for 3 to 4 hours or until the internal temperature at the deepest part of the meat registers 130°F.
Remove ham from oven and remove the aluminum foil. Using tongs, pull away the diamonds of skin and any sheets of fat that come off with them.
Heat oven to 350° F.
Dab the ham dry with paper towels and then brush on a liberal coat of mustard, using a basting brush. Sprinkle on the brown sugar, packing loosely as you go until the ham is coated. Spritz this layer lightly with bourbon, then loosely pack on as much of the cookie crumbs as you can.
Insert the thermometer and cook until the interior temperature reaches 140°F. approximately one hour.
Let the ham rest outside of the oven for ½ hour before slicing.
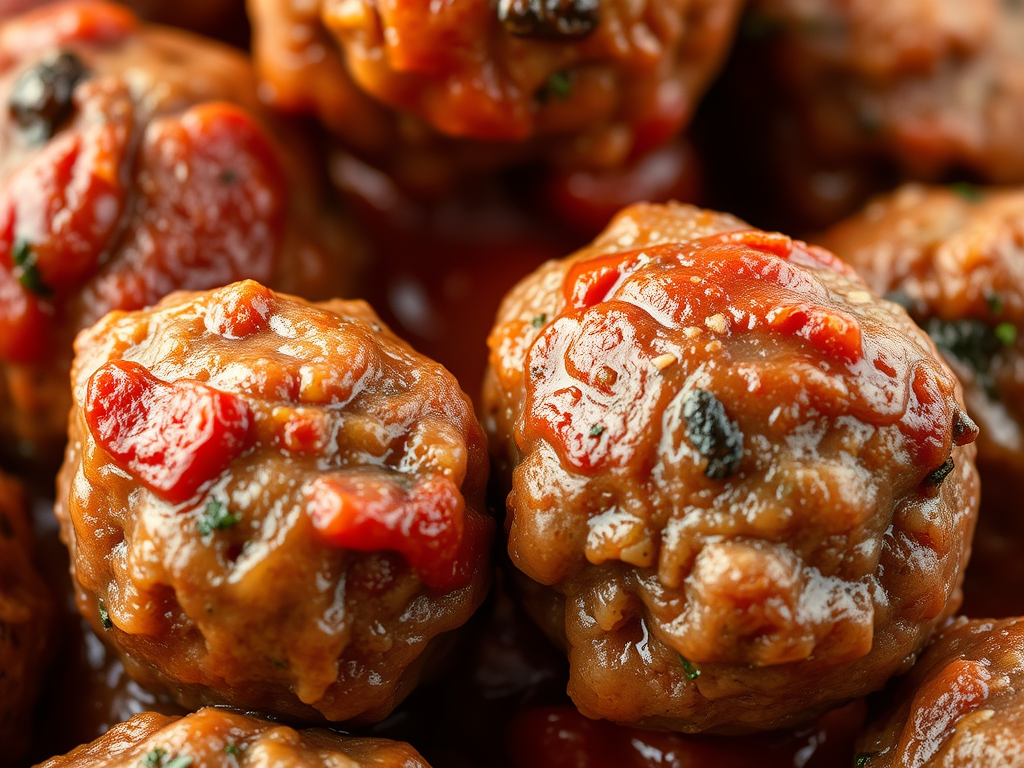
The humble meatball, its beginnings tell early meatballs would have been made from leftover meat dishes and hand-shredded or pounded with a heavy object and minced with primitive tools. Food history tells us that meat was rare across the world and was enjoyed mostly by the rich. It was precious, so it can be assumed that it was never wasted, and no parts of a cut of meat or the leftovers would have been thrown away. Simply put, the meatball was a way to utilize this extraneous meat and squeeze another days’ meal from it, not to mention another days’ nutrition.
Italian immigrants brought along their own meatball (polpette) recipes, many of which had evolved according to family tradition. The polpette were not initially served with spaghetti. Spaghetti was typically served alone. The two forces came together in order to appease Americans who frequented Italian restaurants and wanted meat served alongside their pasta dishes.
The meatball was recorded in a 1754 Swedish cookbook by Cajsa Warg. The k”ttbullar were served with a cream-based gravy and loganberry preserves. Buttered noodles also became a popular side item, and nowadays are thought of as the expected accompaniment for Swedish meatballs.
There are meatball recipes from 25 AD. The Romans, as evidenced in an ancient recipe book written by Marcus Gavius Apicus (aka Apicius) called “De re coquinaria libri decem (Cuisine in Ten Books)”. Book II is devoted to “minces”, or mixtures of meat and other ingredients.
So to conclude, where did the first meatball come from? No one knows for sure. Every country has their own version of the meatball dating back in time throughout history using different meats, vegetables, and ingredients.
This is Kitchen Moxy’s version, I hope you enjoy these little morsels as they are a favorite of mine served with traditional spaghetti sauce or brown gravy. In this day and age we are all trying to watch our nutrition, fat, and calorie intake. Beef can be substituted with veal, venison, elk, which ever red meat you desire. The pork adds moisture and flavor, so your meatball does not end up dry. Eat well and rejoice.
½ pound of ground pork
½ pound of veal (or other meat)
½ pound of beef chuck (or other meat)
½ cup of grated Parmesan cheese
¼ cup finely chopped flat-leaf Italian parsley
2 teaspoons of kosher or sea salt
¼ to ½ cup of grated onion (food processor works great)
3 cloves of grated garlic
1 large beaten egg
¼ teaspoon black pepper
1/3 cup olive oil for frying. See methods of cooking below
1 cup of breadcrumbs, if using seasoned, dry breadcrumbs toss with 1/3 cup of milk to re-hydrate.
Directions:
Mix all ingredients together with your hands just until the mixture comes together.
Form meatballs with your hands, rolling into golf-ball sized balls. Do not pack the meat into tight balls or they will become tough.
May be refrigerated up to 24 hours at this point.
Cooking Methods:
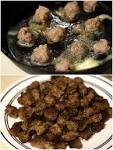
Method #1: Drop raw meatballs into your sauce. By the time your sauce is finished cooking, your meatball will be too. This is the easiest way, no prep, no mess. But no crusted sides. But it does flavor the sauce. Both my mom and I used this method many times. We were making our own marinara sauce from scratch. So cook time was long enough to cook the meat.
Method #2: Bake your raw meatballs in the oven at 350F. for 15 minutes. Your meatballs are done when no longer pink in the center. The internal temperature of a meatball should be 160F. You can finish cooking your pink centered meatball in your sauce.
Method #3: Fry your meatballs in olive oil. This is the traditional method. Your meatballs are crusted on all sides as they simmer in hot oil. Heat two tablespoons of olive oil in a non-stick skillet over medium-high heat. Add half of the meatballs and cook, turning occasionally, until well browned on all sides, about 6 minutes. Transfer the meatballs to a plate. Drain the oil and wipe out the skillet, return to the heat, and repeat with the remaining oil and meatballs.
Notes:
Great meatballs contain Parmesan cheese! Freshly grated Parmesan cheese is tasty, but you can use any hard Italian cheese like Grano Padano, or Pecorino Romano.
Fresh Parsley: Use fresh parsley either Italian parsley or common parsley. Use a food processor to mince fine or mince your parsley the old-fashioned way with a chef’s knife. But do not skimp on the parsley
Garlic: You need to smell the garlic in the meat! Use fresh garlic use a press, mince, or grate. Do not skip the garlic. You can also add a teaspoon of garlic powder with your fresh garlic.
Onions: Do not skip the onions! They add so much flavor. You can use either Yellow, white or sweet onion. they all add a different note of flavor.
Be sure to rehydrate your breadcrumbs before adding to the meat mixture. Add 1/3 cup of milk to 1 cup of breadcrumbs. Let sit for about 5 minutes.
Meat: I find that using 85% lean ground beef is the perfect amount of fat. If you do not eat beef, you can substitute ground turkey, ground chicken, venison, or veal. You can also add Italian sausage to the mix for a different flavor note.