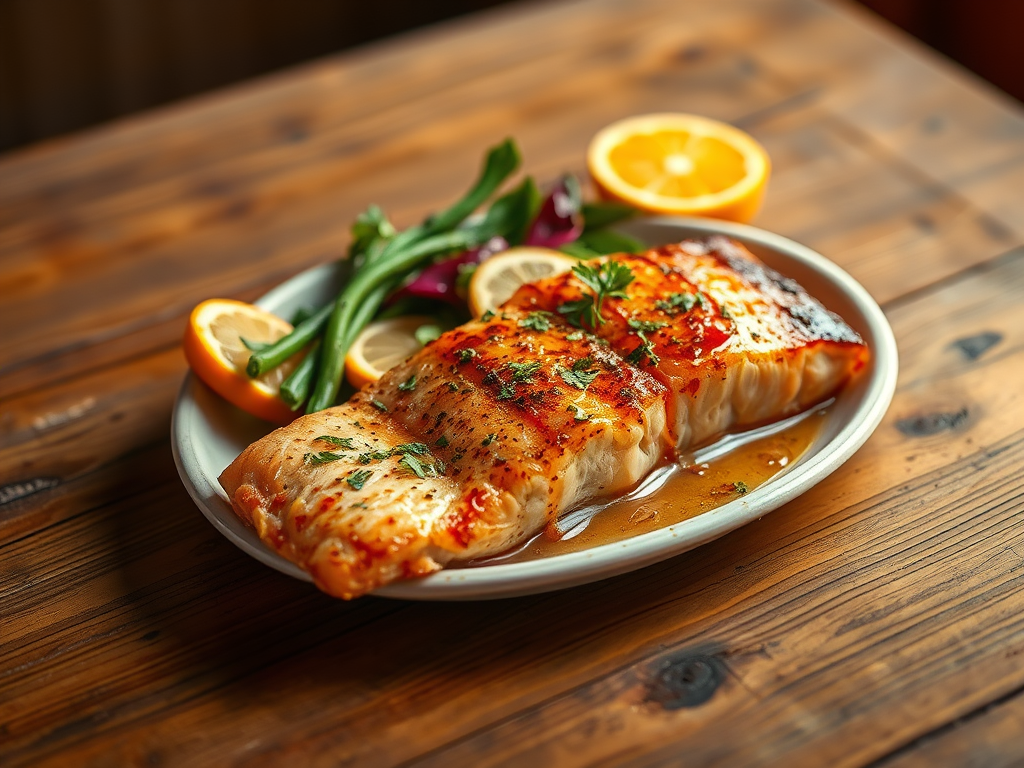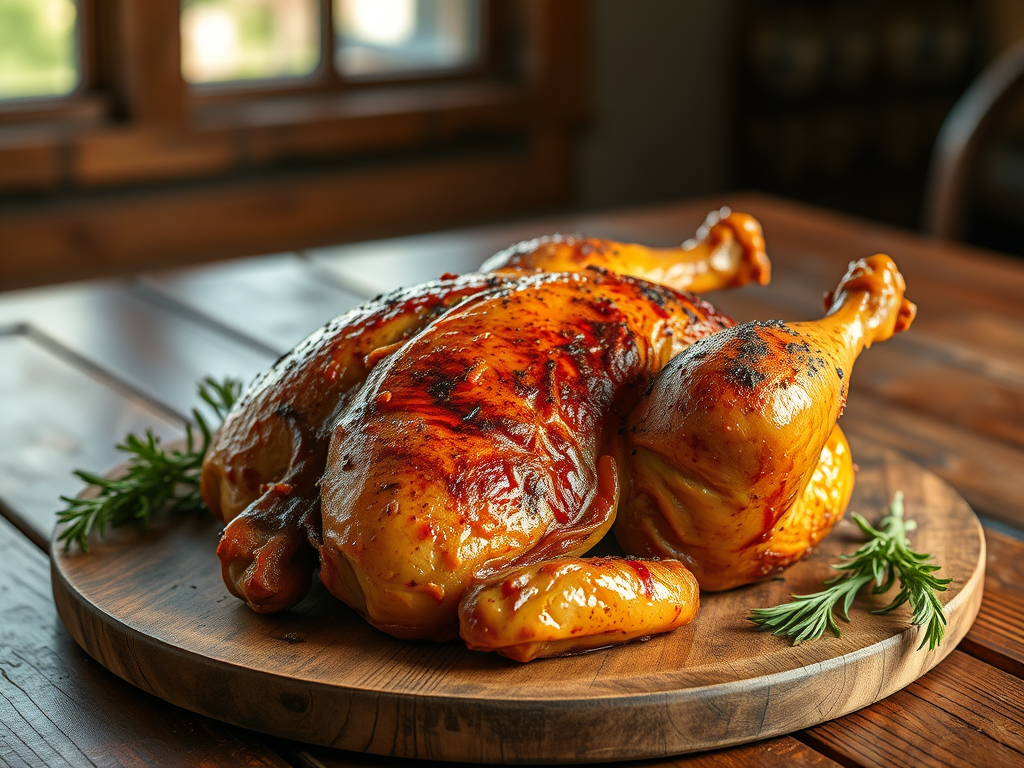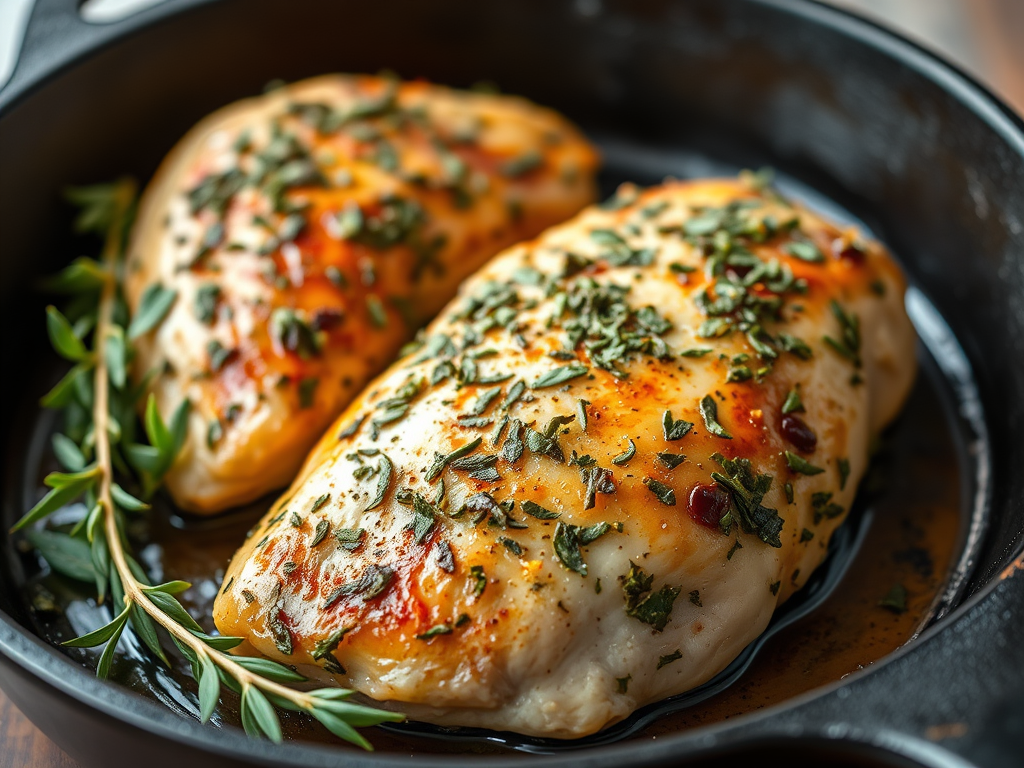
This recipe is for a simple, healthy herb-crusted chicken breast. I researched various oven-cooked herb chicken recipes but found many used flour, breadcrumbs, butter and oil. Instead, I chose to prepare my own version using fresh herbs from my garden, fresh herbs are also available at the markets. The preparation takes about 15 minutes from start to finish. The recipe does not include flour, breadcrumbs, or excessive fats, making it a quick and nutritious dinner option. It only takes around 8 minutes to cook, which I consider a fast meal. Overall, this approach emphasizes health, simplicity, and speed, making it suitable for busy weeknights while still delivering a flavorful dish.
Ingredients
- 6 – 8 oz chicken breast, boneless, skinless
- ¼ cup of chopped fresh herbs, I used a combination of parsley, sage, oregano, rosemary
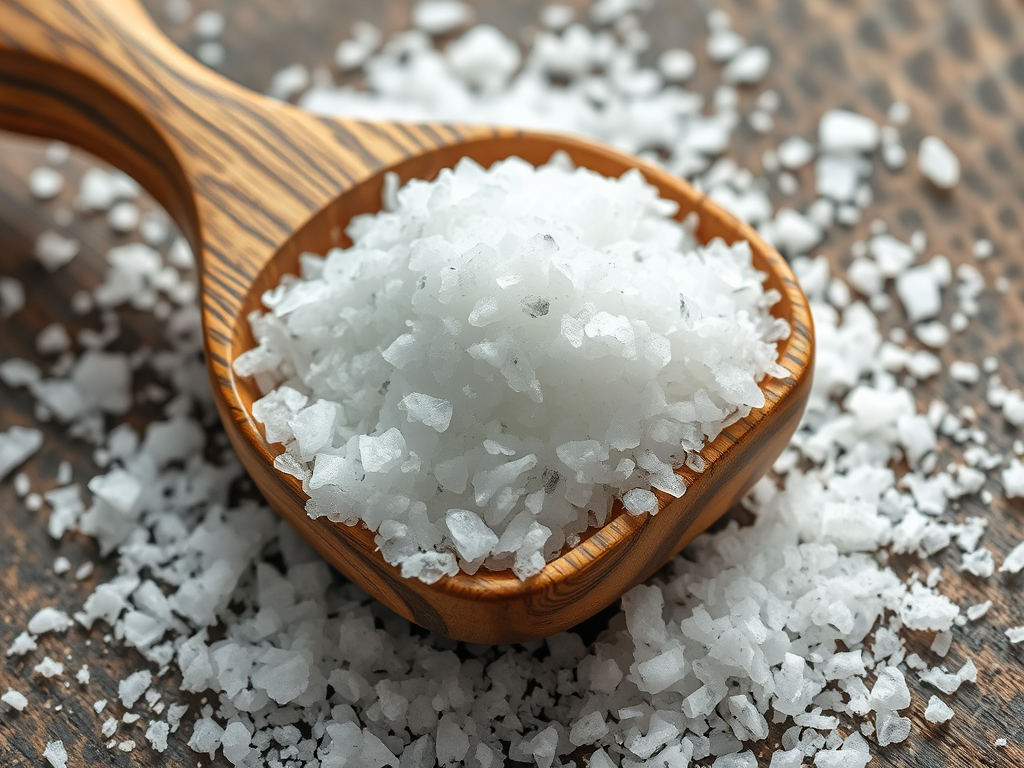
- ¼ tsp kosher salt
- 2 tsp of coconut oil
- 1 tsp of butter
Process
- Place chicken breast inside a plastic quart bag or between two pieces of plastic wrap and using a meat mallet begin to gently pound the chicken on both sides until all the same width
- Take half of the chopped herbs and spread on one side of chicken breast, sprinkle with salt and gently pound the herbs into that side of the chicken breast
- Turn chicken over and spread remaining herbs and salt on other side of breast and pound into the chicken breast.
- Melt coconut oil and butter in a heavy pan or non-stick pan over medium high heat, when oil is hot place the chicken in the oil and cook uncovered for 4 minutes each side.
- Turn the heat down to medium if it looks like it is browning too fast. When the chicken is ready to flip to the other side after 4 minutes, be careful not to splash yourself. Cook the second side for 4 more minutes. Slice the chicken breast to be sure the meat is no longer pink. Cook to an internal temperature of 165°F. (or 74°C)
- Note: Melted oil must be hot before adding the chicken breast or it will absorb the oil as it is cooking. Hot oil will sear the meat as it hits the pan.
- Pounded chicken breast cooks relatively fast, prepare your salad and vegetables before you begin cooking.