 Serves: 6
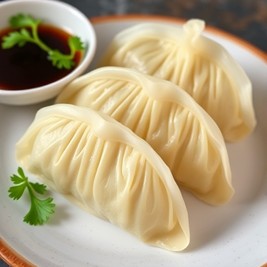
These pierogi-like dumplings are easy to make—don’t let the wonton wrappers scare you. It’s as simple as stuffing, folding and baking.
Ingredients
- 2 spray(s) cooking spray
- 1 medium uncooked potato, peeled and cut into 1-inch pieces
- 2 garlic clove(s)
- 2 oz low fat cheddar or Colby cheese, shredded (about 1/2 cup)
- 2 Tbsp sour cream
- 24 item(s) wonton wrapper(s), round (about 6 oz total)
Directions
Preheat oven to 350ºF. Coat a large baking sheet with cooking spray.
- Combine potato and garlic in a medium saucepan. Cover with water and set pan over high heat. Bring to a boil and boil until potato is fork-tender, about 8 minutes.
- Drain and transfer potato and garlic to a large bowl; add cheese and 2 tablespoons of sour cream. Mash mixture together with a fork until lumpy.
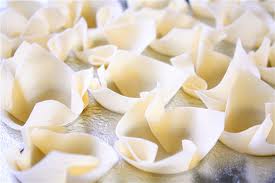
- Place wonton wrappers on a flat surface. Drop potato mixture by tablespoonful’s onto center of each wrapper.
- Moisten edges of wrapper with wet fingers, fold over one side to make a half circle and press sides together to seal. Transfer filled wrappers to prepared baking sheet and coat surface with cooking spray.
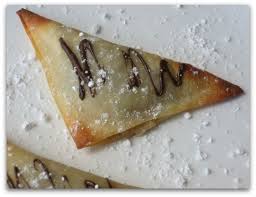
Bake until wontons are golden brown, about 15 minutes.