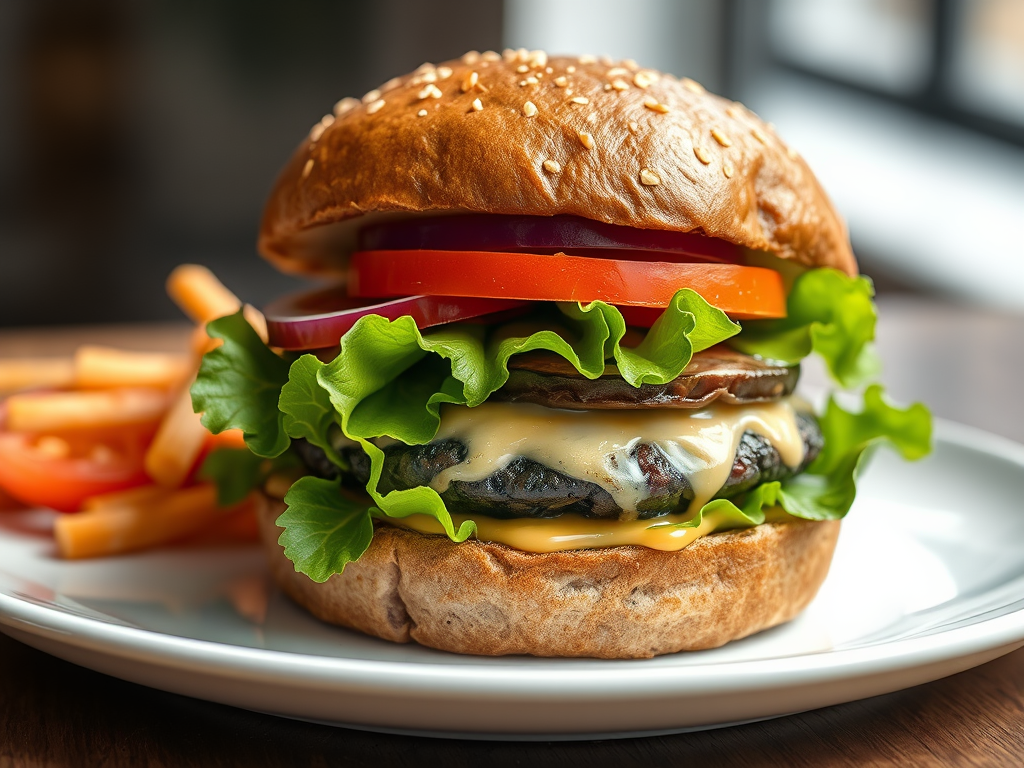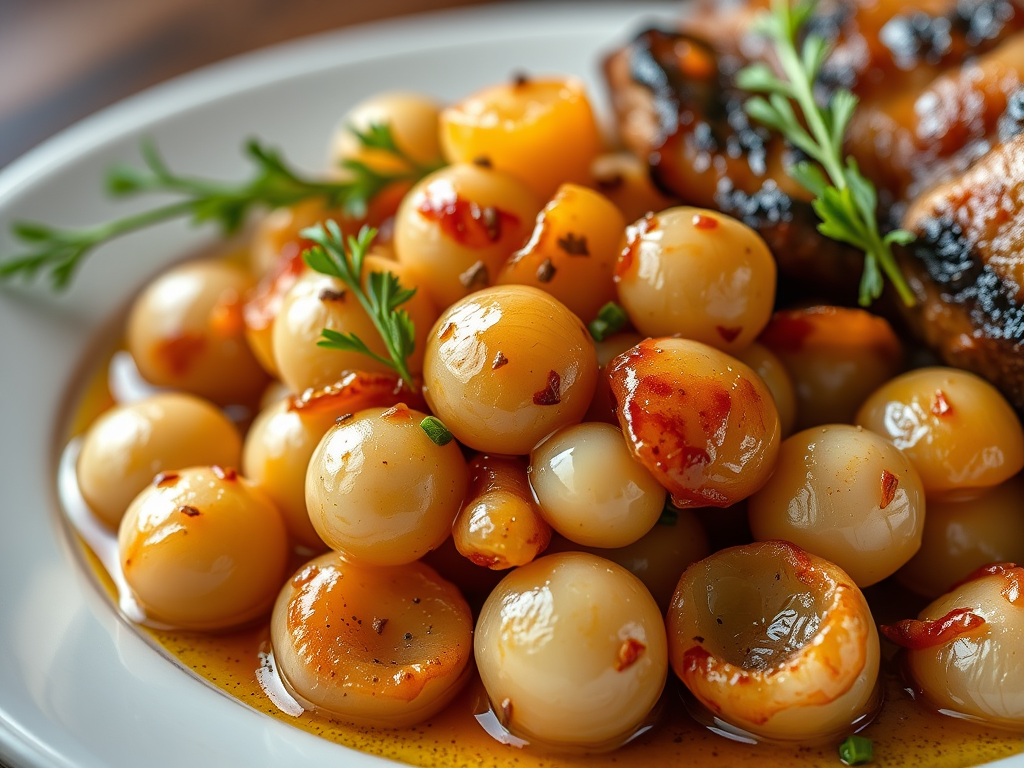
Not sure what to call this dish, so I researched other recipes that claim they are “oven cooked herb chicken” but most of them incorporate flour or breadcrumbs, and a stick of butter and/or olive oil. They didn’t seem all that healthy too me and took too much time in the oven. I decided to stick with my tried and true herb crusted chicken breast, coated with my own fresh herbs that I cut from my garden, from start to finish it took all of 15 minutes to prepare and cook. Yes, my chicken breast is “sautéed” in coconut oil I feel it is so much healthier than the alternative. This recipe is for an individual 7oz chicken breast, if you have two chicken breasts to add to the pan, you should probably increase the cooking time by one minute on each side or until done. My recipe does not use flour, breadcrumbs or an colossal amount of grease, oil or butter to cook with and it only takes 8 minutes to cook, so I consider this “fast food” for dinner.
Ingredients
7oz chicken boneless, skinless
¼ cup of chopped fresh herbs, I used a combination of: parsley, sage, oregano, rosemary
¼ tsp kosher salt
2 tsp of coconut oil
1 tsp of butter
Directions
Place chicken breast inside a plastic quart bag or between two pieces of plastic wrap and using a meat mallet begin to gently pound the chicken on both sides until all the same width
Take half of the chopped herbs and spread on one side of chicken breast, sprinkle with salt and gently pound the herbs into that side of the chicken breast
Turn chicken over and spread remaining herbs and salt on other side of breast and pound into the chicken breast.
Melt coconut oil and butter in a heavy pan or non-stick pan over medium high heat, when oil is hot place the chicken in the oil and cook uncovered for 4 minutes each side.
Turn the heat down to medium if it looks like it is browning too fast. When the chicken is ready to flip to the other side after 4 minutes, be careful not to splash yourself. Cook the second side for 4 more minutes. Slice the chicken breast to be sure the meat is white (cooked) before serving.
*Note: Melted oil must be hot before adding the chicken breast or it will absorb the oil as it is cooking. Hot oil will sear the meat as it hits the pan.
Pounded chicken breast cooks relatively fast, prepare your salad and vegetables while it is cooking.
The humble meatball, its beginnings tell early meatballs would have been made from leftover meat dishes and hand-shredded or pounded with a heavy object and minced with primitive tools. Food history tells us that meat was rare across the world and was enjoyed mostly by the rich. It was precious, so it can be assumed that it was never wasted, and no parts of a cut of meat or the leftovers would have been thrown away. Simply put, the meatball was a way to utilize this extraneous meat and squeeze another days’ meal from it, not to mention another days’ nutrition.
Italian immigrants brought along their own meatball (polpette) recipes, many of which had evolved according to family tradition. The polpette were not initially served with spaghetti. Spaghetti was typically served alone. The two forces came together in order to appease Americans who frequented Italian restaurants and wanted meat served alongside their pasta dishes.
The meatball was recorded in a 1754 Swedish cookbook by Cajsa Warg. The k”ttbullar were served with a cream-based gravy and loganberry preserves. Buttered noodles also became a popular side item, and nowadays are thought of as the expected accompaniment for Swedish meatballs.
There are meatball recipes from 25 AD. The Romans, as evidenced in an ancient recipe book written by Marcus Gavius Apicus (aka Apicius) called “De re coquinaria libri decem (Cuisine in Ten Books)”. Book II is devoted to “minces”, or mixtures of meat and other ingredients.
So to conclude, where did the first meatball come from? No one knows for sure. Every country has their own version of the meatball dating back in time throughout history using different meats, vegetables, and ingredients.
This is Kitchen Moxy’s version, I hope you enjoy these little morsels as they are a favorite of mine served with traditional spaghetti sauce or brown gravy. In this day and age we are all trying to watch our nutrition, fat, and calorie intake. Beef can be substituted with veal, venison, elk, which ever red meat you desire. The pork adds moisture and flavor, so your meatball does not end up dry. Eat well and rejoice.
½ pound of ground pork
½ pound of veal (or other meat)
½ pound of beef chuck (or other meat)
½ cup of grated Parmesan cheese
¼ cup finely chopped flat-leaf Italian parsley
2 teaspoons of kosher or sea salt
¼ to ½ cup of grated onion (food processor works great)
3 cloves of grated garlic
1 large beaten egg
¼ teaspoon black pepper
1/3 cup olive oil for frying. See methods of cooking below
1 cup of breadcrumbs, if using seasoned, dry breadcrumbs toss with 1/3 cup of milk to re-hydrate.
Directions:
Mix all ingredients together with your hands just until the mixture comes together.
Form meatballs with your hands, rolling into golf-ball sized balls. Do not pack the meat into tight balls or they will become tough.
May be refrigerated up to 24 hours at this point.
Cooking Methods:
Method #1: Drop raw meatballs into your sauce. By the time your sauce is finished cooking, your meatball will be too. This is the easiest way, no prep, no mess. But no crusted sides. But it does flavor the sauce. Both my mom and I used this method many times. We were making our own marinara sauce from scratch. So cook time was long enough to cook the meat.
Method #2: Bake your raw meatballs in the oven at 350F. for 15 minutes. Your meatballs are done when no longer pink in the center. The internal temperature of a meatball should be 160F. You can finish cooking your pink centered meatball in your sauce.
Method #3: Fry your meatballs in olive oil. This is the traditional method. Your meatballs are crusted on all sides as they simmer in hot oil. Heat two tablespoons of olive oil in a non-stick skillet over medium-high heat. Add half of the meatballs and cook, turning occasionally, until well browned on all sides, about 6 minutes. Transfer the meatballs to a plate. Drain the oil and wipe out the skillet, return to the heat, and repeat with the remaining oil and meatballs.
Notes:
Great meatballs contain Parmesan cheese! Freshly grated Parmesan cheese is tasty, but you can use any hard Italian cheese like Grano Padano, or Pecorino Romano.
Fresh Parsley: Use fresh parsley either Italian parsley or common parsley. Use a food processor to mince fine or mince your parsley the old-fashioned way with a chef’s knife. But do not skimp on the parsley
Garlic: You need to smell the garlic in the meat! Use fresh garlic use a press, mince, or grate. Do not skip the garlic. You can also add a teaspoon of garlic powder with your fresh garlic.
Onions: Do not skip the onions! They add so much flavor. You can use either Yellow, white or sweet onion. they all add a different note of flavor.
Be sure to rehydrate your breadcrumbs before adding to the meat mixture. Add 1/3 cup of milk to 1 cup of breadcrumbs. Let sit for about 5 minutes.
Meat: I find that using 85% lean ground beef is the perfect amount of fat. If you do not eat beef, you can substitute ground turkey, ground chicken, venison, or veal. You can also add Italian sausage to the mix for a different flavor note.
Growing up in a household with German and Polish cultural influences, I developed a fondness for cabbage dishes. Among these, a traditional German red cabbage recipe stands out as a preferred preparation method. This dish involves simmering chopped onions with red cabbage until tender, incorporating sugar and apple cider vinegar to create a balanced sweet and sour glaze. The resulting vegetable side complements a variety of pork dishes, enhancing the overall culinary experience. This recipe exemplifies the rich culinary heritage of Central European cuisine, emphasizing the use of simple ingredients to produce a flavorful and versatile dish suitable for both everyday meals and special occasions.
Ingredients
2 tablespoons of butter
1 large red cabbage sliced thinly
4 slices of cooked bacon, crumbled
2 tablespoons of sugar
¼ cup apple cider vinegar or red wine vinegar
½ teaspoon Kosher salt
¼ teaspoon freshly ground black pepper
Process
Cut cabbage into quarters and then slice in thin slices, avoiding the hard core. Slice around it.
Melt the butter in a large pot over medium heat.
Add the onions and sauté until soft.
Add the cabbage, toss to coat with the melted butter and onion. Cover pot and let simmer until slightly wilted. About 5 – 10 minutes. If the cabbage seems dry, add 1/4 cup of water.
Sprinkle the sugar over the cabbage and toss to coat evenly. Add the vinegar to the pot. Bring to a simmer, then reduce the heat to medium low.
Cover and simmer until the cabbage is completely tender but not mushy. Stir often about 30 to 40 minutes total.
Season to taste with salt and pepper.
Sprinkle the bacon crumbles on top before serving.
Crispy cheese potato skins, baked to a crisp, then topped with cheddar cheese, bacon, sour cream and green onions.
Yield: Serves 4 to 6.
Ingredients
6 small to medium sized russet baking potatoes (total 3 pounds)
Olive oil
Canola oil or coconut oil
Kosher salt
Freshly ground pepper
6 strips of bacon
4 ounces grated cheddar cheese
1/2 cup sour cream
2 green onions, thinly sliced, including the greens of the onions
Instructions:
Preheat oven to 400°F
Rub potatoes with olive oil and bake in a 400°F oven for about an hour until the potatoes are cooked through and give a little when pressed.
While the potatoes are cooking, cook the bacon strips in a frying pan on medium low heat for 10 to 15 minutes, or until crisp. Drain on paper towels. Let cool. Crumble.
Remove the potatoes from the oven and let cool enough to handle. Cut in half horizontally. Use a spoon to carefully scoop out the insides, reserving the scooped potatoes for another use, leaving about 1/4 of an inch of potato on the skin.
Increase the heat of the oven to 450°F. Brush or rub canola or coconut oil (or another high smoke point oil) all over the potato skins, outside and in. Sprinkle with kosher salt. Place on a baking rack in a roasting pan (do not use a cookie sheet, it will warp, use a roasting pan or broiler pan that can take the heat). Cook for 10 minutes on one side, then flip the skins over and cook for another 10 minutes. Remove from oven and let cool enough to handle.
Arrange the potato skins skin-side down on the roasting pan or rack. Sprinkle the insides with freshly ground black pepper, cheddar cheese, and crumbled bacon. Return to the oven. Broil for an additional 2 minutes, or until the cheese is bubbly. Remove from oven. Use tongs to place skins on a serving plate. Add a dollop of sour cream to each skin, sprinkle with chopped green onions. Serve immediately.
Crispy cheese potato skins, baked to a crisp, then topped with cheddar cheese, bacon, sour cream and green onions. Don’t stop there, consider topping with sliced jalapenos, chopped chilies, black or green olives, diced tomatoes, shredded chicken, use your imagination! As an appetizer in restaurants, potato skins have been around since approximately the 1970s with T.G.I. Friday’s having documented making them as early as 1974. These skins are not deep fried as original recipes call for, they are twice baked at high temperatures; leaving the skins crispy and the meat tender. I eat pot stickers as a dinner why not loaded potato skins? Served as an appetizer or a main entree, make enough because they will go fast!
• Yield: Serves 4 to 6.
Ingredients
6 small to medium sized russet baking potatoes (total 3 pounds)
Olive oil
Canola oil or coconut oil
Kosher salt
Freshly ground pepper
6 strips of bacon
4 ounces grated cheddar cheese
1/2 cup sour cream
2 green onions, thinly sliced, including the greens of the onions
Instructions: Preheat oven to 400°F
Rub potatoes with olive oil and bake in a 400°F oven for about an hour until the potatoes are cooked through and give a little when pressed.
While the potatoes are cooking, cook the bacon strips in a frying pan on medium low heat for 10 to 15 minutes, or until crisp. Drain on paper towels. Let cool. Crumble.
Remove the potatoes from the oven and let cool enough to handle. Cut in half horizontally. Use a spoon to carefully scoop out the insides, reserving the scooped potatoes for another use, leaving about 1/4 of an inch of potato on the skin.
Increase the heat of the oven to 450°F. Brush or rub canola or coconut oil (or another high smoke point oil) all over the potato skins, outside and in. Sprinkle with kosher salt.
Place on a baking rack in a roasting pan (do not use a cookie sheet, it will warp, use a roasting pan or broiler pan that can take the heat). Cook for 10 minutes on one side, then flip the skins over and cook for another 10 minutes.
Remove from oven and let cool enough to handle.
Arrange the potato skins skin-side down on the roasting pan or rack. Sprinkle the insides with freshly ground black pepper, cheddar cheese, and crumbled bacon. Return to the oven. Broil for an additional 2 minutes, or until the cheese is bubbly. Remove from oven. Use tongs to place skins on a serving plate. Add a dollop of sour cream to each skin, sprinkle with chopped green onions. Serve immediately.
Maple glazed bacon, who doesn’t love the smell and taste of bacon, dress it up with a coating of pure maple glaze and you have a gourmet dish or appetizer. Glazed maple bacon can add a savory note to desserts, just crumble the bacon into maple flavored frosting for cupcakes. Or consider sweet and savory appetizers; wrap maple bacon around sweet potato slices, or asparagus before baking. Wrap around prawns or cream cheese stuffed jalapeno peppers, or small smokey links before baking. Maple syrup adds a sweet note to thick-cut bacon slices, which are obviously delicious served right alongside pancakes, eggs or waffles.
Ingredients
1/4 cup maple syrup (use the real stuff)
12 slices good-quality thick-cut bacon
coarse ground pepper (optional)
Directions
Preheat the oven to 375 degrees F. Line a baking sheet with a silicone baking mat or parchment paper.
Pour the maple syrup into a shallow bowl and give each bacon slice (both sides) a generous dip in the syrup.
Lay the bacon on the prepared baking sheet. Sprinkle with pepper if desired.
Bake for 20 minutes. Flip the bacon over and bake until it is crisp at the edges and caramelized on the bottom, another 10 to 15 minutes.*Note: this cooking time is depending on the thickness of your bacon, keep an eye on it while baking so it does not burn, especially if using a thinner bacon.
Remove the baking sheet from the oven.
Lift the slices from the liner so they don’t stick after cooling. Cool for about a minute, transfer to a long platter to serve.
Old fashioned stew, the smell fills your house with mouthwatering aromas. The trick to good stew is seasoning the meat, browning the meat and of course what you add to the broth. The fun thing about stew is you can add any kind of vegetables you love to eat. My stews are usually full of onions, carrots and small red skin potatoes, I even add mushrooms, celery, and sometimes at the end of the cooking period I will throw in a box of frozen peas. My sauce will usually thicken as it cooks but if it does not, you can thicken it at the end of the cooking time with a roux. Search roux in the search box for instructions. I use boneless chuck for my meat because it becomes so tender when cooked it melts in your mouth. But you can use beef round.
INGREDIENTS
3 pounds of boneless chuck *(pot-roast) cut into 1 inch cubes
½ cup seasoned flour in a large zip lock bag as follows:
½ cup flour
1-1/2 teaspoon salt
1 teaspoon pepper
1 teaspoon garlic salt or powder
1 teaspoon Old Bay seasoning (or paprika)
½ cup vegetable oil
2 large onions cut into quarters
One bag of mini carrots or 4 large carrots cut into chunks
About 6 small red skinned potatoes cut in half or 1 lb. of regular white potatoes quartered
3 ribs of celery, cut into 1-inch pieces
1 pound of mushrooms, cut into halves or quarters (depending on size)
1 large garlic bulb, cloves separated and paper removed
4 cups of beef broth
2 tablespoons tomato paste
2 tablespoons of Dijon mustard
½ teaspoon salt
¼ teaspoon pepper
DIRECTIONS
Cut all your vegetables and gather into a bowl, set aside.
In small batches place meet cubes in the zip-lock bag and shake to coat, remove from flour mixture and put on a plate until ready to use.
Heat the oil over medium-high heat. Be sure the oil is hot (rippling but not smoking) before adding the meat in small batches. Brown meat on all sides, remove with a slotted spoon to a dish and add another batch of meat until all is browned.
After the meat has browned, turn heat to medium low.
Add the cut-up vegetables to the hot oil in the pan, there should be only about a tablespoon of oil left in the pan, if not, add and let get hot.
Cook about 5 minutes stirring once or twice until lightly browned.
Add the beef broth, tomato paste, and mustard, stirring to scrape up browned bits. Bring to a boil.
Return the browned meat to pot, reduce heat to low.
Cover and simmer for about 4 hours, or until meat is cooked through, and tender.
Roux is used to thicken a broth, sauce or gravy. It is a substance created by cooking flour and fat, traditionally butter, in equal amounts. In Cajun cuisine, roux is made with bacon fat or oil instead of butter and dark brown in color, which lends much richness of flavor, albeit less thickening power. Central European cuisine uses lard (in its rendered form) or more recently vegetable oil instead of butter for the preparation of roux. Light (or “white”) roux provides little flavor other than a characteristic richness to a dish, and is used in French cooking and some gravies or pastries throughout the world. Darker roux is made essentially by cooking the roux longer. Darker roux, sometimes referred to as “blond”, “peanut-butter”, “brown” or “chocolate” roux depending on the color achieved, add a distinct nutty flavor to a dish
I use roux to thicken my soups where necessary, such as for Ham and Bean soup, I also use it in stews to thicken the broth or gravy. I use butter, the butter will darken the longer you cook it with the flour, I usually pull it off the heat just as it is turning light brown.
Always start with an equal amount of butter and flour. Melt ¼ cup butter in a saucepan, add ¼ cup flour. Melt the butter over medium heat; slowly add the flour to the butter, whisking constantly. Within 2 to 3 minutes the roux will have a consistency of a cake frosting. A white roux is done when the flour loses its “raw” smell and begins to develop a toasty aroma. If you desire a darker roux cook longer, stirring constantly, until the desired color.
If you’re not adding liquid, or adding to liquid immediately remove the pan from the heat and transfer the roux to another container to cool. Be very careful: the hot fat-flour mixture can cause painful burns. Refrigerated or frozen roux will keep well for up to two months and can be added directly to soups or sauces for quick thickening. Increase your recipe and you can freeze your roux in ice cube trays for future use.
I came home from a visit back east to an empty refrigerator and 4 degree weather. I do not feel like making the 45 minute trek to go food shopping. Everyplace in Montana is at least 45 minutes away from anything. So I remembered I had ham hocks and a package of cubed ham in the freezer and decided to make a pot of delicious, hardy ham and bean soup.
The secret to any good soup is the stock from which it is made. So first, the ham stock should be made first before adding any other ingredients because it takes a few hours to get the ham flavor fully out of the ham hocks. I might also mention I didn’t have potatoes but I did have a can of small potatoes in the pantry. If you have left over ham from the holidays, you will need about 2 cups of cubed ham for the soup, I would use ham hocks rather than a ham bone, but the bone will work too. I also added barley to the broth for some extra body. My soup turned out wonderful. I know yours will too.
Ingredients
2 ham hocks or a ham bone
Enough water to cover the ham hocks
2 bay leaves
1 medium onion chopped
1 bag of dry navy, great northern, or cannellini beans, rinse well *1 cup of sliced celery
1 cup of sliced celery
1 cup or more of chopped carrots
2 cups of cubed potatoes
2 cups of chopped ham
1/3 cup of barley (optional)
2 chopped or grated garlic cloves
1/2 cup chopped parsley
¼ tsp pepper
½ tsp nutmeg
1 tsp salt
Directions
Place ham hocks in a Dutch oven and cover with cold water
Add chopped onion, celery, salt, bay leaves, and beans
Bring to a boil and reduce heat to simmer – simmer for about 1.5 – 2 hours until meat is tender and can be cut off the bone.
Remove meat from bones, discard the bones and cut meat into small pieces add to broth, remove bay leaves from the broth.
Add remaining ingredients and simmer for about 45 minutes or until carrots are tender.
Serve with crusty bread
*My mom never soaked her beans, I don’t presoak my beans either, I just add them to the water while the ham is cooking, they become soft and flavor the broth.
Shrimp is one of my favorite seafood. It makes a wonderful appetizer on it’s own surrounded by ice and lemon wedges with a container of cocktail sauce nearby or sautéed in butter and fresh garlic, chopped onion and button mushrooms or roasted with pineapple and bacon. Be sure to soak your skewers before grilling or roasting to avoid charring them. Shrimp is one of my favorite seafood. It makes a wonderful appetizer on it’s own surrounded by ice and lemon wedges with a container of cocktail sauce nearby or sautéed in butter and fresh garlic, chopped onion and button mushrooms or roasted with pineapple and bacon. Be sure to soak your wooden skewers before grilling or roasting to avoid charring them.
To serve these skewers as an appetizer, just place one shrimp between two pieces of pineapple wrapped in bacon on each skewer. Or serve as a meal. Enjoy
Enjoy
Shrimp-Bacon-Pineapple Skewers
Yield:
30 skewers
Ingredients
1/2 cup thick teriyaki sauce
1 tablespoon minced fresh ginger
1 tablespoon sugar
1/2 teaspoon crushed red pepper flakes
1 dash kosher salt
3 cloves garlic, minced
2 green onions, sliced
Juice of 1/2 lemon
1 fresh pineapple (recommended) or canned pineapple chunks
2 pounds jumbo shrimp, peeled and deveined
1 pound bacon, package sliced in half
Directions
Special equipment: about 30 wooden skewers, soaked in water for at least 30 minutes (up to 2 hours)
Preheat the oven to 400 degrees F. Set a roasting rack in a large baking pan.
To make the marinade, pour the teriyaki sauce in a bowl and then throw in the ginger, sugar, crushed red pepper, salt, garlic, green onions and lemon juice. Stir it around and set it aside.
Next, cut the pineapple into chunks by lopping off the top, slicing off the rind, cutting the pineapple into wedges, slicing off the hard inner core and then cutting the slices into chunks. Store half the chunks in the fridge for snacking.
Place a chunk of pineapple on top of a shrimp and then wrap the whole thing in one of the half-slices of bacon. Stick a skewer through the whole thing so that it holds the pineapple, shrimp and bacon securely, and lay it on the rack in the pan. Continue with the remaining ingredients. Brush each skewer generously with some of the marinade.
Roast the skewers for 10 minutes. Remove them from the oven and brush with a second coat of marinade. Return the pan to the oven and roast until the bacon is sizzling and the shrimp is cooked (pink), about 15 minutes.Serve them hot or at room temperature. Divine!