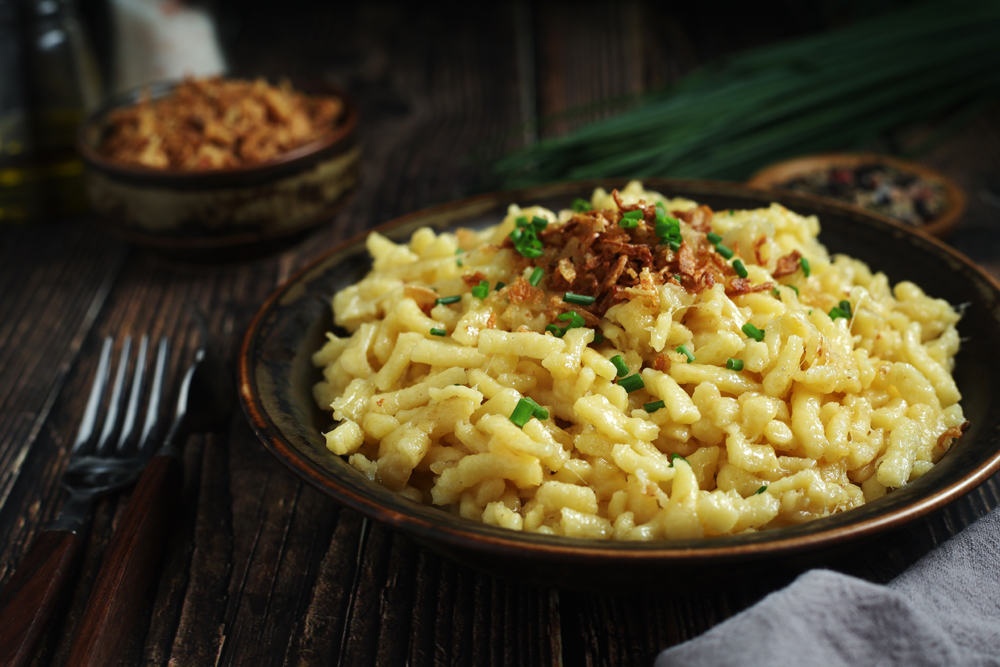
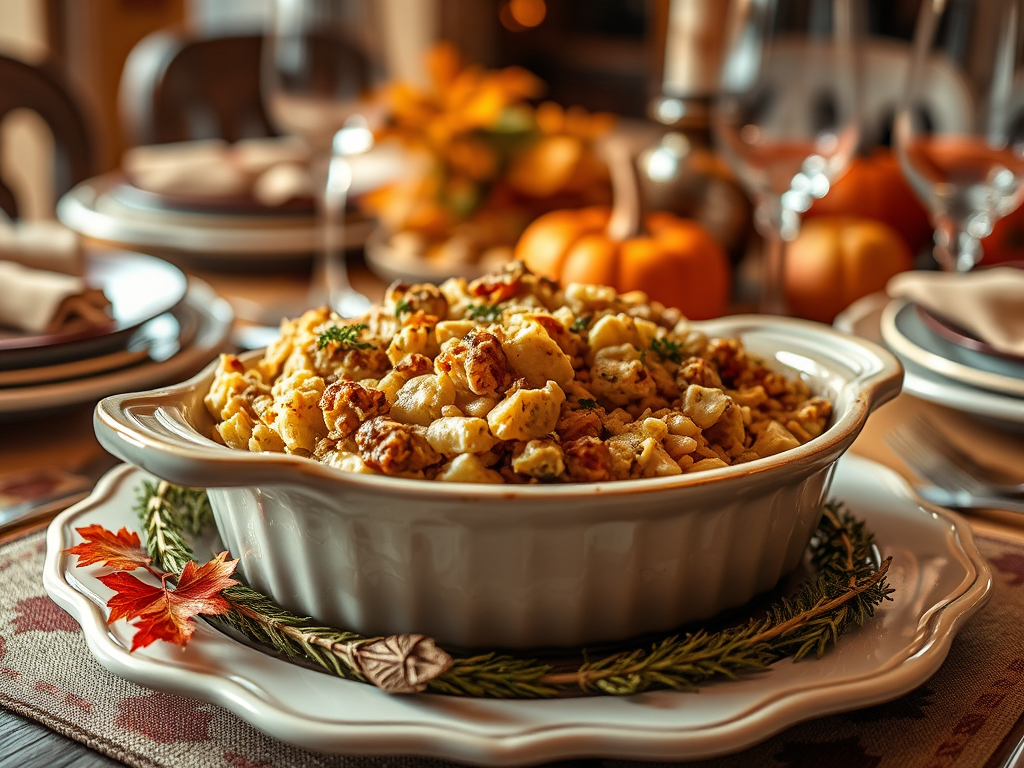
This German Käsespätzle is a tasty homemade pasta tossed with onion and Emmentaler cheese. It’s a German version of macaroni and cheese. Made with Spätzle a type of egg noodle that originated in the Swabian region of Germany. The name “Spätzle” translates to “little sparrows” in English, reflecting the small, irregular shapes of the noodles. They are made from a simple batter of eggs, flour, and milk, resulting in a chewy, dumpling-like texture.
Ingredients
2 cups of all-purpose flour
¾ teaspoon freshly grated nutmeg, if possible
¾ teaspoon salt
⅛ teaspoon pepper
3 large eggs
3/4 cup milk more as needed (milk produces a richer Spaetzle) (**add more flour if the dough is too runny, add more milk if it’s too stiff)
3 tablespoons of butter
1 ½ cups shredded Emmentaler cheese (See note for substitute)
1 onion, sliced thin
Process
Gather all ingredients.
Mix flour, nutmeg, salt, and pepper.
Beat eggs in a medium bowl. Alternately mix in milk and flour mixture until smooth. Set aside for 30 minutes.
Bring a large pot of lightly salted water to a boil. Press batter through a spaetzle press into the water. One can also use a rubber spatula to push the batter through the holes of a large-holed colander or a kitchen spoon with holes.
Don’t overload the pot of water. Work in small batches. The spätzle batter will sink to the bottom of the pot of boiling water, then float to the top as it cooks. Cook the spätzle for approximately five minutes. Remove from boiling water with a slotted spoon to a clean colander to drain.
Mix in 1 cup of cheese.
Melt butter in a large skillet over medium-high heat. Add onion and cook until golden. Stir in spaetzle and remaining 1/2 cup cheese until well blended. Remove from heat and serve immediately.
Notes:
Gruyère is the best substitute for Emmental cheese. It’s super easy to find in food stores and should be around the same price as a pack of Emmental. In terms of flavor, gruyere cheese is more complex. Along with the nutty notes it shares with Emmental, there’s also a salty and earthy undertone.
Traditionally Spätzle batter is quite thick because it was cut into noodles using the board & knife method. Even if using a Spätzle press or other method, thicker batter yields a better consistency. If you’re using the Spätzle press yes, it will require some muscle strength – you don’t want the batter to be so runny that it squishes right through with ease. That said, if you’re straining way too hard to press the batter through, go ahead and add a bit more liquid to thin it out.
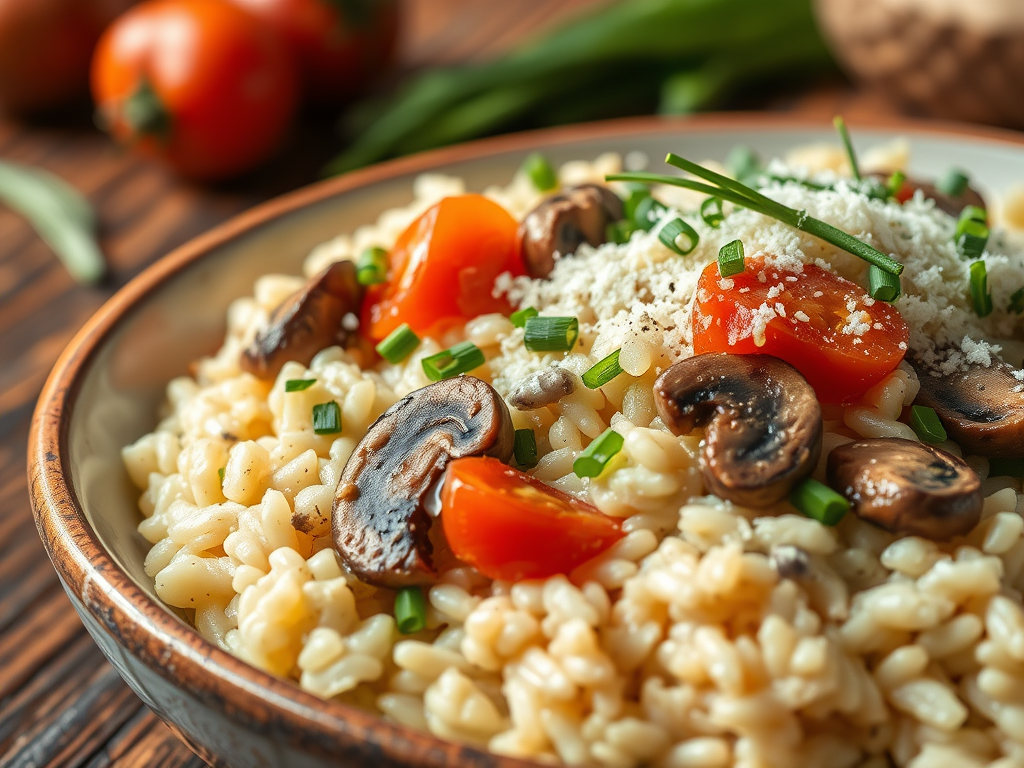
Creamy risotto is a classic Italian dish renowned for its rich, velvety texture and comforting flavor. Made with Arborio rice, which has a high starch content, risotto achieves its signature creaminess through slow cooking and gradual addition of broth. The process involves sautéing onions or shallots in butter or olive oil, then adding the rice to toast it lightly. Gradually, warm broth is added in small increments, allowing the rice to absorb the liquid slowly, releasing its starch and creating a smooth, creamy consistency. Preparing creamy risotto at home takes about 40 minutes, start to finish. Served as a main meal or side dish, it is so worth the effort.
Ingredients
4 cups of Vegetable Stock
8 ounces of button mushrooms, sliced very thin
1 medium onion, or shallots peeled and finely chopped
2 cloves of garlic, peeled and grated or pressed
1-1/2 cups of Arborio Rice
8 ounces of grape tomatoes, quartered or sliced into thirds
¼ ounce chives, snipped fine
4 tablespoons of garlic butter
1 tablespoon of unsalted butter
1/3 cup freshly grated Parmesan cheese (or substitute with Asiago, Sharp Cheddar, Gruyere, or Pecorino Romano)
1 teaspoon Korean red chili flakes
Salt & pepper to taste
Process
Heat vegetable stock in a medium pot, bring to a low simmer.
Heat a drizzle of olive oil in a large pan over medium-high heat. Add sliced mushrooms, spread out in a layer and cook until brown on underside, flip mushrooms and continue to cook until browned and slightly crispy., Season with salt and pepper.
Turn off heat and transfer mushrooms to a plate. Set aside.
In the same pot, drizzle olive oil over medium heat. Add onion or shallots, cook stirring until slightly softened and very lightly browned about 2 – 3 minutes.
Add garlic, rice and 1 tablespoon unsalted butter. Cook, stirring for about 2 minutes until garlic is fragrant and rice is translucent. Season with salt and pepper.
Begin making Risotto by adding ½ cup vegetable stock to the pan with rice. Stir until liquid is mostly absorbed. Repeat with remaining stock, adding ½ cup at a time and stirring until liquid has mostly absorbed until the rice is “al dente” and risotto is creamy. This will take about 30 minutes. Season with salt and pepper.
Stir in mushrooms, tomatoes, garlic herb butter, half of the cheese and half of the chives.
Cook until the tomatoes are softened for about 6 minutes.
If risotto is too thick, stir in a little water or more vegetable stock. Risotto should be soft and creamy, not thick.
Stir in red chili flakes.
To serve, top bowl with remaining chives and remaining Parmesan.
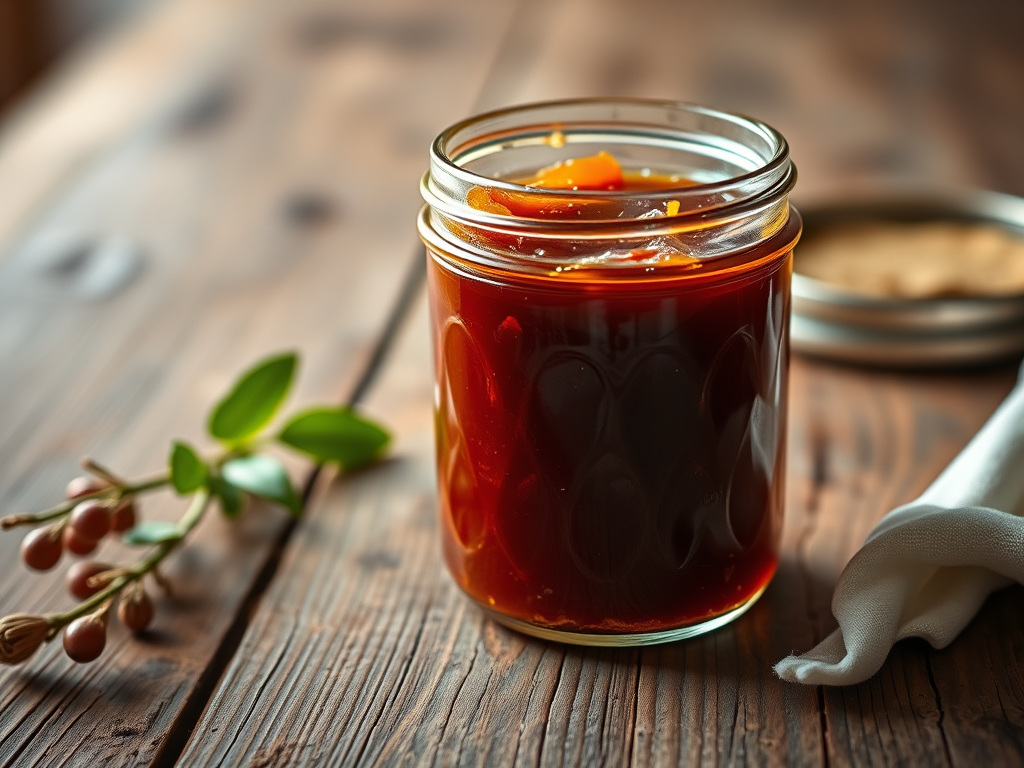
Onion jam is a versatile condiment crafted by slow-cooking onions with honey, vinegar, and spices until they reach a thick, sweet, and tangy consistency. This culinary creation offers a unique blend of flavors that can enhance a variety of dishes. Its rich, caramelized taste makes it an excellent accompaniment to meats, cheeses, and bread, adding depth and sweetness to savory dishes. Onion jam can be used as a topping for burgers, sandwiches, and grilled meats, providing a burst of flavor that elevates the overall dish. It also pairs well with cheese platters, serving as a sweet contrast to sharp cheese like cheddar or blue cheese. Whether spread on toast, dolloped on roasted vegetables, or used as a marinade component, onion jam is a flavorful addition that enhances a wide range of culinary creations.
Ingredients
2 tablespoons of olive oil
About 2 pounds of sweet onion (about 3 large)
2 sprigs of fresh thyme
¼ teaspoon Kosher salt and ground pepper
1 cup of red wine
¼ cup of honey
¼ cup of red wine vinegar
Directions:
Slice onions thin, a mandoline is a great tool for this task.
Preheat a heavy skillet over medium-low heat with 2 tablespoons of olive oil
Add onions, thyme, salt and pepper, cover and cook until onions have wilted, about 10 to 15 minutes. Stir occasionally with a wooden spoon to prevent sticking. You do NOT want to brown the onions, just sweat them
Remove lid. You will not need the lid for the next steps.
Add red wine, cook over medium-high heat until the wine is absorbed into the onions.
Remove pan from high heat. Turn heat down to medium-low. Return the pan to medium-low heat.
Add the honey and red wine vinegar and simmer gently until onions have a jam like consistency, about 15 minutes.
Remove from heat, cool and use immediately or cover and store in the refrigerator.
Compound flavored butters serve multiple culinary purposes. They can be melted over grilled meats, seafood, or vegetables to add moisture and flavor. Perfect to add fun and flair to any breakfast spread. They are also used as finishing touches on baked potatoes, bread, or pasta, providing an extra layer of richness. Additionally, they can be incorporated into sauces, marinades, or used as a base for more complex flavor combinations. Their ease of use and ability to add depth to meals make them popular among chefs and home cooks alike. Following are six compound butters that are equally delicious for all meals.
Compound Herb and Garlic Butter
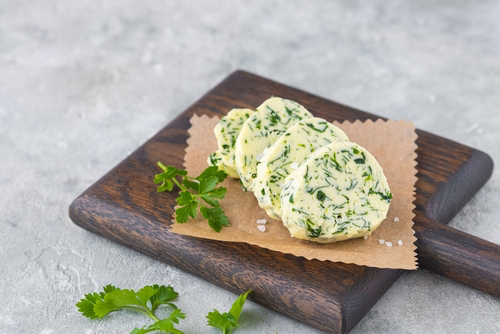
Compound herb and garlic butter is a versatile culinary ingredient that enhances a wide range of dishes with its rich, aromatic flavor. Made by blending softened butter with fresh herbs, this butter offers a fragrant and savory profile that elevates both simple and complex recipes. Its culinary appeal lies in its ability to add depth and richness to meats, seafood, vegetables, and bread.
Ingredients
½ cup of unsalted butter, softened to room temperature
¼ cup of fresh chopped fresh herbs
Example: rosemary, oregano, thyme, parsley, sage, basil or chives. Fresh herbs will give a beautiful display of green flecks in your butter.
2 grated or pressed garlic cloves
½ teaspoon fresh lemon juice
½ teaspoon Kosher salt
Process
Place the softened butter in a small bowl. Add the chopped herbs, garlic, lemon juice and salt and mix well.
Transfer the mixture onto a sheet of plastic wrap. Roll into a log shape and twist ends to seal tightly. Or leave it in a covered bowl.
Refrigerate the butter for at least 2 hours, or until firm.
Room Temperature – Let butter sit out for a few minutes before using to soften. Butters can sit at room temperature for a couple of days, just like plain butter. But if the weather is hot, store it in refrigerator so butter doesn’t melt.
Compound Lemon Dill Butter
Delicious spread over seafood dishes, such as grilled salmon, baked cod or shrimp where the citrus notes complement the natural flavors of seafood. It also works well as a finishing touch for roasted vegetables or spread on warm bread.
Ingredients
1 stick of unsalted butter room temperature
2 tablespoons finely chopped fresh dill weed
1 tablespoon fresh squeezed lemon juice
½ teaspoon lemon zest
¼ teaspoon kosher salt
½ teaspoon freshly ground black pepper
Process
Wash and finely mince the dill leaves.
Zest and juice lemon.
Cut the softened stick of butter in a mixing bowl.
Using a stand mixer or hand beater, mix until light and fluffy.
Add the chopped dill, lemon zest, lemon juice, salt and pepper. Mix until combined.
Transfer the mixture onto a sheet of plastic wrap. Roll into a log shape and twist ends to seal tightly. Or leave in a covered bowl.
Refrigerate the butter for at least 2 hours, or until firm.
Room Temperature – Let butter sit out for a few minutes before using to soften. Butters can sit at room temperature for a couple of days, just like plain butter. But if the weather is hot, store it in refrigerator so butter doesn’t melt.
Compound Maple Bourbon Butter
This is a smooth, sweet butter with a smoky flavor from bourbon. It is great to spread on bread, pancakes, waffles, roasted vegetables or melted over steak.
Ingredients
1 cup (2 sticks) unsalted butter, softened
2 tablespoons pure maple syrup
1 tablespoon bourbon
1 tablespoon brown sugar
1/2 teaspoon cinnamon
1/2 teaspoon vanilla extract
Pinch of salt
Process
Bring butter to room temperature.
In a mixing bowl, add softened butter and beat butter until light and fluffy.
Gradually mix in pure maple syrup, bourbon, brown sugar, cinnamon, vanilla extract and salt.
Taste and adjust sweetness or bourbon as needed.
Transfer the mixture onto a sheet of plastic wrap. Roll into a log shape and twist ends to seal tightly. Or leave in a covered bowl.
Refrigerate the butter for at least 2 hours, or until firm.
Room Temperature – Let butter sit out for a few minutes before using to soften. Butters can sit at room temperature for a couple of days, just like plain butter. But if the weather is hot, store it in refrigerator so butter doesn’t melt.
Compound Hot Honey Butter
One of my favorite ways to enjoy this whipped hot honey butter is on Jalapeno and Cheese Cornbread or Cheddar and Chive Biscuits, sweet potatoes or baked potatoes or corn on the cob.
Ingredients
1 stick of unsalted butter, room temperature
2 tablespoons honey
2 teaspoons hot sauce
½ teaspoon Koren red chili flakes
Process
Bring butter to room temperature.
In a mixing bowl, add softened butter and beat butter until light and fluffy.
Gradually mix in honey, hot sauce and chili flakes.
Transfer the mixture onto a sheet of plastic wrap. Roll into a log shape and twist ends to seal tightly.
Refrigerate the butter for at least 2 hours, or until firm.
Room Temperature – Let butter sit out for a few minutes before using to soften. Butters can sit at room temperature for a couple of days, just like plain butter. But if the weather is hot, store it in refrigerator so butter doesn’t melt.
Compound Orange Butter
Orange butter is a tasty spread that can be used on French toast, pancakes, sweet breads, and more. It is smooth and rich, making it perfect for breakfast and brunch. It adds color and flavor to your dishes, making them more appealing.
Ingredients
1 cup (2 sticks) butter, softened
1 teaspoon of Grand Marnier, substitute with Cointreau, or orange juice.
1 tablespoon orange zest. Be careful not to zest the white pith under the orange skin as it is bitter.
Process
Bring butter to room temperature.
In a mixing bowl, add softened butter and beat butter until light and fluffy.
Gradually mix in Gand Marnier, and orange zest.
Transfer the mixture onto a sheet of plastic wrap. Roll into a log shape and twist ends to seal tightly.
Refrigerate the butter for at least 2 hours, or until firm.
Room Temperature – Let butter sit out for a few minutes before using to soften. Butters can sit at room temperature for a couple of days, just like plain butter. But if the weather is hot, store it in refrigerator so butter doesn’t melt.
Compound Chocolate Butter
Spread chocolate butter on various baked goods such as toast, pancakes, croissants, or bagels, and explore different flavor combinations to enhance your culinary experience.
Ingredients
1 cup butter, softened
2 tablespoons unsweetened cocoa
3 tablespoons powder sugar
½ teaspoon of vanilla extract
Process
Bring butter to room temperature.
In a mixing bowl, add softened butter and beat butter until light and fluffy.
Gradually mix in unsweetened cocoa, powder sugar and vanilla extract.
Transfer the mixture onto a sheet of plastic wrap. Roll into a log shape and twist ends to seal tightly. Or leave in covered bowl.
Refrigerate the butter for at least 2 hours, or until firm.
Room Temperature – Let butter sit out for a few minutes before using to soften. Butters can sit at room temperature for a couple of days, just like plain butter. But if the weather is hot, store it in refrigerator so butter doesn’t melt.
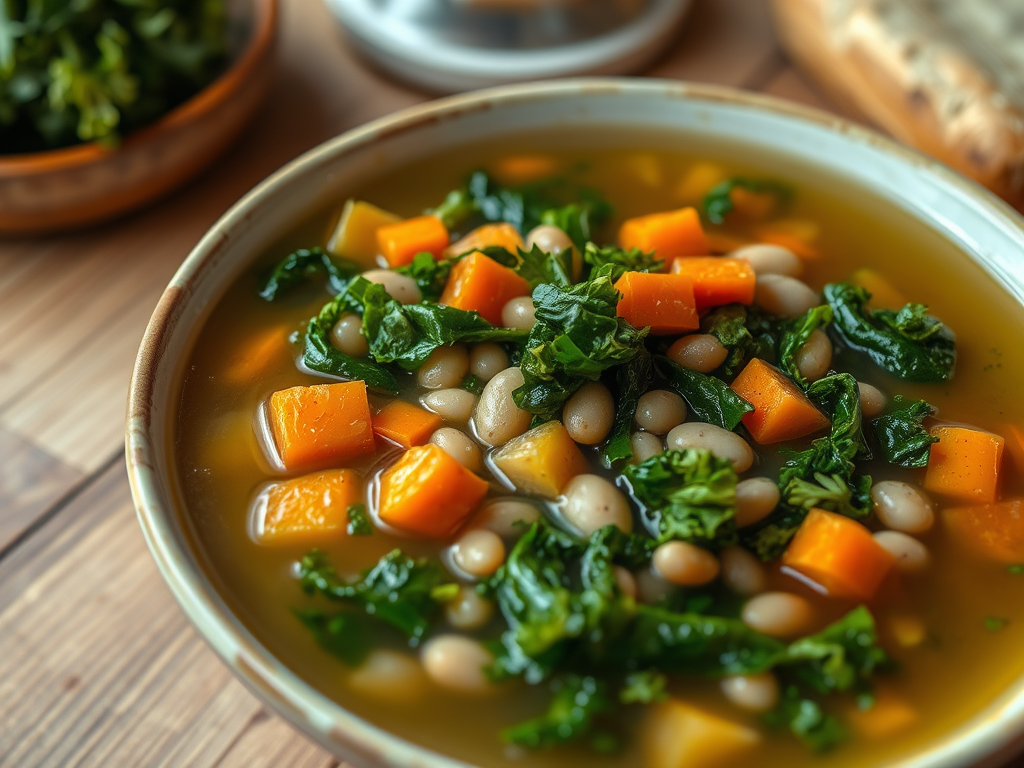
During the chilly embrace of winter, few comforts compare to the warmth and aroma of a hot, steamy bowl of soup. As the cold air bites outside, a steaming soup offers not only nourishment but also a sense of coziness and relaxation. A bowl of steamy soup on a cold winter day is more than just food; it is a comforting experience that restores energy, lifts spirits, and provides a much-needed respite from the harshness of winter weather. Enjoy with a slice of crusty bread and salad.
Ingredients
3 carrots
1 medium onion
8 ounces of kale
1 can (15.5 oz) of cannellini beans, do not drain
1-package Italian Chicken (or Turkey) Sausage
1 32-ounce carton of either chicken broth or stock
1 tablespoon of all-purpose flour
1 tablespoon of softened butter
Process
Trim, peel, and halve carrot lengthwise, thinly slice crosswise into half-moons. Set aside.
Remove and discard any large stems from kale. Finely chop into small pieces. Set aside.
Peel onion and dice into small pieces.
Heat a tablespoon of olive oil in a large pot over medium heat. Add onion and slowly cook until caramelized for about 10 minutes. Remove from pot.
Turn heat up to medium-high and add sausage. If sausage comes in links, squeeze the meat out of the casing and discard the casing. Flatten the sausage into an even layer. Cook undisturbed until meat is brown on bottom, about 5 minutes.
Break up meat into pieces, then add cooked onion, carrot and kale. Add ½ teaspoon of salt and cook, stirring until carrot is slightly softened and the kale begins to wilt.
Stir in the 32-ounce carton of chicken broth and add the cannellini beans. Bring mixture to a boil and turn heat down so soup can simmer for 10 minutes to continue cooking the sausage and vegetables.
If you want to thicken the soup broth, make a Beurre Manié by mixing 1 tablespoon of softened butter and one tablespoon of flour. Incorporate the flour into the butter with your hands or in a bowl until the flour has completely disappeared.
Whisk into your soup until the Beurre Manié has been completely melted in.
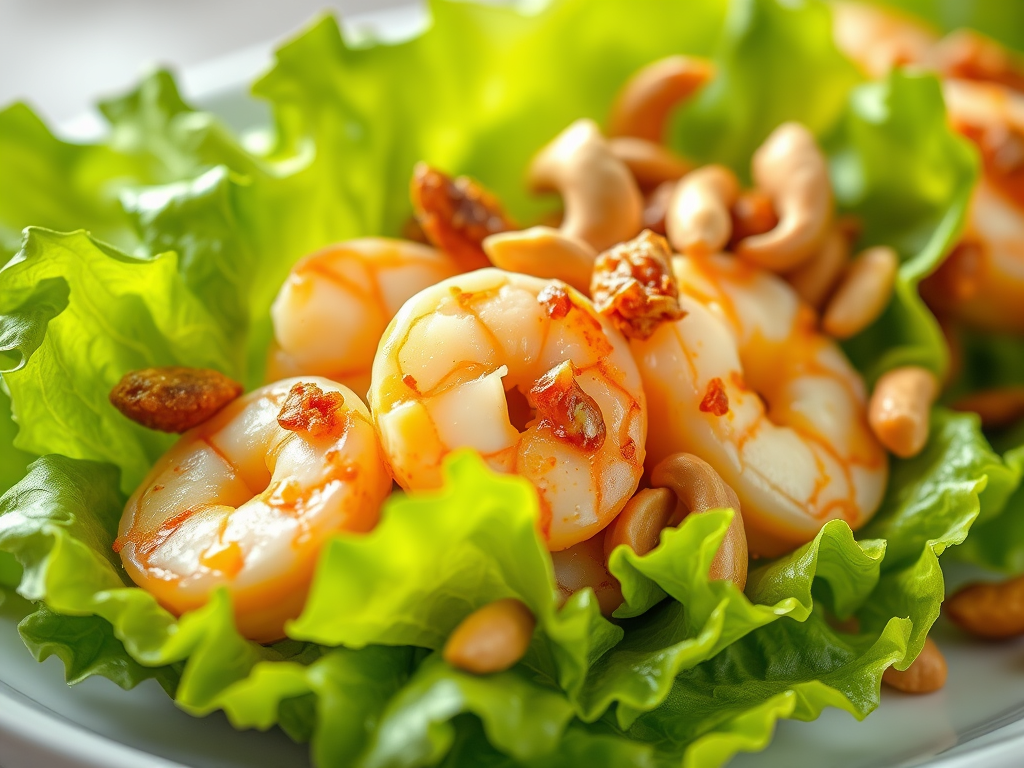
This recipe involves wrapping a tasty filling in lettuce leaves, creating a satisfying vegetable and shrimp wrap. A store-bought rotisserie chicken, shredded, can substitute for the shrimp. For variety, consider experimenting with other vegetables such as snow peas, mushrooms, or canned bamboo shoots. These additions can enhance the dish’s flavor and texture, making it more exotic and satisfying. The preparation is simple, and the result is a healthy, flavorful wrap that can be enjoyed as a snack or light meal. Feel free to customize the ingredients to suit your taste preferences and create new flavor combinations.
Ingredients:
1 tablespoon of sesame oil to coat pan
2 tablespoons low sodium soy sauce
1 tablespoon dry sherry or apple cider vinegar
1 tablespoon hoisin sauce
1 teaspoon rice vinegar
¼ teaspoon red pepper flakes
1 tablespoon minced garlic
1 tablespoon minced peeled ginger
1 (14 oz) bag of coleslaw
1/2 cup sliced scallions
1 small, peeled zucchini, sliced very thin with a vegetable peeler
About 12 Bibb lettuce leaves rinsed, and dried, or Boston lettuce.
1 lb. of deveined and peeled medium shrimp
1/4 cup chopped cashews or peanuts
Process
In a bowl, mix soy sauce, dry sherry, hoisin sauce, red pepper flakes, and rice vinegar. Set aside.
In a small bowl combine minced garlic and minced ginger. Set aside.
In another bowl, combine coleslaw, scallions and zucchini, set aside
Directions:
Heat a large wok or frying pan on medium-high heat, add 1 tablespoon of sesame oil and swirl oil to coat pan or use a pastry brush.
Add garlic and ginger, cook for about 30 seconds, stirring to prevent burning.
Add soy sauce mixture, coleslaw, and vegetables. Cook for 1 minute stirring.
Add shrimp and stir fry until shrimp is pink and cooked through. Coleslaw and veggies should be crisp tender at this point.
Divide mixture among lettuce leaves, sprinkle with cashews and enjoy.
Are you unsure about what to do with leftover holiday ham? Consider making a traditional ham and bean soup. The key to a delicious soup is the broth, which should be prepared first. To do this, start by making the ham stock, as it takes a few hours for the ham flavor to fully develop from the ham bone. If you have leftover ham from the holidays, you’ll need about 2 cups of cubed ham to add to the soup. Ham hocks can also be used as a substitute for a ham bone, providing rich flavor. For added texture and richness, you can include barley in the broth, although this is optional. Preparing the stock first ensures your soup will be flavorful and hearty, making the most of your holiday leftovers.
Ingredients
2 ham hocks or a ham bone
Enough water to cover the ham bone or ham hocks
2 bay leaves
1 medium onion chopped
1 bag of dry navy, great northern, or cannellini beans, rinse well
1 cup of sliced celery
1 – 2 cups of chopped carrots
2 cups of cubed potatoes
2 cups of chopped ham
1/3 cup of barley (optional)
2 chopped or grated garlic cloves
1/2 cup chopped parsley
¼ tsp pepper
½ tsp nutmeg
1 tsp salt
Process
Place ham hocks or ham bone in a large soup pot and cover with cold water.
Add chopped onion, celery, 1 teaspoon of salt, bay leaves, and beans *see note below.
Bring to boil and reduce heat to simmer.
Skim any foam or froth from the top of the soup as it simmers and discard.
Simmer for about 1.5 – 2 hours until meat is tender and can be cut off the bone.
Remove meat from bones, discard the bones and cut meat into small pieces add to broth, add remaining two cups of chopped ham to the broth, remove bay leaves from the broth.
Add remaining ingredients, potatoes, barley, garlic, parsley, pepper, and nutmeg. Simmer for about 45 minutes or until carrots and potatoes are tender.
Serve with crusty bread and salad.
*My mom never pre-soaked her beans, I don’t presoak my beans either, I just add them to the water while the ham is cooking, they become soft and flavor the broth.
The Pennsylvania Dutch started the tradition of eating pork and sauerkraut on New Year’s Day. This tradition is linked to hopes for good luck and prosperity in the coming year.
Eating sauerkraut on New Year’s Eve is a common practice in Germany. People believe that eating sauerkraut will bring blessings and wealth. Before the meal, people at the table wish each other good fortune and money, symbolized by the amount of shredded cabbage in the dish. The pig is also a symbol of good luck and well-being. Many believe that eating pork will bring luck for the new year. The pig is seen as a symbol of looking forward because it cannot turn its head from side to side or look behind. Instead, it faces forward, reminding us to focus on future opportunities rather than past events.
Ingredients
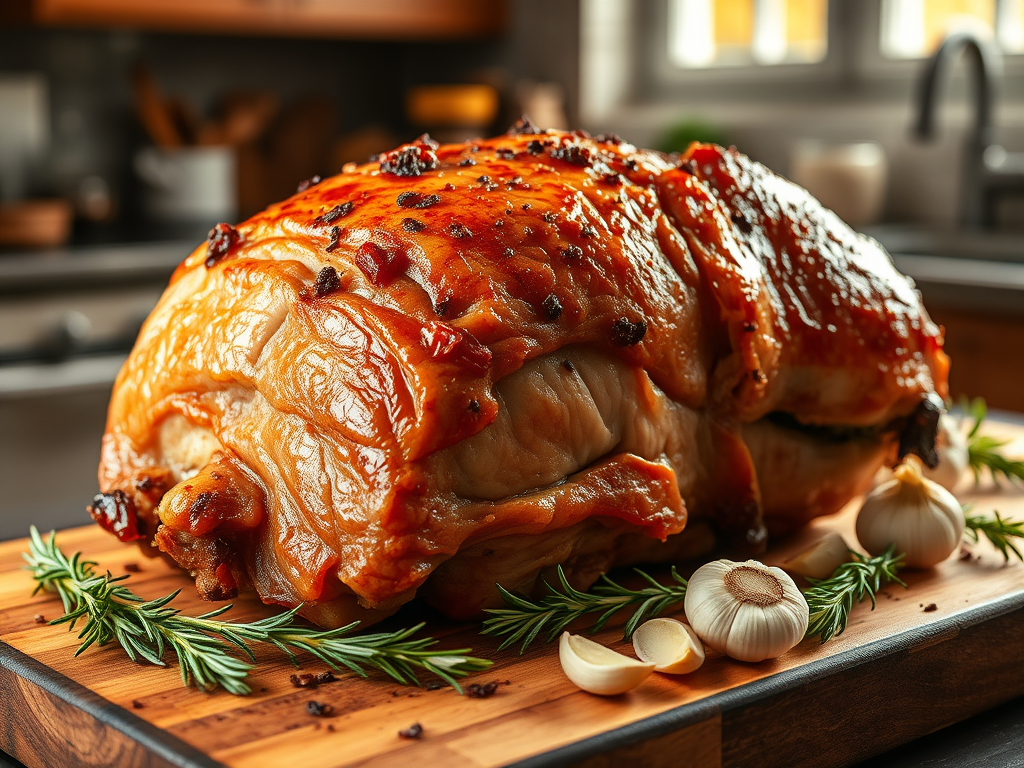
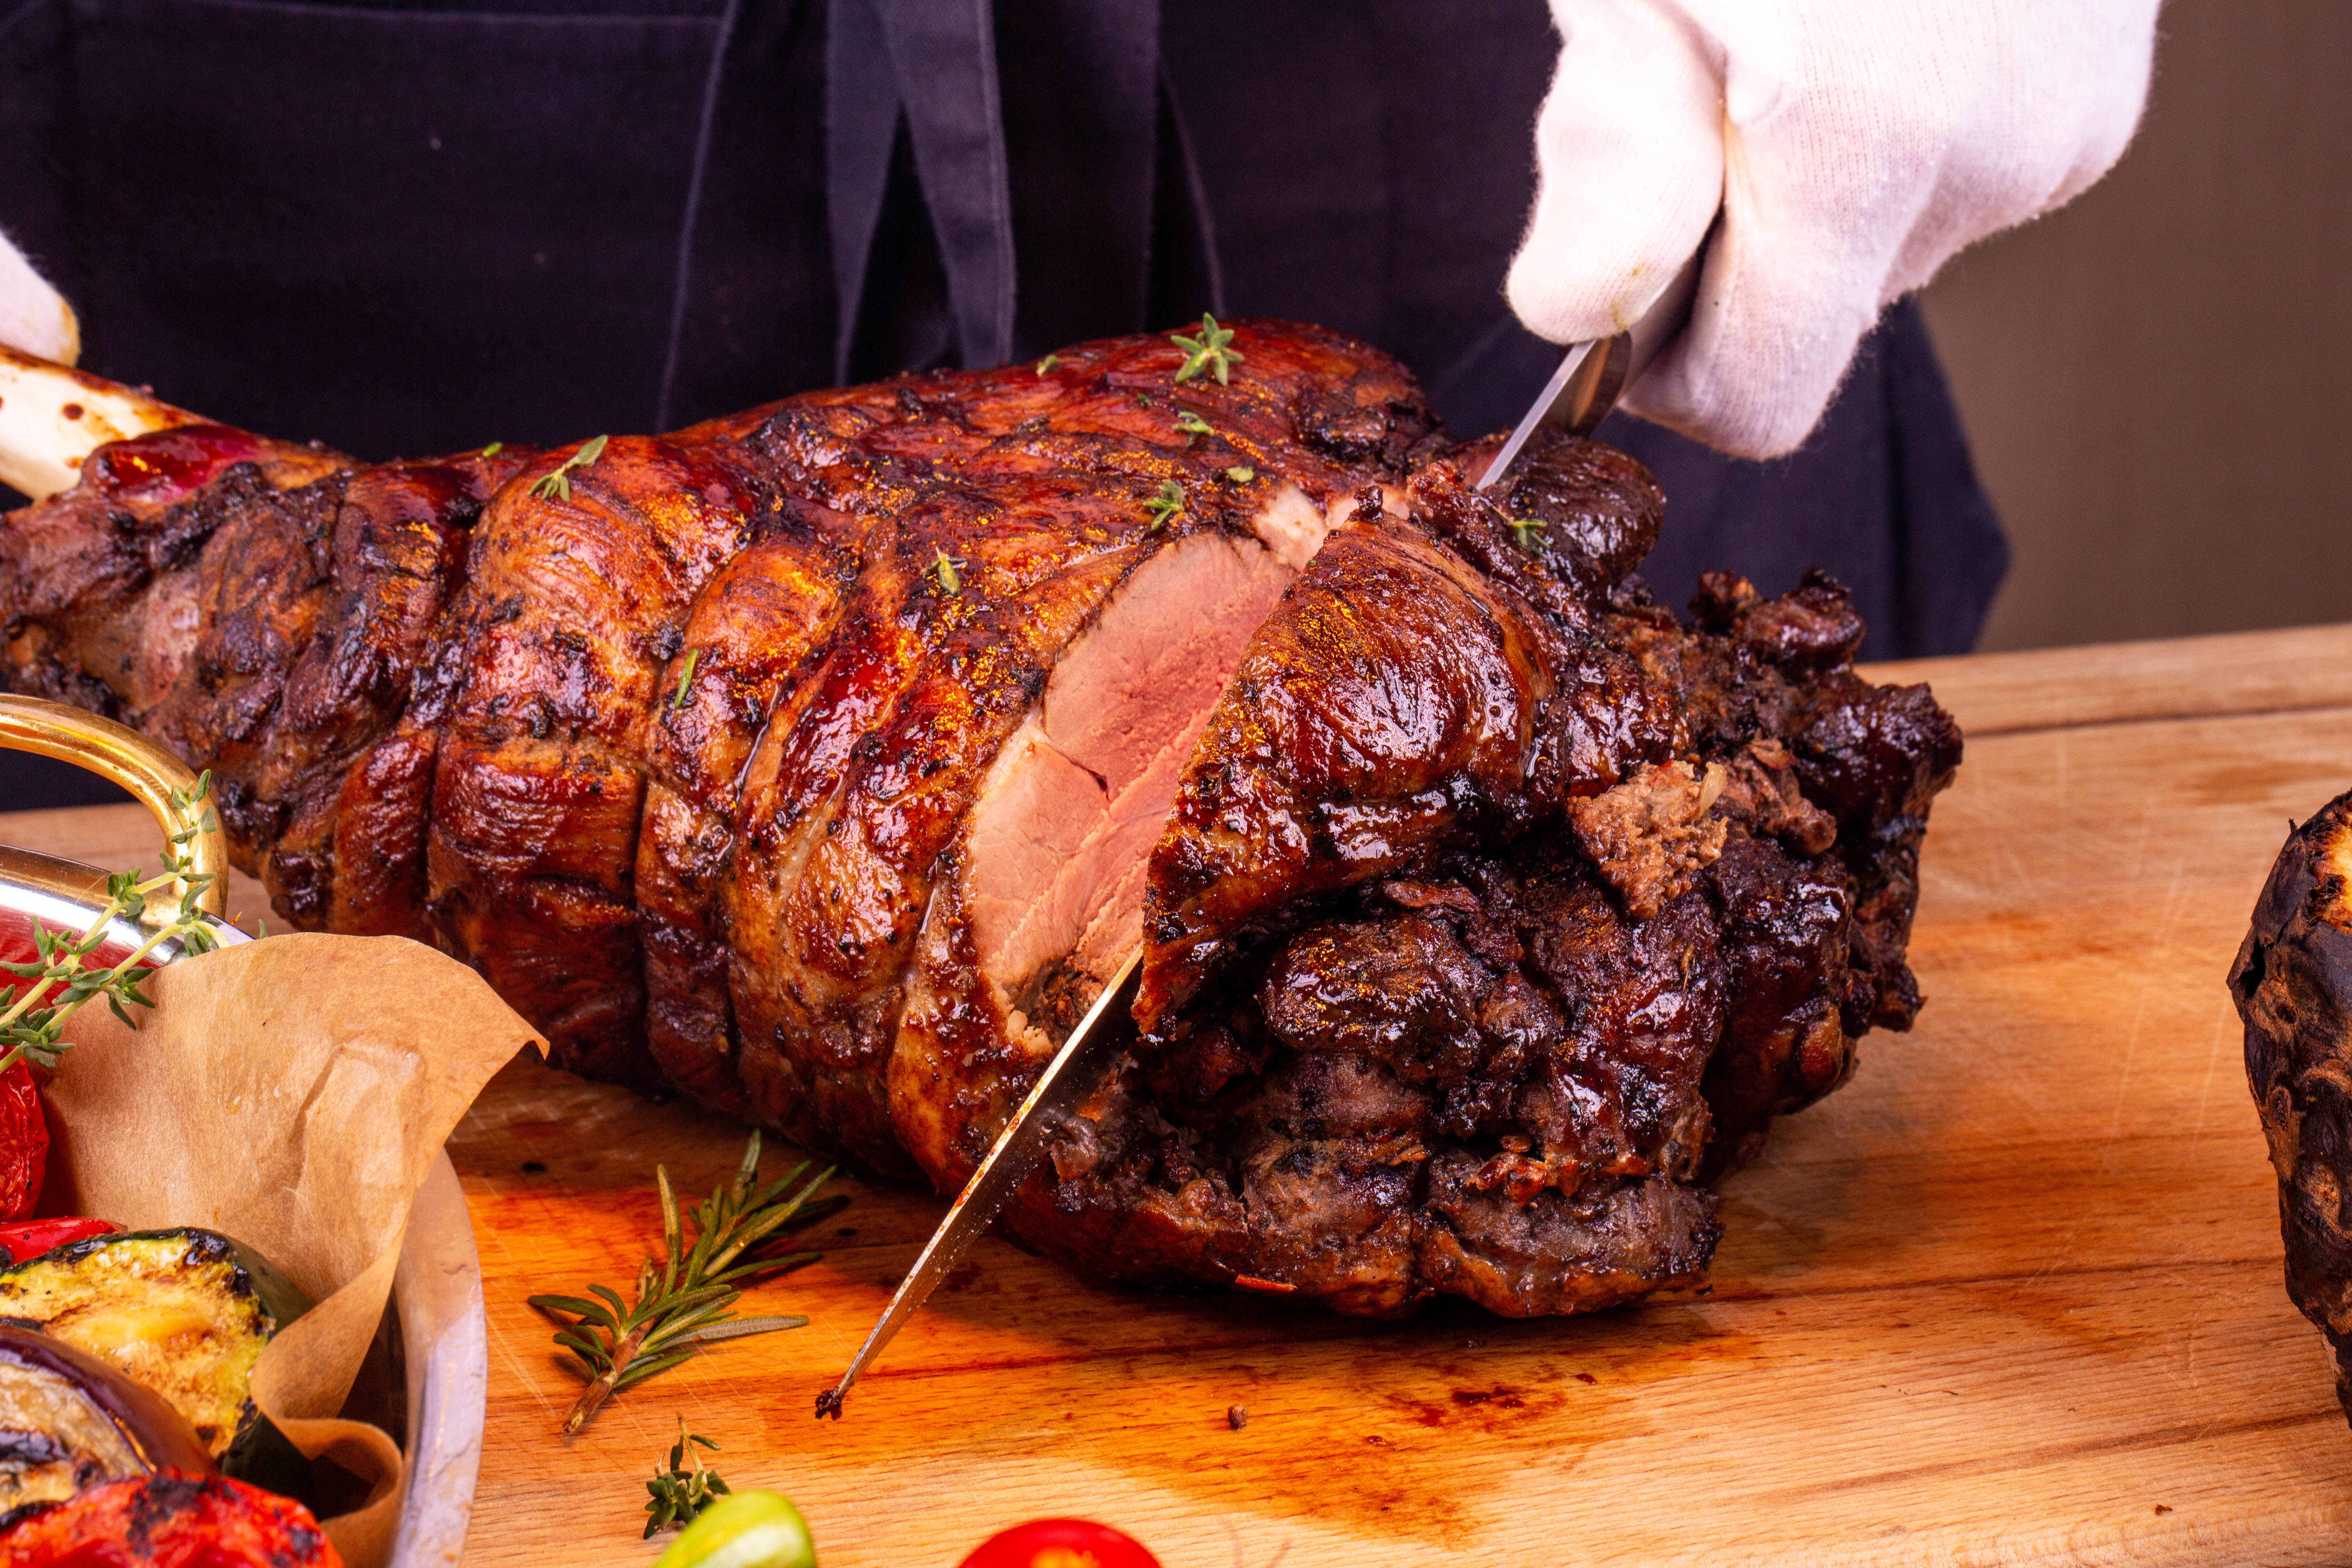
9-10 lb bone-in Pork Shoulder
Bake 1.5 – 2.0 hours per pound in a low heat oven (250° – 275°F.)
Will take about 8 – 12 hours to cook
It is done when an internal meat thermometer reaches 195 – 205°F. for shredded pulled pork.
Or 160°F. for slicing.
Seasoning
2 tablespoons coarse salt to season overnight
4 – 6 garlic cloves
1 tablespoon coarse salt
½ tablespoon fresh cracked peppercorns
1-1/2 tablespoon ground mustard
1-1/2 tablespoon onion powder
3 tablespoons of minced fresh rosemary
Process
Rub the pork shoulder with 2 tablespoons of coarse salt all over, tie it, wrap it air-tight with cellophane, place in a sheet pan or roasting dish, and refrigerate overnight.
Pull the pork out of the refrigerator about 30 minutes before cooking to bring to room temperature.
Preheat the oven to 450°F. line the bottom of a roasting pan with aluminum foil for easy clean up and fit a roasting rack inside the pan.
Cut each garlic clove into slivers. With a small knife poke holes in the pork that are about ½ inch deep (or the length of the garlic clove) to create slits and push the garlic sliver into each slit.
Mix the seasoning together and rub into the pork shoulder, seasoning on all sides.
Place the seasoned pork onto the roasting rack in the pan.
Place the pan into the oven and let it roast for 15 minutes at 450°.
Lower the heat to 275°F. and let it slowly cook until it reaches the tender internal temperature of 200 – 203°F. internal temperature.
Pull pork out of the oven, tent with aluminum foil and let rest for 1/2 hour up to 1 hour.
The main difference between city ham and country ham is how they are cured. Country hams are dried and cured with salt and seasonings over several months. This slow process makes them saltier and gives them a strong, unique flavor. They tend to be dry and are best sliced very thin, like prosciutto. City hams are soaked in a salty water solution for a shorter time, which keeps them moist and tender. They are milder in flavor and can be sliced thicker. The curing method affects the taste, texture, and how each ham is served. Country ham has a salty, intense flavor and is good for appetizers or charcuterie boards. It is often used in small slices. City ham is more versatile, suitable for sandwiches, main dishes, or breakfast. It has a milder taste and is easier to slice in thicker pieces. When choosing between the two, consider the flavor you want and how you plan to serve the ham. Both types are popular and can be the main part of a meal. Proper preparation can make either type of ham more enjoyable for different occasions.
Applying a glaze to your ham during the final stages of cooking enhances its appearance and flavor, resulting in a caramelized, lightly crisp exterior. It is important to time the glazing appropriately; applying it too early, especially during prolonged cooking, can lead to burning and an undesirable burnt glaze.
Ingredients
1 city style (brined) ham, hock end
¼ cup brown mustard
2 cups dark brown sugar
1-ounce bourbon (poured into a spritz bottle)
2 cups of crushed ginger snap cookies
Directions
Heat oven to 250°F.
Remove ham from bag, rinse and drain thoroughly. Place ham, cut side down, in a roasting pan. Using a small parting knife score the ham from bottom to top, spiraling clockwise as you cut. Be careful to only cut through the skin and first few layers of fat. The aim is to create a diamond pattern all over the ham.
Tent the ham with heavy duty foil, cook for 3 to 4 hours or until the internal temperature at the deepest part of the meat registers 130°F.
Remove ham from oven and remove the aluminum foil. Using tongs, pull away the diamonds of skin and any sheets of fat that come off with them.
Heat oven to 350° F.
Dab the ham dry with paper towels and then brush on a liberal coat of mustard, using a basting brush. Sprinkle on the brown sugar, packing loosely as you go until the ham is coated. Spritz this layer lightly with bourbon, then loosely pack on as much of the cookie crumbs as you can.
Insert the thermometer and cook until the interior temperature reaches 140°F. approximately one hour.
Let the ham rest outside of the oven for ½ hour before slicing.
The history of oyster stuffing dates back to at least 1685, when it was first mentioned in the cookbook The Accomplisht Cook in London. Traditionally, the stuffing was placed under the skin of the bird, a common practice at the time. By 1796, culinary advice suggested stuffing the cavity of the bird instead. Different regions have their own preferred types of stuffing: Southerners often favor pecan, rice, or cornbread; Italians typically include sausage; and Germans enjoy dried fruit, potatoes, and apples. I personally discovered an oyster stuffing recipe many years ago and decided to try it. I am pleased to say that this stuffing is delicious, it does not have a fishy smell or taste. One of its advantages is that it can be served as a standalone dish. For the best flavor, I recommend using fresh herbs whenever possible. Enjoy your cooking experience and the unique taste of oyster stuffing.
SERVES 8—10
INGREDIENTS
11 cups ½” cubed white French bread (about 14 oz.)
6 slices bacon
6 tbsp. butter, melted, plus more for greasing the pan
6 shallots, thinly sliced
4 celery ribs, thinly sliced
40 medium oysters, such as Bluepoint’s shucked (about 1 lb.), with 1 cup of the liquor reserved (I have used canned oysters)
1 cup chicken stock
¼ cup madeira or port (a sweet wine)
⅓ cup chopped flat-leaf parsley leaves
2 tbsp. fresh chopped thyme leaves
2 tbsp. fresh chopped sage leaves
½ tsp. Tabasco (or any hot sauce)
¼ tsp. fresh grated nutmeg
⅛ tsp. ground cloves
Kosher salt and freshly ground black pepper, to taste
DIRECTIONS
Preheat oven to 250˚F.
Arrange bread cubes on a baking sheet in a single layer and bake, stirring occasionally, until dried but not browned, about 15 minutes. Remove bread cubes from the oven and let cool.
Put bacon into a 12″ skillet; cook over medium-high heat, stirring frequently, until crisp for about 10 minutes. Remove bacon from pan. Reserve 1 tablespoon of grease.
Add 4 tablesopoons of butter to bacon grease and heat. Add shallots and celery, reduce heat to medium, and cook, stirring occasionally, until vegetables are soft, about 10 minutes.
Add oyster liquor, stock, Madeira or port, parsley, thyme, sage, Tabasco, nutmeg, cloves, and salt and pepper. Bring to a boil over high heat and cook, stirring occasionally, for 5 minutes. Scrape the mixture into a large bowl and stir in the bread cubes and oysters. Set aside to allow the flavors to come together for 10 minutes.
Raise the oven temperature to 400˚. Transfer mixture to a buttered 2-qt. oval baking dish and cover with foil. Bake for 30 minutes, remove foil, drizzle with remaining butter, and continue baking until golden brown and crusty, about 15 minutes more. Serve immediately.