Tag Archives: vegetarian

Oven-Roasted Tomatoes

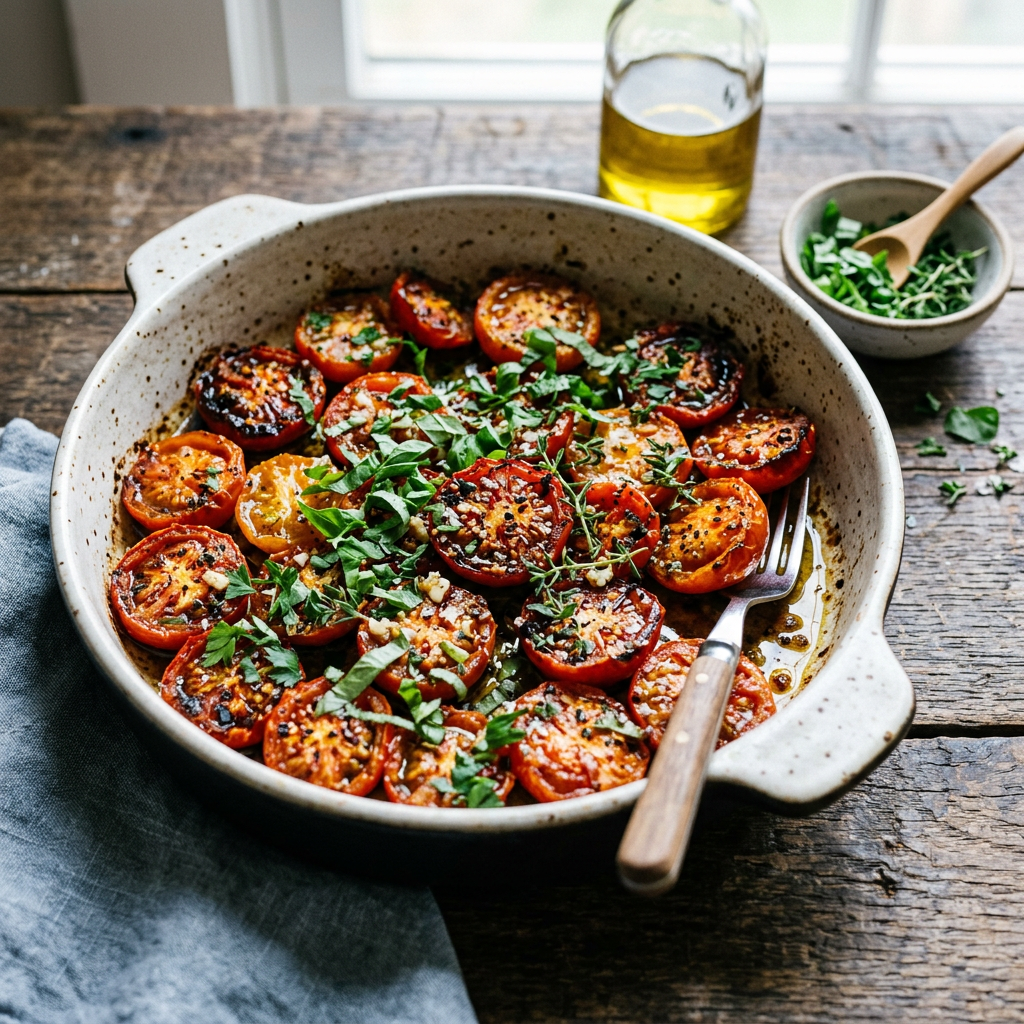
Roasted tomato halves topped with green herbs in a ceramic dish with a fork
A dish of roasted tomatoes garnished with fresh herbs and olive oil.

Tomato season is here, and the East Coast couldn’t be happier! Try a simple roast: toss halved tomatoes with olive oil, garlic, salt, and pepper, then bake until caramelized. Use these vibrant roasted tomatoes in sauces, soups, gravies, appetizers, or freeze for later. For a burst of flavor, roast cherry tomatoes and pile them on bruschetta. Roasting transforms tomatoes, concentrating their sweetness and giving them a cozy, rustic bite.

Boost this recipe with ease! Choose a roomy baking dish so tomatoes don’t crowd each other and steam; give them space to roast and concentrate their flavor. If you want extra caramelized goodness, drizzle olive oil and sprinkle herbs before baking. Avoid aluminum or reactive metal pans—use stainless steel, enamel, or ceramic to keep the tang intact. Enjoy bright, roasted tomatoes with a punch of flavor and minimal fuss.

 Ingredients

  • 2 tablespoons of olive oil
  • ½ tsp of sea salt or kosher salt
  • ¼ tsp of ground pepper
  • 2 cloves garlic, peeled and thinly sliced (throw some unpeeled whole garlic cloves in the pan to roast, you can squeeze the soft garlic out of the clove after roasting and add to your favorite dish)
  • Fresh herbs: basil, oregano, thyme, rosemary – mix or add your favorite herb
  • 1 pound (450g) tomatoes (8 small or 4 medium-sized)

Process

  1. Preheat the oven to 325ºF
  2. Pour the olive oil into a shallow baking dish or pan and add the herbs and salt and pepper.
  3. Cut the tomatoes in half horizontally, remove the core with a paring knife, then cut into ½-inch thick slices, or leave halved.
  4. Stems will come out easily after roasting.
  5. Toss the tomatoes with the oil and seasonings, lay them cut side down in the dish.
  6. Bake for two hours, or until the tomatoes are completely softened and wilted, and start to wrinkle. Depending on the tomatoes, they may take longer to cook.
  7. Remove from oven and carefully transfer tomatoes to a bowl or plate. Cover with plastic wrap and let cool for about 10 minutes.
  8. Remove plastic wrap and carefully pull off the skin with a pair of tongs, then use as desired.

Storage: Store in a tight-lid mason jar with their juices in the fridge for 3 to 5 days. They can also be frozen for up to six months.

Roasted Tomato, Avocado, and Fresh Mozzarella Crostini

Parmesan Tomatoes

Roasted Peppers & Onions

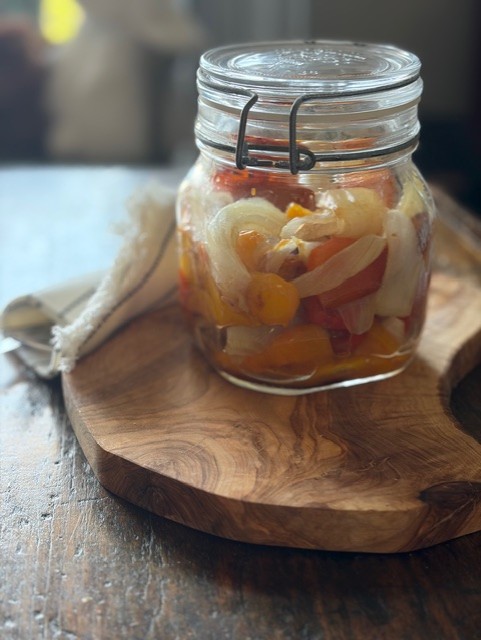
Having a jar of homemade roasted peppers and onions is very useful in cooking. These vegetables are flavorful and tender, making them great for many dishes. They can quickly improve salads by adding a smoky flavor and bright color. In sandwiches, they add a sweet, caramelized taste that makes the sandwich more delicious without extra sauces. As a side dish, roasted peppers and onions go well with grilled meats, pasta, or rice, providing a quick and healthy option. Storing them in a jar keeps them fresh and flavorful for a long time, making them a handy ingredient in the kitchen. Overall, having a jar of roasted peppers and onions makes cooking easier, cuts down on processed foods, and adds flavor and health benefits to many meals.

Ingredients

  • 3 tri-color peppers
  • 1 large sweet or yellow onion
  • Olive oil

Process

  1. Preheat oven to 450° F.
  2. Wash and completely dry peppers. Slice in half and remove the stem and seeds.
  3. Lightly brush the inside and outside of the pepper halves with olive oil.
  4. Arrange the pepper halves on a baking sheet lined with aluminum foil or parchment paper with the skin side up, ready for roasting.  
  5. Peel and halve an onion; slice the onion halves into wedges and place them on the same baking sheet as the peppers. Drizzle with olive oil.  
  6. Place the baking sheet on the top shelf of the oven and bake for 20 minutes or until the skins on the peppers are charred and blistered.
  7. Remove from the oven and cool to room temperature. Remove and discard the skins from the peppers; they should slip off.
  8. Cut peppers into chunks and layer with the roasted onion slices in a clean glass jar with a tight-fitting lid.

Amish Pickled Beet Eggs

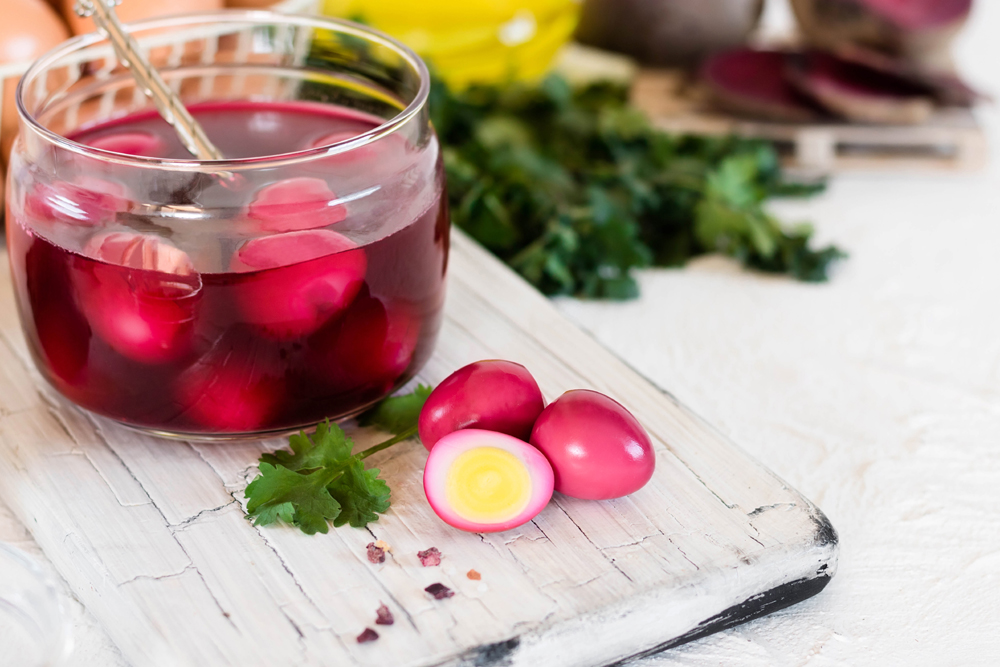
Traditional Amish pickled beets and eggs are a simple and tasty way to enjoy Pennsylvania Dutch heritage. This recipe uses basic ingredients to create a colorful and flavorful dish that can last for weeks. Whether you’re hosting a family gathering or trying an authentic Amish recipe, these pickled beets and eggs offer a good mix of sweet, sour, and savory flavors. They have been a favorite for many generations. The 48-hour waiting period might require patience, but the first bite of these colorful, well-flavored eggs shows that some traditions are worth keeping. Make a batch today and see why this simple dish has been popular in Pennsylvania Dutch cooking for over 200 years.

Ingredients

  • 8 eggs
  • 2 15-ounce cans of whole pickled beets, juice reserved.
  • 1 cup reserved beet juice
  • 1 medium red onion, sliced thin (a mandolin slicer is a perfect tool for this job)
  • ½ cup white sugar
  • ½ cup brown sugar
  • ¾ cup apple cider vinegar
  • 12 whole cloves
  • 2 Bay leaves
  • ½ teaspoon kosher salt
  • 1 pinch of ground black pepper

Process

  1. Place eggs in a large pot of water making sure they are fully submerged. Bring water to a boil, reduce heat and simmer for 11 minutes.
  2. Drain hot water and submerge eggs in cold tap water. When cool enough to handle remove the shells. Do not refrigerate, shells are easier to peel when warm.
  3. Slice beets in ¼ inch slices. Do not discard juice from can or jar.
  4. Place eggs, beets, and onion in layers in a 1-quart glass jar.
  5. In a large pot, combine the 1 cup of reserved beet juice, vinegar, sugar, cloves. Bay leaves, salt and pepper.  Bring to a boil, reduce heat and simmer for 5 minutes.
  6. Pour the hot brine over the eggs, beets and onion to fill the jar up to 1/4-inch headspace.
  7. Let sit for 30 minutes before adding the lid.
  8. Secure the lid and place in the refrigerator for 48 hours before eating.   

Barley, Leek, Mushroom and Rosemary Gratin

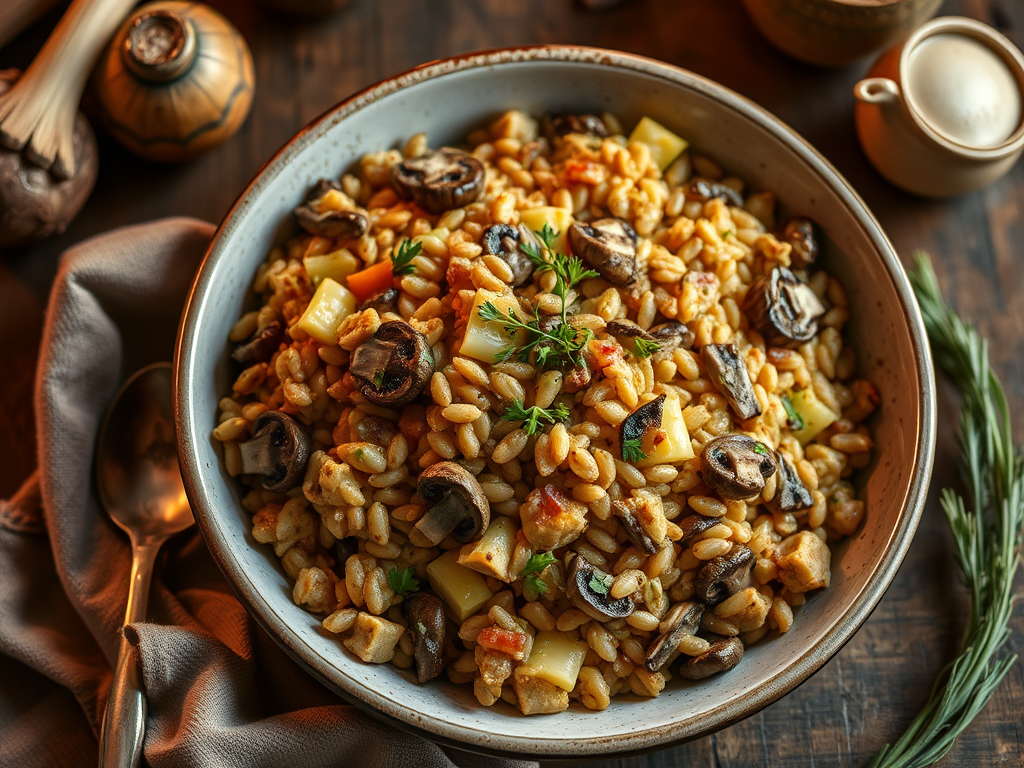
This rustic dish combines grains, vegetables, and herbs for a nutritious meal. Barley offers a nutty, chewy texture and is versatile beyond soups. I found a recipe to serve with pork roast. Mushrooms are optional, but fresh rosemary is essential. Using butter enhances the flavor, and fresh herbs provide the best taste. The dish is filling and healthy enough to be a standalone lunch. You can customize it by adding vegetables like spinach. Overall, it’s a simple, tasty, and adaptable meal that promotes healthy eating and enjoyment.

Ingredients

  • 2 cups of canned reduced sodium vegetable broth
  • 2/3 cup of medium pearl barley, rinsed in cold water
  • 3 leeks (white and light green part only)
  • 1/2 pounds of button mushrooms sliced
  • 1 – 2 tablespoons of fresh rosemary leaves, chopped
  • 2 cloves of garlic, minced or grated
  • ¼ teaspoon salt
  • ¼ teaspoon pepper
  • 1 tablespoon butter
  • 1 tablespoon olive oil
  • ½ cup of freshly grated Swiss, or Apple smoked Gruyere cheese

Process

  1. Bring vegetable broth to a boil, add rinsed barley cover and cook barley in vegetable broth until tender about 25 minutes. Do not drain.
  2. Preheat oven to 375° F – spray a 2-quart baking dish with cooking spray.
  3. Clean and slice mushrooms. I wipe mushrooms off with a paper towel. I do not “wash” mushrooms as they will retain the moisture and will not brown.
  4. Slice off root and dark green leaves of leeks, slice the remaining white part lengthwise. Run under cool water to remove sand between leaves.
  5. Slice leeks into thin slices.
  6. Remove rosemary leaves from stems by pulling downward with thumb and finger, chop fine.
  7. Heat butter in pan until melted, add mushrooms, cook until brown, remove from pan.
  8. Heat oil in same pan until hot, add leeks and cook on medium-high heat until limp, about 10 minutes, add rosemary and garlic, cook for about 1 minute more, add barley, mushrooms, salt and pepper.
  9. Stir in half cheese.
  10. Transfer barley mixture to baking dish
  11. Sprinkle with remaining cheese
  12. Bake for 15 minutes or until heated and bubbly

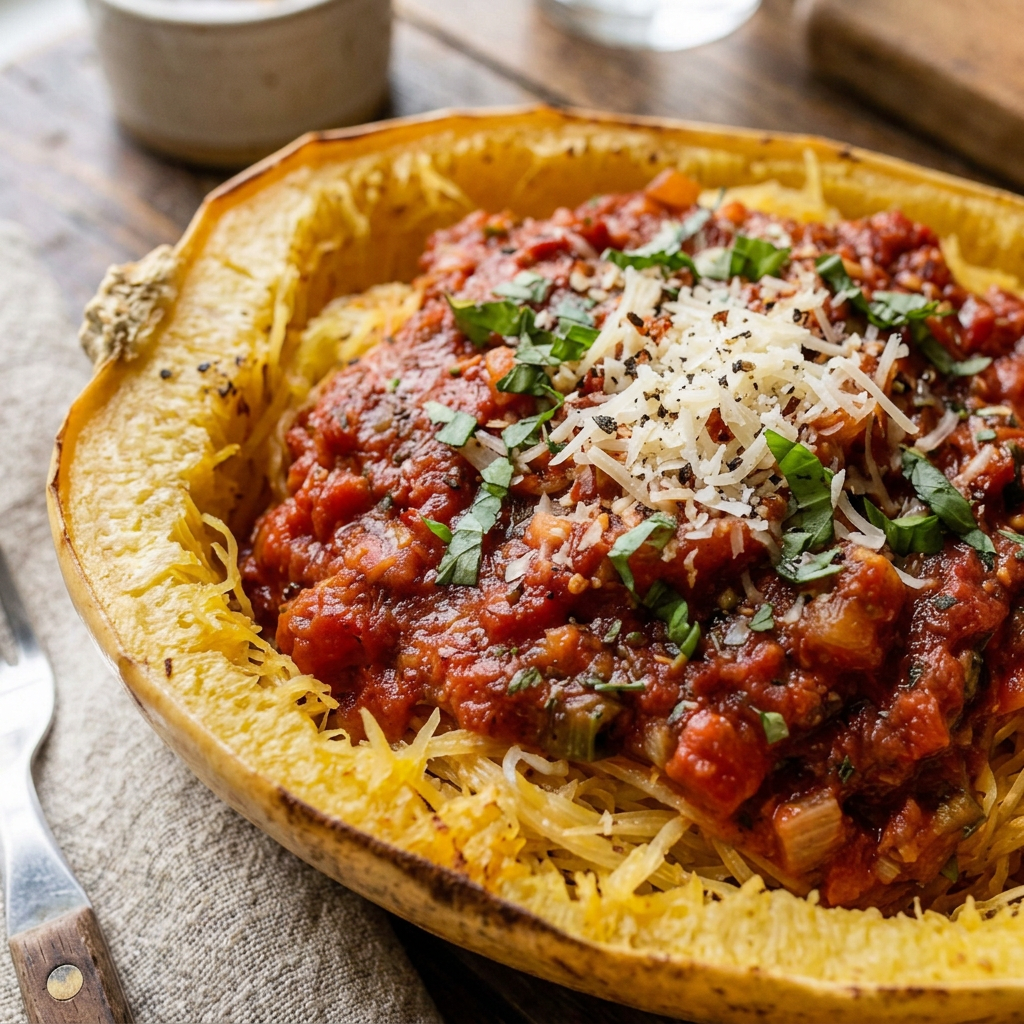
Spaghetti Squash

Tonight, I prepared spaghetti squash for dinner. Instead of steaming it in the oven, which is my usual method, I roasted the squash, and it turned out excellent. Spaghetti squash can be cooked in various ways, including baking, boiling, steaming, and microwaving. It is versatile and can be served with or without sauce, making it a good substitute for traditional pasta. The seeds of the squash can also be roasted, like pumpkin seeds, providing an additional snack. When raw, the flesh is firm and similar to other raw squash. After cooking, the flesh easily separates into ribbons or strands resembling spaghetti. Nutritionally, spaghetti squash is rich in nutrients such as folic acid, potassium, vitamin A, and beta carotene. It is low in calories, with approximately 42 calories per one-cup (155 grams) serving. Although it does not taste like traditional spaghetti, it absorbs the flavors of the ingredients it is cooked or served with. Besides being healthy, it is also gluten-free, making it suitable for various dietary needs.

Ingredients

  • 1 large spaghetti squash
  • 2 tablespoons of olive oil
  • 1 large Roma tomato finely chopped
  • 2 tablespoons of fresh basil
  • ¼ cup shredded mozzarella or parmesan cheese
  • 1 teaspoon each coarse salt and pepper
  • 1 teaspoon garlic powder

Directions

Preheat oven to 400°F. degrees

  1. Place the squash on a towel to reduce the rocking, if cutting lengthwise, cut the stem end off first. Split the squash in half lengthwise using a very sharp knife.
  2. Use a fork to remove the seeds and center strings.
  3. Drizzle the inside of the two halves with the olive oil, using hands or a brush to be sure all surfaces have been coated.
  4. Sprinkle the coarse salt, pepper and garlic powder all over the inside surface of the squash.
  5. Using an oven safe dish or pan place the cut ends of the squash down on surface.
  6. Bake in a 400° F. degree oven for 40 – 50 minutes or until the squash is soft and the strands pull up easily with a fork.
  7. Remove from the oven and fluff the squash with a fork, pulling the strands away from the sides – leave squash in shell
  8. Turn oven onto broil
  9. Add the tomatoes and fresh basil to the fluffed squash and sprinkle each half with the cheese.
  10. Place under broiler for 3 to 4 minutes or until the cheese is melted and lightly browned.

Allow to cool 5 minutes before serving.