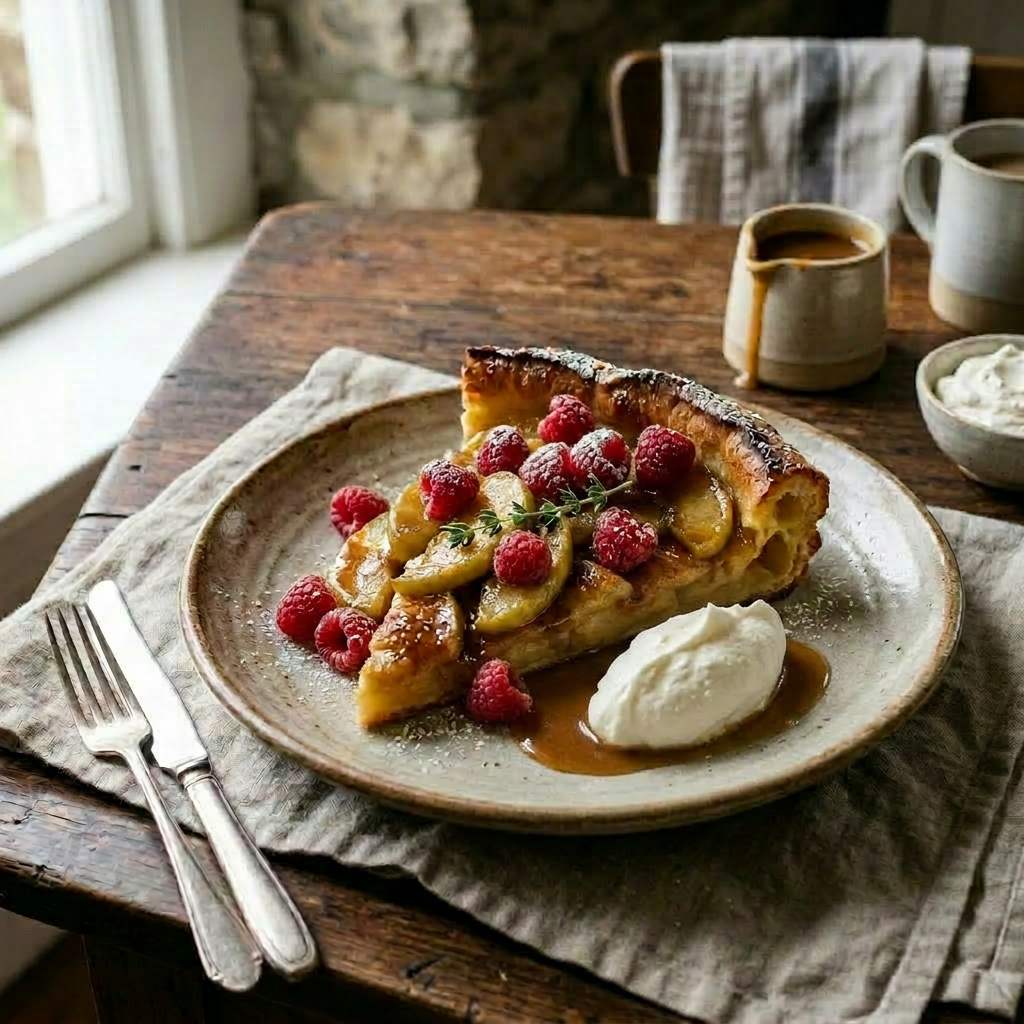
Imagine sinking into a warm, fluffy pancake topped with tender, caramelized apples—this baked apple pancake turns breakfast into a fun, delicious adventure that’s perfect for brunch and sweet mornings.
Ingredients
3 Granny Smith apples, peeled, cored, and sliced thin
½ stick butter
½ cup sugar mixed with 1-1/2 teaspoon cinnamon
3 cups of prepared pancake batter (instant is fine)
Process
Heat oven to 375°F.
Heat butter in an 8 or 10-inch oven-safe skillet. Add sliced apples and cook until they become soft.
Add the sugar / cinnamon mixture, cook until the apples are soft and the sugar is melted.
Add prepared pancake batter on top of the apples
Bake the pancake for 20 to 30 minutes until it is firm. Check by inserting a knife in the center; if it comes out clean, it is ready. Then, take the hot pan out of the oven and flip the pancake onto a plate.
Scrape any sugar/apple mixture onto the top of the pancake, cut into wedges, and serve with a dollop of whipped cream and fresh fruit.
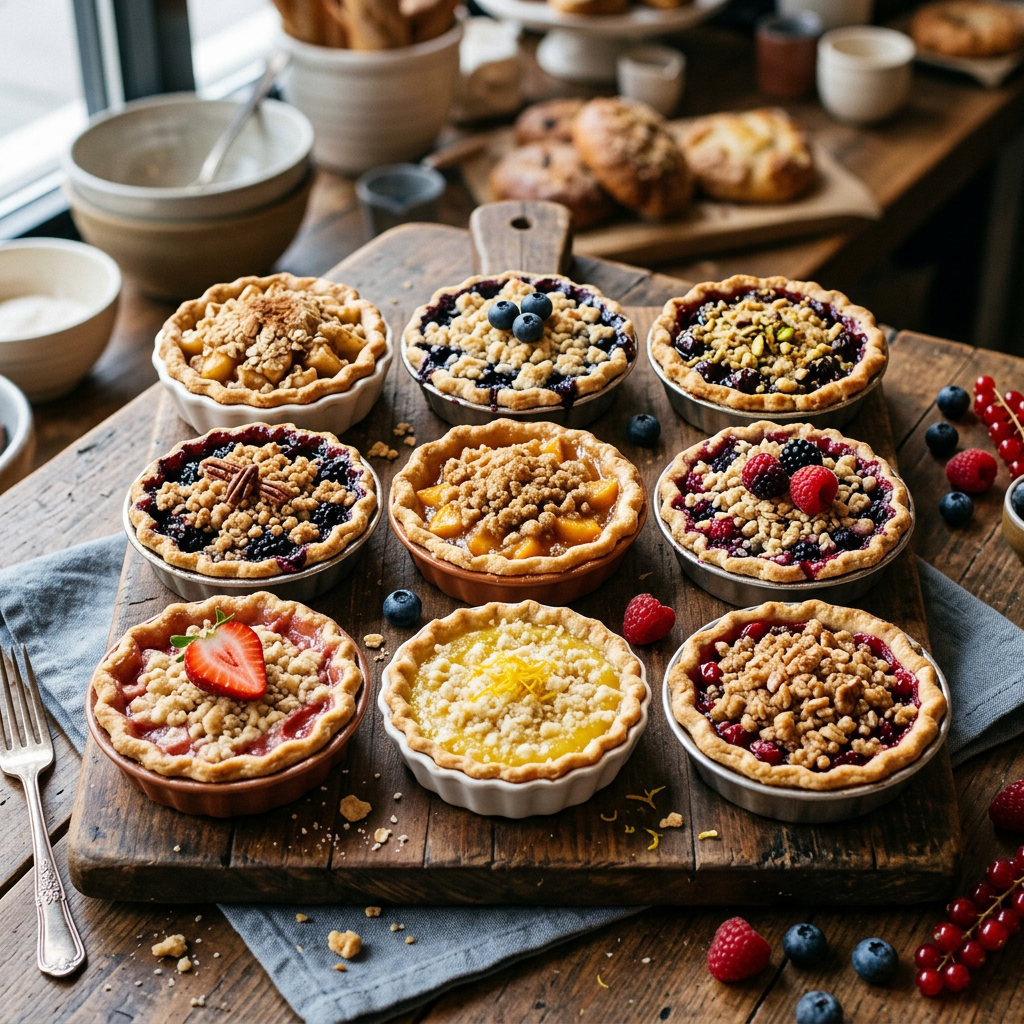
Imagine a tasty treat called a crumble, also known as a brown betty. It comes from Britain and is now enjoyed worldwide. This dish can be sweet or savory, but the sweet version is most popular. Its history dates back to American cuisine during European colonization. The magic happens when it’s baked until the topping becomes crispy. It is often served warm with cooked fruit, custard, cream, or ice cream, making it a perfect cozy dessert. I enjoy trying different toppings, like toasted coconut, chocolate chips, or raw coconut, to add extra flavor. Whether you want a comforting dessert or a savory snack, crumble toppings are a fun way to improve your recipes. I’ve collected creative topping ideas to inspire your cooking. Get ready to enjoy a crispy, delicious treat that is both nostalgic and exciting—happy baking!
#1 BASIC CRUMB TOPPING
Ingredients
1 1/2 cups of all-purpose flour
3/4 cup light-brown sugar
1/3 cup granulated sugar
1/4 teaspoon salt
1/4 teaspoon cinnamon
1 1/2 sticks chilled butter, cut into pieces
Directions
In a bowl, mix flour, light-brown sugar, granulated sugar, salt, and cinnamon.
Cut chilled butter into pieces.
Use a pastry cutter or fork to mix the butter into the sugar until it forms large crumbs.
Refrigerate until ready to use.
#2 FRENCH CRUMB TOPPING:
Ingredients
1/3 cups of chilled butter
1/3 cups of brown sugar
3/4 cups of all-purpose flour
1/2 cup of chopped nuts
Directions
Mix sugar, flour, and nuts together.
Cut in butter with a fork or pastry cutter until blended.
Refrigerate until ready to use.
#3 WALNUT CRUMB TOPPING:
Ingredients
1/2 cup all-purpose flour
3/4 cup walnuts, chopped
1/4 cup packed dark brown sugar
1/4 teaspoon sea salt
4 tablespoons unsalted butter, at room temperature
Directions
In a medium bowl, stir together flour, walnuts, brown sugar, and salt.
Cut in butter with a fork or pastry cutter until blended.
Refrigerate until ready to use.
#4 OAT CRUMBLE
Ingredients
1 1/2 cups old-fashioned rolled oats
3/4 cup pecans or almonds, chopped
1/2 cup brown sugar
1/3 cup whole-wheat flour or all-purpose flour
3/4 teaspoon ground cinnamon
5 tablespoons canola oil
Directions
Mix dry ingredients together, then stir in canola oil.
Mix with a spoon until the mixture resembles coarse crumbs.
Refrigerate until ready to use.
#5 BAKED CRUMB TOPPING
Ingredients
½ cup Brown sugar
½ cup flour
¼ cup chilled butter
¼ cup of nuts, coconut, flaxseed, or sunflower seeds (all optional but make great texture)
Directions
Preheat oven to 350°F. degrees
Mix ingredients together; it should stick together and form crumbs.
Spread the mixture onto a baking sheet lined with parchment paper.
Bake for 20 minutes.
Crumble any pieces that are clumped together and put the crumbs on everything in sight!
Cook’s Notes:
Add any of the following ingredients to your crumb toppings for extra flavor or texture.
Nuts
Coconut
Flax seed
Sunflower seeds
Cinnamon
Cardamom
Toffee
Chocolate chips
Peanut butter chips
Cream cheese chunks
Shredded cheddar cheese (great on apple anything)
M & M’s
Drizzle your crumb topping with caramel sauce, and sprinkle lightly with sea salt.
The sky is the limit where your dessert is concerned.
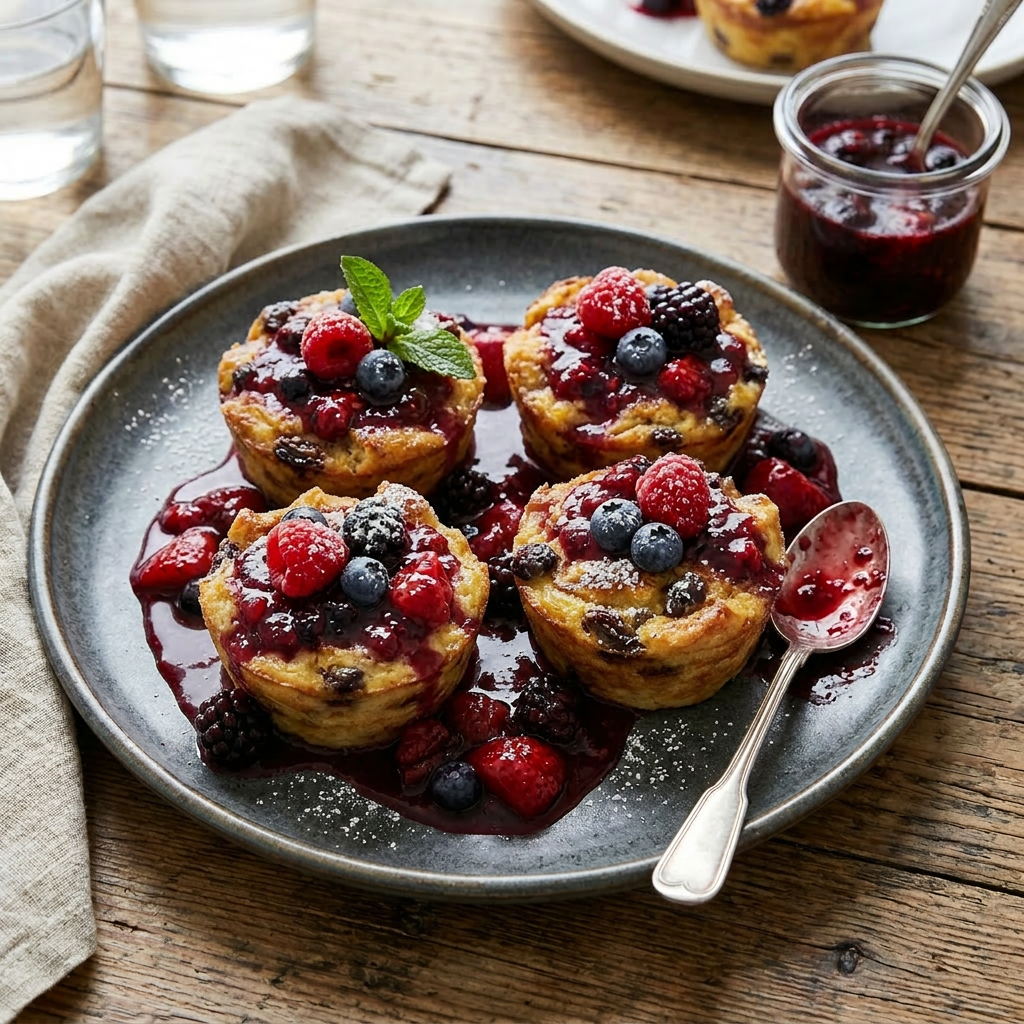
Imagine a dessert that’s as fun to make as it is delicious to eat—welcome to the world of bread pudding! This treat has a rich history, dating back centuries when clever cooks needed to rescue stale bread from the trash. Instead of wasting it, they turned it into hearty, flavorful dishes, both savory and sweet. Today, bread pudding has evolved into a luxurious delight, often made with fancy breads like brioche and infused with indulgent ingredients such as vanilla beans, bourbon, Gruyère cheese, or crunchy pecans. It’s a versatile dessert that can be dressed up with luscious sauces or fresh fruit, making every bite a delightful experience. Whether you’re reminiscing about childhood or impressing guests with a gourmet twist, bread pudding offers a perfect blend of history, comfort, and elegance. So, gather your ingredients and get ready to create a fun, flavorful masterpiece that celebrates both tradition and decadence.
Makes 6
Ingredients
5 cups of mixed fresh berries, such as blackberries, blueberries, and raspberries (about 3 pints)
2 tablespoons fresh lemon juice
2 tablespoons of water
1 vanilla bean split lengthwise
1/2 cup of sugar
Pinch of salt
18 thin slices of white sandwich bread (Challah bread can be used; roll out a slice to make thin)
Directions
In a saucepan, cook berries, water, and lemon juice over medium heat until berries release their juices but still hold their shape, about 2 minutes. Slice a vanilla pod down the center and scrape the beans; add the beans to the berry mixture. Stir in sugar and salt; cook until the sugar is dissolved, 3 to 5 minutes. Strain the sauce into a bowl through a sieve or colander; do not discard the berries. Set both aside to cool.
Take a piece of plastic wrap that is 6 inches longer than the cupcake tin. Press it into the cups of the tin. Alternatively, place another muffin tin on top of the plastic wrap to help press it into the cups.
Using a 2-3/4-inch cookie cutter, cut six rounds from the bread slices and set one round in the bottom of each muffing tin.
Using a smaller 2-1/4-inch cookie cutter, cut twelve rounds from the bread and set aside.
Pour 1 tablespoon of sauce into each cup; add 1 tablespoon of reserved cooked berries. Top with smaller bread rounds; add another tablespoon each of sauce and berries. Make another layer of bread, sauce, and berries; top with remaining bread rounds. Press down firmly with the bottom of a glass.
Cover the puddings with plastic wrap. Place a baking sheet on top and add a heavy skillet to weigh it down. Keep it in the refrigerator for at least 4 hours.
To serve, pull up the plastic wrap, and gently unmold each pudding onto plates; drizzle with leftover sauce.
Cook’s Note
Using a cupcake tin lined with plastic wrap makes it easy to form, transport, and unmold the chilled puddings. Spray the tins with cooking spray to help the plastic wrap stay in place.
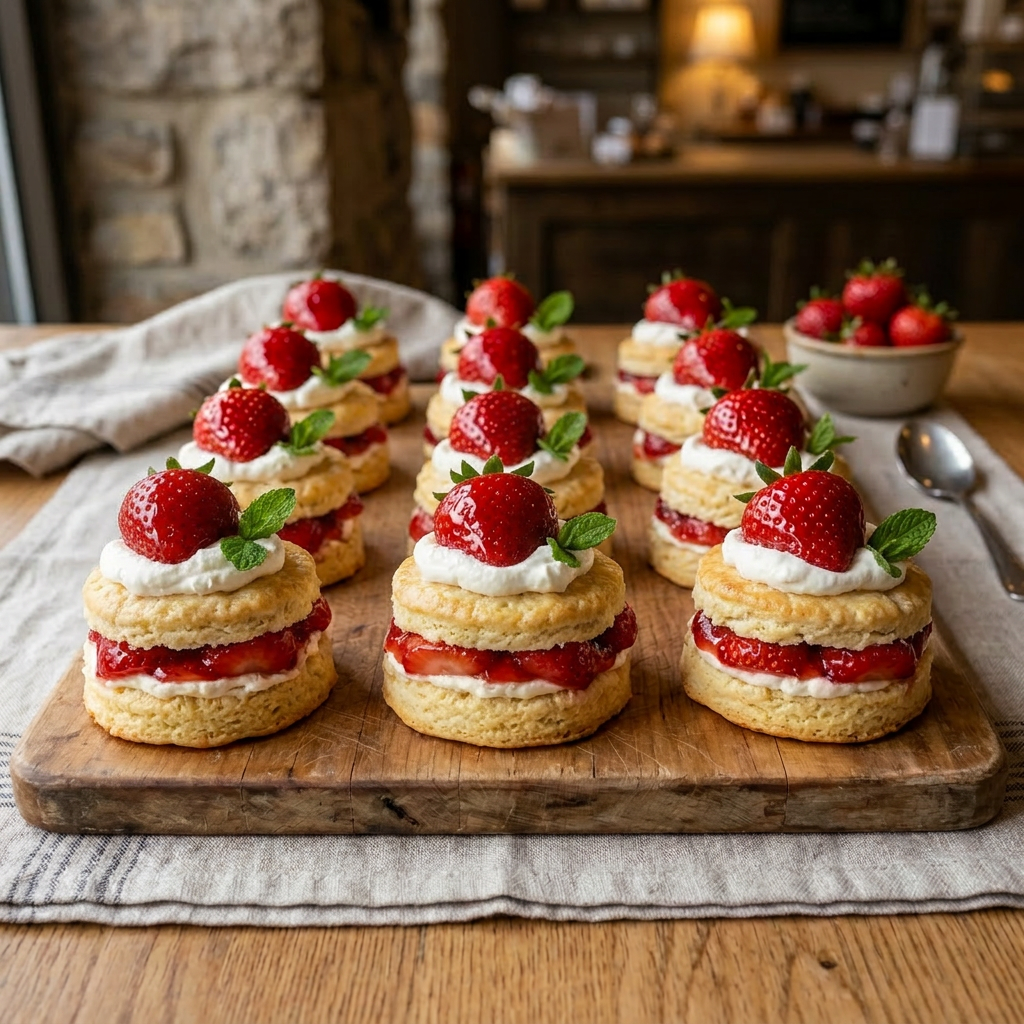
Delicious fresh strawberry shortcakes topped with whipped cream and mint leaves.
This refreshing old-fashioned recipe for Strawberry Shortcakes is a delightful dessert that combines the sweetness of ripe strawberries with the light, fluffy texture of freshly baked shortcakes. This classic treat is perfect for summer gatherings, picnics, or any occasion where a cool, fruity dessert is desired. The key to a perfect strawberry shortcake lies in selecting fresh, juicy strawberries, which are sliced and often lightly sweetened to enhance their natural flavor. The shortcakes themselves are made from tender biscuit-like dough, baked until golden, then split open to hold the luscious strawberries and whipped cream. For an added touch of freshness, some recipes incorporate a hint of lemon zest or a splash of vanilla into the shortcake batter. This dessert is not only visually appealing with its vibrant red strawberries and fluffy layers but also offers a harmonious balance of sweetness and acidity.
Ingredients
Filling
6 cups of fresh strawberries, sliced
½ cup sugar
1 teaspoon vanilla extract
Whipped Cream
1 cup heavy whipping cream
¼ cup of powdered sugar
1 teaspoon of vanilla extract
Biscuits
2-3/4 cups of all-purpose flour
¼ cup sugar
4 teaspoons baking powder
3/4 cup of cold butter, cut up
2 large eggs, lightly beaten
1 (8-oz.) container of sour cream
1 teaspoon vanilla extract
Preparation
Combine strawberries, 1/2 cup sugar, and vanilla extract. Cover and chill in the refrigerator for about 2 hours.
Beat whipped cream at medium-high speed with an electric mixer until foamy.
Gradually add powdered sugar and vanilla, beating until stiff peaks form. Note: do not overbeat or the whipped cream will become butter! Cover and chill in the refrigerator until ready to use.
Biscuits
Preheat oven to 450°F.
Line a baking sheet with raised edges with parchment paper.
Combine flour, sugar, and baking powder in a large bowl;
Cut butter into the flour mixture with a pastry blender or two forks until crumbly.
In a separate bowl, whisk together eggs, sour cream, and vanilla until blended
Add to flour mixture, stirring just until dry ingredients are moistened.
Drop dough into 10 mounds on an ungreased baking sheet; flatten each mound with the back of a spoon until about ¾ inch thick.
Bake for 10 – 12 minutes until golden.
Presentation
Cool on a wire rack for about 10 minutes. Cut shortcakes in half horizontally. Spoon half of the berries and whipped cream over the bottom layers.
Replace the top layers and cover with the remaining strawberries and whipped cream.
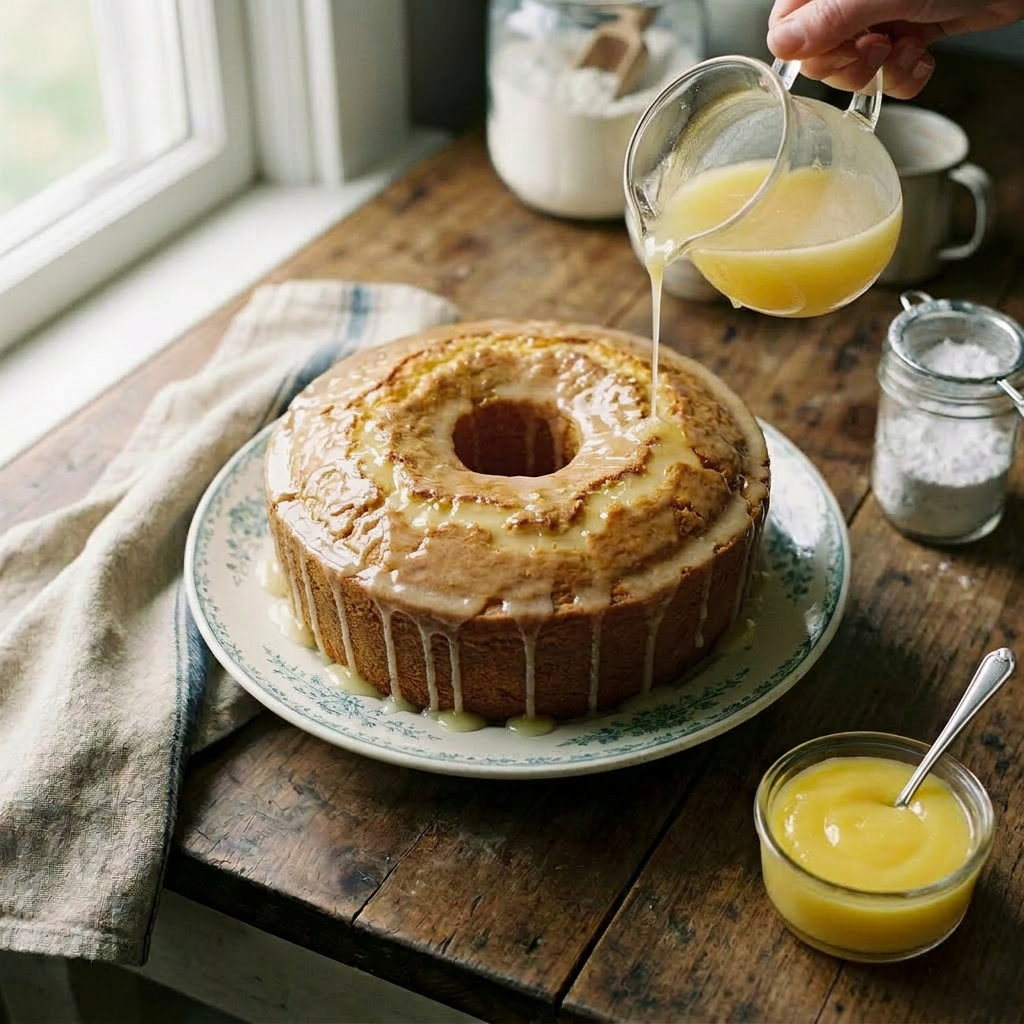
Glazed Sour Cream Pound Cake served with lemon curd
This is a dense pound cake crafted with a rich blend of ingredients. This variation incorporates sour cream and beaten egg whites, which contribute to its moistness and subtle tanginess, enhancing the overall taste experience. The use of sour cream not only adds a creamy richness but also helps in tenderizing the crumb, resulting in a dense yet soft texture that melts in the mouth. Beaten egg whites, on the other hand, introduce air into the batter, providing structure and stability without compromising the cake’s substantial density. This combination ensures the cake remains moist and flavorful, with a fine crumb that is ideal for pairing with fresh fruits, whipped cream, or a dusting of powdered sugar.
Ingredients
½ pound of butter (2 sticks)
3 cups granulated sugar
1 cup sour cream
6 large eggs – separated
3 cups of all-purpose flour
¼ teaspoon baking soda
¼ teaspoon salt
1 teaspoon vanilla extract
1/2 teaspoon lemon extract
½ teaspoon almond or coconut extract
Process
Preheat oven to 300°F.
Grease and flour a 9- or 10-inch tube pan.
Separate the egg yolks from the whites and put the whites aside.
In a mixer bowl, cream the sugar and butter until fluffy and white.
Add egg yolks, one at a time, beating well after each addition.
Add sour cream, mix thoroughly.
Add flavorings.
The flour is added in two parts: add the first cup to this sour cream mixture. (The remaining amount with the baking soda and salt is added later).
In a clean bowl, beat egg whites until stiff peaks form (do not over-beat).
Fold egg whites into the sour cream mixture.
Lastly, stir in remaining dry ingredients (flour, baking soda, salt).
Turn into a greased tube pan.
Bake 1 to 1-1/2 hours (or more) until a pick inserted comes out clean.
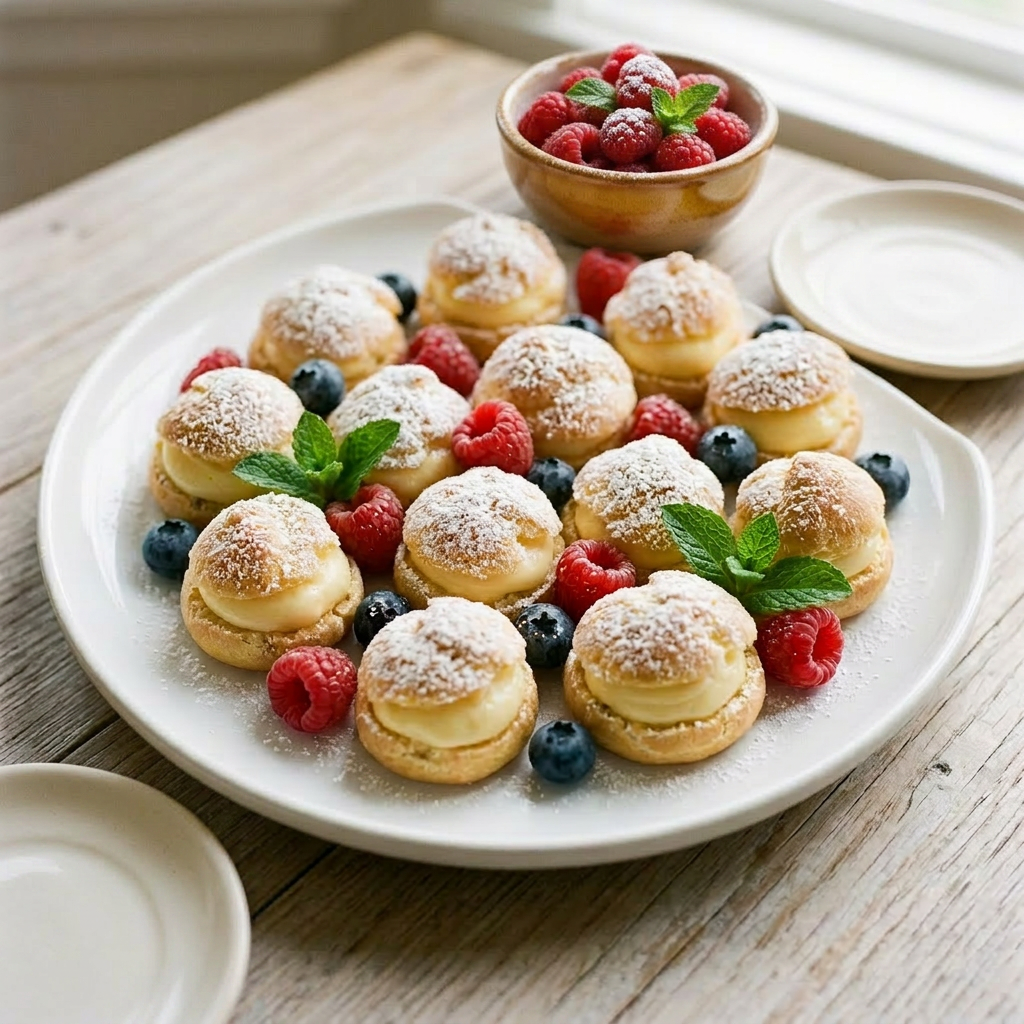
A tray of cream puffs dusted with powdered sugar, fresh raspberries, blueberries, and mint leaves
Old-fashioned cream puffs are a timeless dessert that evokes a sense of nostalgia and elegance. These delicate pastries are made from choux pastry, which is baked to achieve a light, airy, and crisp exterior. For Mother’s Day, cream puffs are an ideal choice for a light and airy dessert that can be both elegant and satisfying. Their fluffy interior and this creamy Mascarpone cheese whipped cream filling make them a perfect treat to celebrate the special occasion without feeling overly heavy. Additionally, cream puffs can be customized with various fillings and toppings, such as chocolate glaze, powdered sugar, or fresh berries.
Ingredients
Pastry
1 cup of water
1/2 cup of butter (4 ounces)
1 cup of all-purpose flour
1/4 teaspoon salt
4 large eggs
Process
Preheat the oven to 400°F.
In a small bowl, whisk together the flour and salt; set aside.
In a medium-sized saucepan, bring 1 cup of water to a boil.
Add the butter.
When the butter has melted, add the flour mixture all at once and stir vigorously.
Continue stirring until the mixture forms a ball that doesn’t separate.
Remove from the heat and cool slightly (about 1 minute). Add the eggs, one at a time, beating after each one until the dough is smooth.
Place spoonfuls of dough, about 2 inches apart, onto a baking sheet lined with parchment paper. Alternatively, put the batter into a pastry bag fitted with a round tip and pipe circles approximately 2 inches wide and 1 inch apart onto the baking sheet.
Bake the puffs for about until they are golden brown and puffy, about 25 to 30 minutes.
If the puffs are mini-sized, bake for about 17 to 20 minutes.
Remove the cream puffs from the oven and cool on a cooling rack.
Mascarpone Cheese Filling
2/3 cup mascarpone cheese
2/3 cup heavy whipping cream
5 tablespoons powdered sugar
2 teaspoons pure vanilla
Process
In a chilled bowl, beat the Mascarpone cheese and vanilla until creamy.
Add the heavy whipping cream, and beat until thick.
Gradually add the powdered sugar, mix until fully incorporated.
Beat mixture on high speed until thick and fluffy.
Cut cooled puffs in half, and set the top half of the puff aside.
Fill the bottom halves of the puffs with the cream mixture, then replace the tops.
Drizzle with melted bittersweet chocolate or dust with powdered sugar.
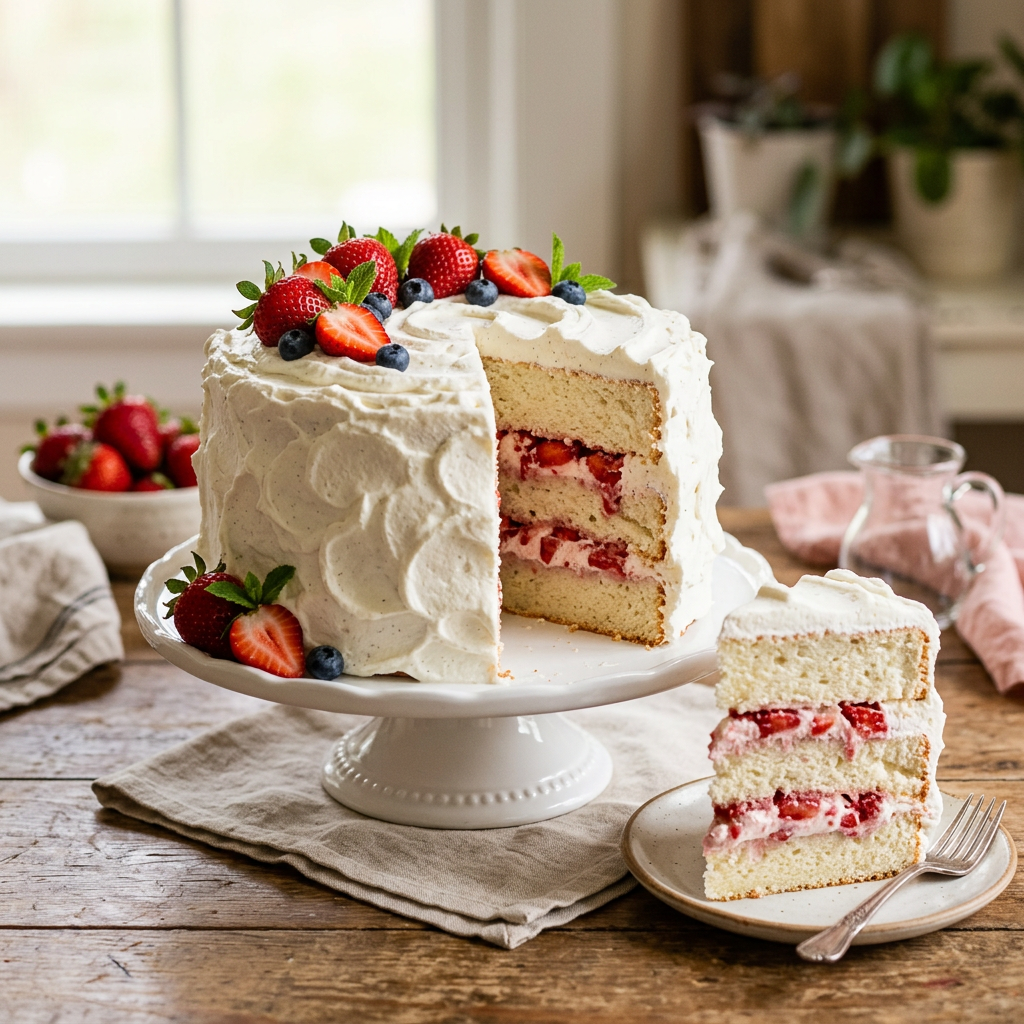
A beautifully decorated layered cake filled with strawberries and cream.
Experience the light and airy delight of our Angel Food Summer Fruit Cake, expertly layered with fresh seasonal fruit and luscious filling. This elegant dessert combines the fluffy texture of angel food cake with vibrant fruit toppings and a smooth filling, making it a perfect centerpiece for summer gatherings or a special treat. Its delicate sweetness and refreshing flavors are sure to please every palate.
Ingredients
1 Angel Food Cake
2 pints of fresh strawberries (see note below)
1 Large container of Cool Whip
1 regular-size box of instant vanilla pudding
1 stick of butter (soft)
2 cups of powdered sugar
Cake Filling
In a mixer bowl, add 1 cup of milk to 1 regular-size box of instant vanilla pudding – beat for 2 minutes.
Add half of the container of Cool Whip, blend the pudding mix and Cool Whip with a spoon, and refrigerate until ready to assemble the cake.
Refrigerate the remaining Cool Whip to use for frosting.
Process
Prepare cake according to box directions, cool completely.
Slice the cooled cake into 2 layers.
Slice strawberries into thin pieces.
Spread half of the pudding filling onto the bottom layer.
Spread sliced strawberries on top of the filling.
Cover with the first layer of cake.
Repeat the filling and strawberry layers, then place the top cake layer on and press gently to set.
Frosting
Beat the butter until it becomes smooth and creamy.
Add powdered sugar and mix until combined.
Fold in the remaining half of the container of Cool Whip.
Frost the sides of the cake and then the top. Decorate with sliced fruit.
Keep cake refrigerated until ready to serve.
Note
You can use any fruit for this cake. The original recipe used canned mandarin oranges, sliced lengthwise.
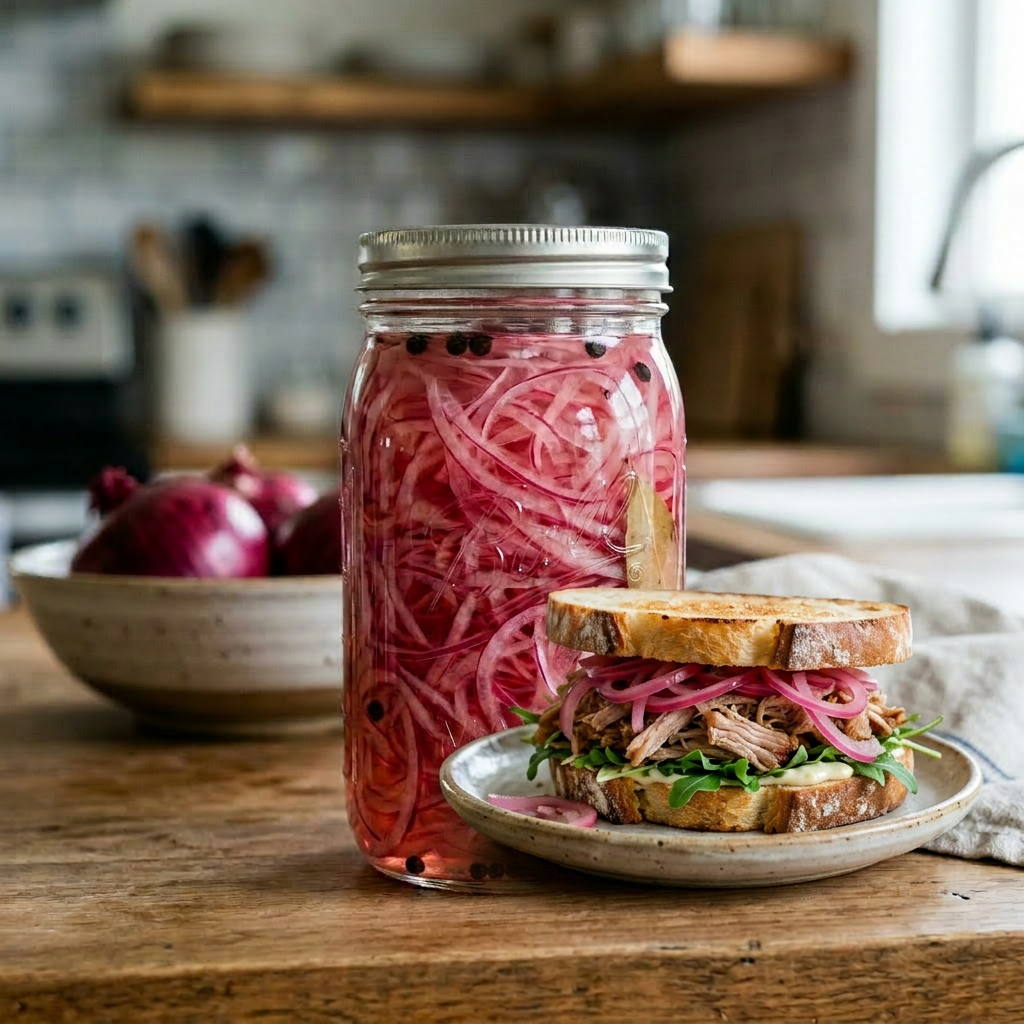
A mason jar filled with homemade pickled red onions.
Who loves pickled onions as much as I do? Let me show you how fun and easy it is to make these tasty treats! I use a quick shortcut—no boiling water or par-cooking needed. Just mix vinegar, a splash of water, and a touch of sugar, then stir in thinly sliced onions. I prefer mine paper-thin, so I use a mandolin for perfect slices every time. It’s so simple, and the best part? You get to enjoy crunchy, tangy onions in no time. Give it a try and add a zing to your meals!
Ingredients
My favorite vinegar combo is a mix of red wine vinegar (for flavor and that red color) and seasoned rice vinegar (for sweetness).
1 large red onion or 2 smaller ones
1/2 cup rice vinegar
1/2 cup of red wine vinegar
1 cup of water
1 – 2 tablespoons sugar
¼ teaspoon salt
Process
Choose a clean glass jar with a tight lid, such as a pickling jar. (Store onions in a glass container because vinegar can react with metal, and plastics may absorb strong flavors, affecting the taste and quality.)
Peel the onion and use a mandolin to slice it into paper-thin slices or half-moons. Set aside.
Mix vinegar(s), water, and sugar until the sugar dissolves. Add optional ingredients (see below) if desired.
Mix the vinegar with the other ingredients, then pour it over the onions in the jar. Let the onions sit in the marinade for at least 10 minutes before using.
Store in the refrigerator for a couple of weeks.
Note: This is NOT a pickling recipe; be sure to store in the refrigerator at all times.
Optional Add-ins:
Garlic clove sliced in thirds
Sprigs of herbs such as dill, marjoram, thyme, and rosemary
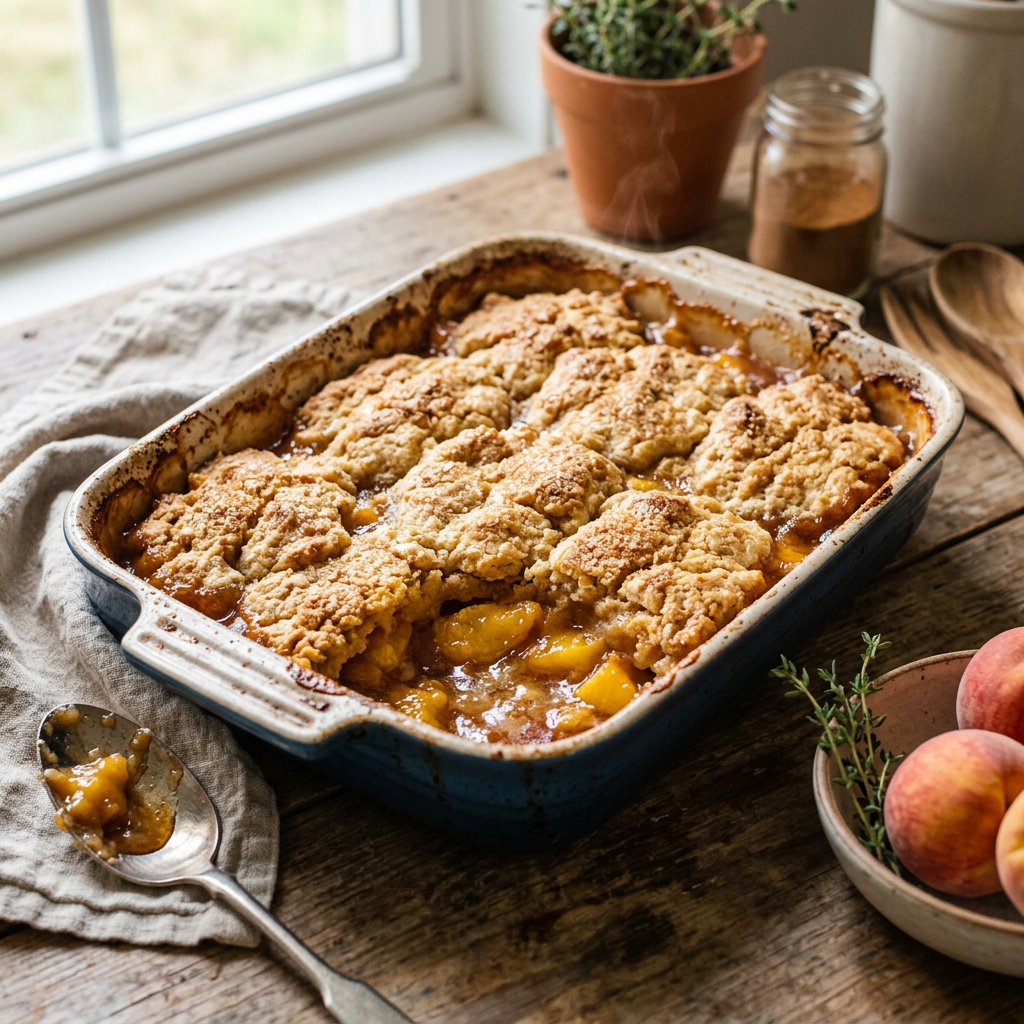
A warm bourbon peach cobbler straight from the oven, ready to serve
Two of my favorite things, peaches and bourbon, are together in this wonderful recipe. Peaches will be in season in a couple of months, and I look forward to enjoying them in my cereal, pies, and this cobbler. Bourbon is in season all the time. What does good Bourbon taste like? Flavor descriptors such as toffee, pralines, vanilla, and dried fruit describe the initial rush of flavors in a good, well-aged Bourbon. The charred oak barrels give Bourbon a distinctive, spicy, oak-firmness unique to American whiskeys. All this wonderful flavor in a sweet cobbler, who could ask for more?
Note: While fresh peaches are always preferred, canned or frozen will work just as well.
CRUMBLE TOPPING
4 tablespoons of butter
1/2 cup rolled oats
1/2 cup all-purpose flour
1 pinch fine sea salt
1 dash black pepper
2 teaspoons of ground cinnamon
2 teaspoons vanilla extract
1/2 lemon (zest and set aside)
1/2 cup of brown sugar
1 tablespoon extra virgin olive oil
Directions for Crumb Topping
Mix the crumb topping ingredients in a bowl with a fork or pastry cutter until the butter chunks are evenly incorporated into the dry ingredients. Refrigerate until ready to bake.
PEACH FILLING
5 Large peaches, pitted and sliced
1-1/2 Tablespoon of pure Maple Syrup
1/2 lemon – juiced
1/3 cup of dark brown sugar
3 tablespoons butter (room temperature)
2 tablespoons of olive oil
3 teaspoons of ground cinnamon
1 teaspoon of vanilla extract
¼ teaspoon sea salt or kosher salt
¼ teaspoon fresh ground black pepper
1 ounce of fine bourbon
Process
Preheat oven to 375°F.
1. In a bowl, combine peaches with the remaining ingredients and mix well.
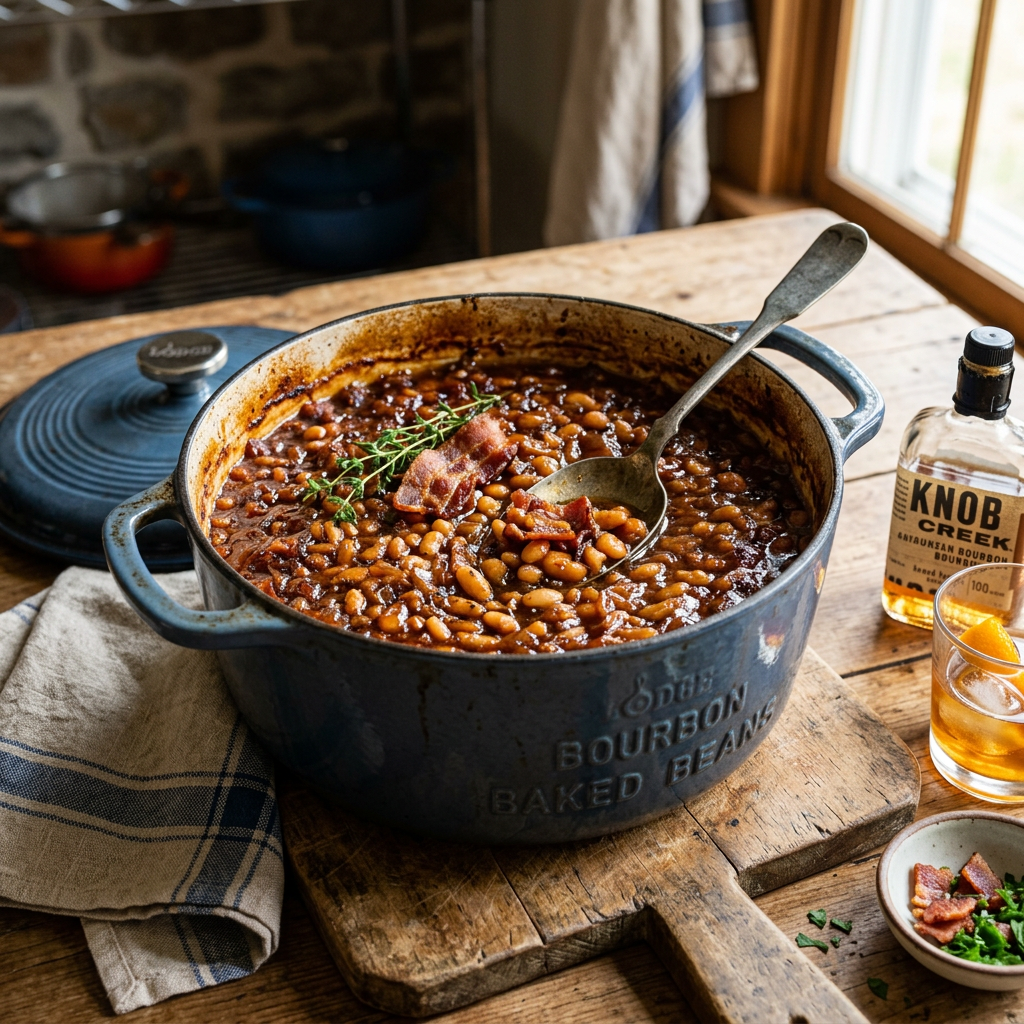
Dutch oven filled with rich bourbon baked beans garnished with bacon
Let’s keep the bourbon love going! Here’s a fun twist on baked beans—skip the soaking and grab canned beans for quick prep. Mix in your favorite barbecue sauce, and for an extra kick, try my homemade Bourbon Barbecue Sauce. Perfect for parties or a cozy night in, this recipe adds a delicious, spirited touch to your meal. Cheers to good food and great times!
Ingredients:
8 slices bacon, halved
1 medium onion, cut into small dice
1 medium green pepper, cut into small dice (Optional: add 1 diced jalapeno pepper for heat)
2 (15-ounce) cans of pinto beans, drained and rinsed
1 (15-ounce) can of navy beans, drained and rinsed
Adjust the oven rack to the lower-middle position and heat the oven to 400° F.
Fry bacon in a large, deep sauté pan or skillet until partially cooked, releasing about 1/4 cup of drippings.
Remove bacon from the pan and drain on paper towels. Set aside.
Add diced onions and peppers to the drippings in the pan and sauté until tender, about 5 minutes.
Add barbecue sauce, brown sugar, cider vinegar, coffee, mustard, and bourbon. Bring to a boil, remove from heat.
Add the beans and stir.
Pour the beans into a greased 13 x 9-inch pan or a large Dutch oven. Top with reserved bacon pieces. Bake uncovered for about 30 minutes until the edges bubble and the mixture thickens. If the beans seem too watery, bake for an additional 5 minutes. For a darker, caramelized top, briefly broil the dish for a minute or two.
Since canned beans are used, they tend to be slightly firmer. Lightly mash the beans with a spoon to break them up a bit. This helps create a texture similar to that of beans cooked for a longer time, making the dish more uniform and appealing.