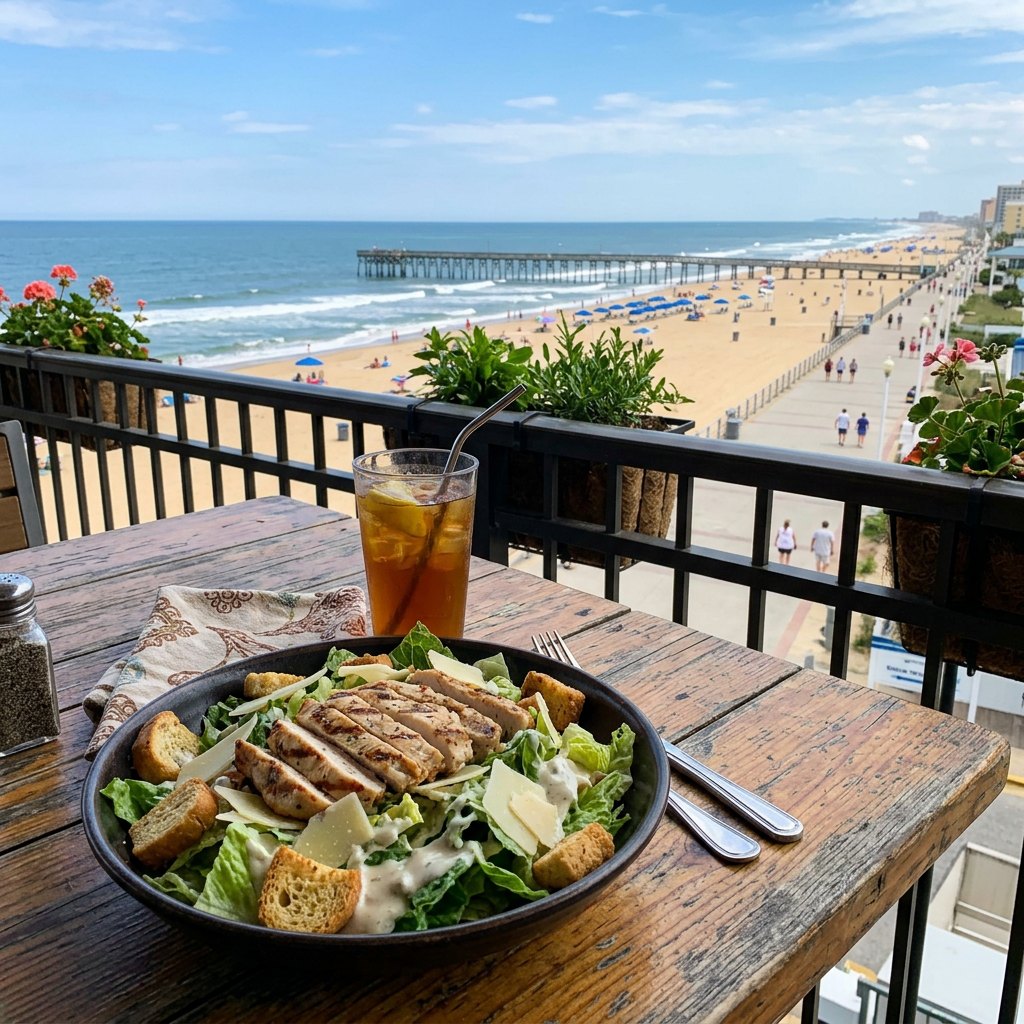
Love this Chicken Salad! Ditch boring mayo and try a lively olive oil, garlic, and lemon dressing that hugs every leaf. Extra-crisp romaine, grilled chicken, and crunchy croutons deliver savory satisfaction with bright, zesty punch. Serve it as a starring entrée or a playful side—perfect for warm summer evenings when you want a light, yet wildly delicious meal.
Ingredients
Dressing
2 cloves of garlic, minced or pressed
1/3 cup extra virgin olive oil
2 tablespoons of fresh-squeezed lemon juice
1 tablespoon Dijon mustard
1-1/2 teaspoons Worcestershire Sauce
Put dressing ingredients in a small food processor or blender and blend. Set aside.
Marinade
¼ cup olive oil
2 tablespoons lemon juice
1 tablespoon Worcestershire sauce
Mix the marinade ingredients together in a bowl or a sealed bag.
Marinade chicken breasts for 20 – 30 minutes.
Discard the marinade and grill the chicken until the thickest part reaches 165°F (fully cooked).
Salad Ingredients
Use the listed options or add your own; all choices are optional.
Romaine Lettuce torn into bite-size pieces
2 hard-boiled eggs
Crumbled Feta or Goat Cheese
Black olives, sliced
Thinly sliced scallions
1 can baby corn on the cob, drained
Roasted red pepper, sliced
Garlic croutons
1/3 cup Freshly grated Parmesan cheese
Process
Put lettuce and other salad ingredients in a large salad bowl.
Add sliced grilled chicken.
Mix with the olive oil and garlic dressing
Top the salad with garlic croutons and 1/3 cup grated Parmesan cheese.
A platter of golden crab bombs served with a creamy herb dip and lemon wedges
Serve crab “bombs” for a picnic or dinner party and watch smiles multiply. These crispy, golden orbs hide a creamy, savory crab center that pops with flavor in every bite. Easy to transport and even easier to eat, they pair perfectly with chilled white wine, zesty dipping sauces, or a bright citrus slaw. Whether spread on a blanket by the ocean or arranged on a platter for guests, crab “bombs” make any gathering feel festive and effortless.
Ingredients
1 pound crab meat
1 cup cream cheese, softened
1 cup shredded mozzarella cheese
½ cup of panko breadcrumbs
2 green onions, finely chopped
1 teaspoon garlic powder
1 teaspoon Old Bay seasoning
½ teaspoon paprika
¼ teaspoon cayenne pepper
Salt and pepper to taste
1 egg, beaten
Process
If baking, preheat oven to 375°F.
If frying, heat the oil in a deep pan over medium heat.
In a large mixing bowl, combine crab meat, softened cream cheese, mozzarella cheese, breadcrumbs, green onions, garlic powder, Old Bay seasoning, paprika, cayenne pepper, salt & pepper; add additional breadcrumbs if the mixture is still wet.
Take about 2 tablespoons of the crab mixture and roll it into a ball shape. Repeat until all the mixture is formed into balls.
Place the crab bombs on a parchment-lined baking sheet. Bake for 15-20 minutes until golden.
If Frying: carefully add the crab bombs to the hot oil, fry them in batches until golden and crispy, about 4 – 5 minutes per side.
Drain excess oil if frying; remove the crab bombs and place on a paper towel to absorb the excess oil.
Serve hot
Dip #1 Creamy Dill Dip
Ingredients
8 ounces cream cheese, room temperature
½ cup sour cream
½ cup mayonnaise or plain Greek Yogurt
4 green onions, minced
2 tablespoons fresh parsley leaves, minced
1 tablespoon fresh dill, minced
1 teaspoon kosher salt
¾ teaspoon freshly ground black pepper
Process
In a large mixing bowl, beat cream cheese, sour cream, mayonnaise, scallions, parsley, dill, salt and pepper until blended. Serve at room temperature.
Dip #2 Sweet Chili Sauce
Ingredients
½ cup unseasoned rice vinegar
¾ cup of water
2/3 cup white sugar
5 garlic cloves finely minced, or pressed
1 tablespoon of soy sauce or Fish sauce
½ tsp cayenne pepper optional
2- ½ tablespoons of sambal oelek (please see recipe notes)
4 teaspoons of cornstarch
2 tbsp water
Process
Add the vinegar, water, sugar, garlic cloves, soy sauce, and cayenne pepper in a non-stick pan.
Heat over medium heat while stirring to dissolve the sugar. Increase the heat to medium-high and bring it to a boil. Let it simmer for about 2 minutes.
Add the sambal oelek (or a substitute listed below) and mix through. Let it cook for a few minutes until it’s slightly thickened (2- 5 minutes).
Mix the cornstarch and water into a smooth slurry and add this to the sauce as well.
Stir frequently (to prevent the sauce from burning at the bottom), simmer the sauce for 2 – 5 minutes or until it reaches the desired thickness. Remember, the sauce thickens as it cools. If it thickens too much, add a little extra water to thin it out.
Cool to room temperature and store in the fridge.
Notes: Substitutions for Sambal Oelek
Chili Garlic Sauce: This sauce has a similar base of chiles, vinegar, and salt, but includes garlic and sugar, giving it a slightly different flavor. It can be used in equal amounts as a substitute in most recipes
Sriracha: Another popular option, sriracha offers a vibrant red color and a similar heat level. However, it is a sauce rather than a paste, so it may alter the texture of your dish slightly. You can use it in a 1:1 ratio, but consider adding a bit of vinegar to mimic sambal oelek’s tanginess
Gochujang: This Korean chili paste is fermented and has a richer flavor profile. It can be used in smaller amounts due to its strong taste, and it works well in marinades and stir-fries
Harissa: A North African chili paste that adds a complex flavor. It can be used as a substitute, but be mindful of its distinct spices that may change the overall taste of your dish
Homemade Sambal Oelek: If you have fresh red chilies, salt, and vinegar, you can easily make your own sambal oelek. Blend these ingredients to your desired consistency, adjusting the heat level by choosing milder or hotter chilies
Crushed Red Pepper Flakes: For a quick and easy option, crushed red pepper flakes can add heat to your dishes, though they lack the vinegar and salt balance of sambal oelek. Use them to taste
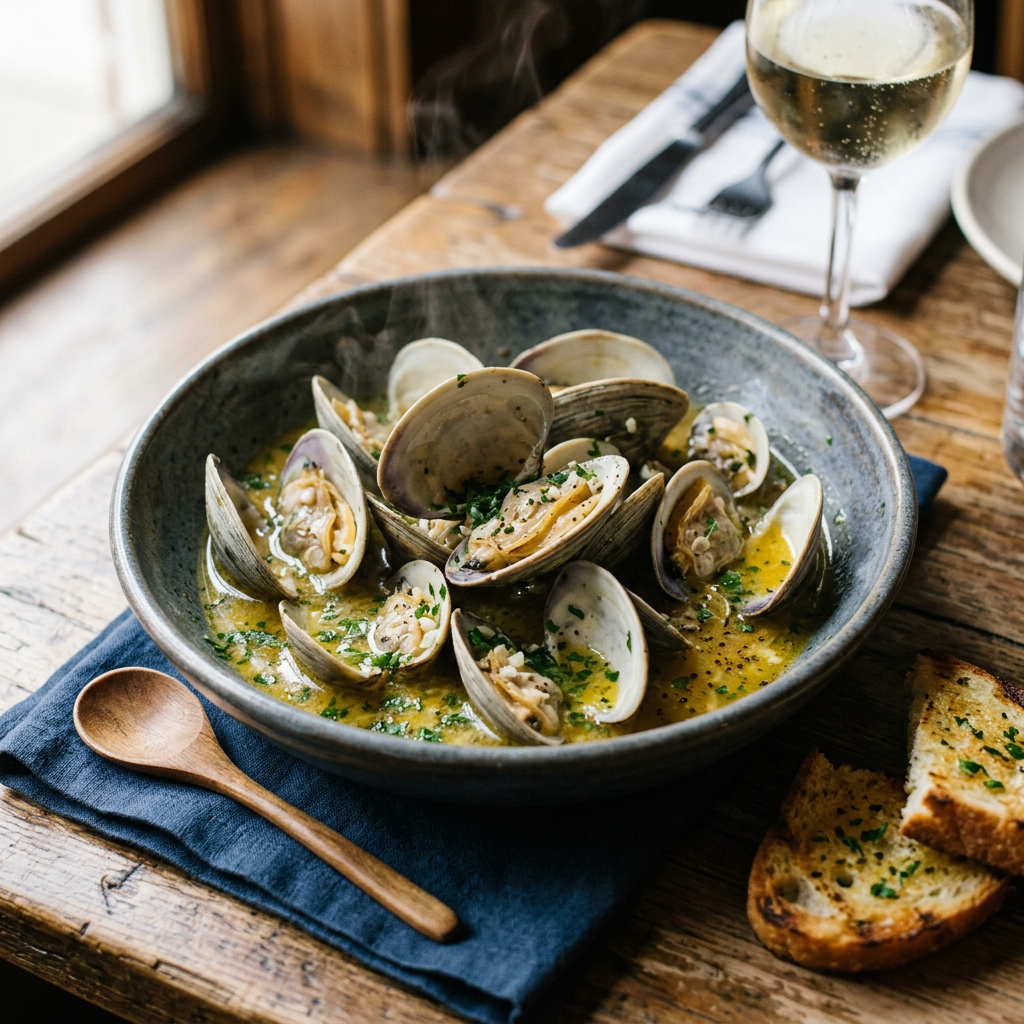
A bowl of steaming clams served in a garlic herb butter sauce with toasted bread on the side
Steam clams and mussels for friends and watch the party come alive! These briny treasures cook fast in a fizzy splash of dry white wine, butter, garlic, and fresh herbs, filling the kitchen with irresistible aromas. When the shells pop open, ladle that fragrant broth over pasta or dunk crusty bread to sop up every savory drop. The dry wine brightens flavors as the alcohol cooks away, leaving concentrated, mouthwatering depth. It’s an easy, crowd-pleasing dish that looks impressive without effort and turns any summer gathering into a warm, festive feast.
Ingredients
1/2 cup of butter
5 cloves garlic, minced or grated
2 cups of dry white wine (such as a Chardonnay)
1 tablespoon dried oregano or 2 tablespoons of fresh chopped oregano
¼ cup fresh chopped parsley
1 teaspoon crushed red pepper flakes
36 clams in shell, scrubbed
Process
Melt butter in a large skillet over medium heat. Cook garlic in butter briefly. Stir in wine, and season with oregano, parsley, and red pepper flakes.
Place clams in the wine mixture. Cover, and steam until all the clams have opened; discard any that do not open. Serve in soup bowls and ladle broth generously over them.
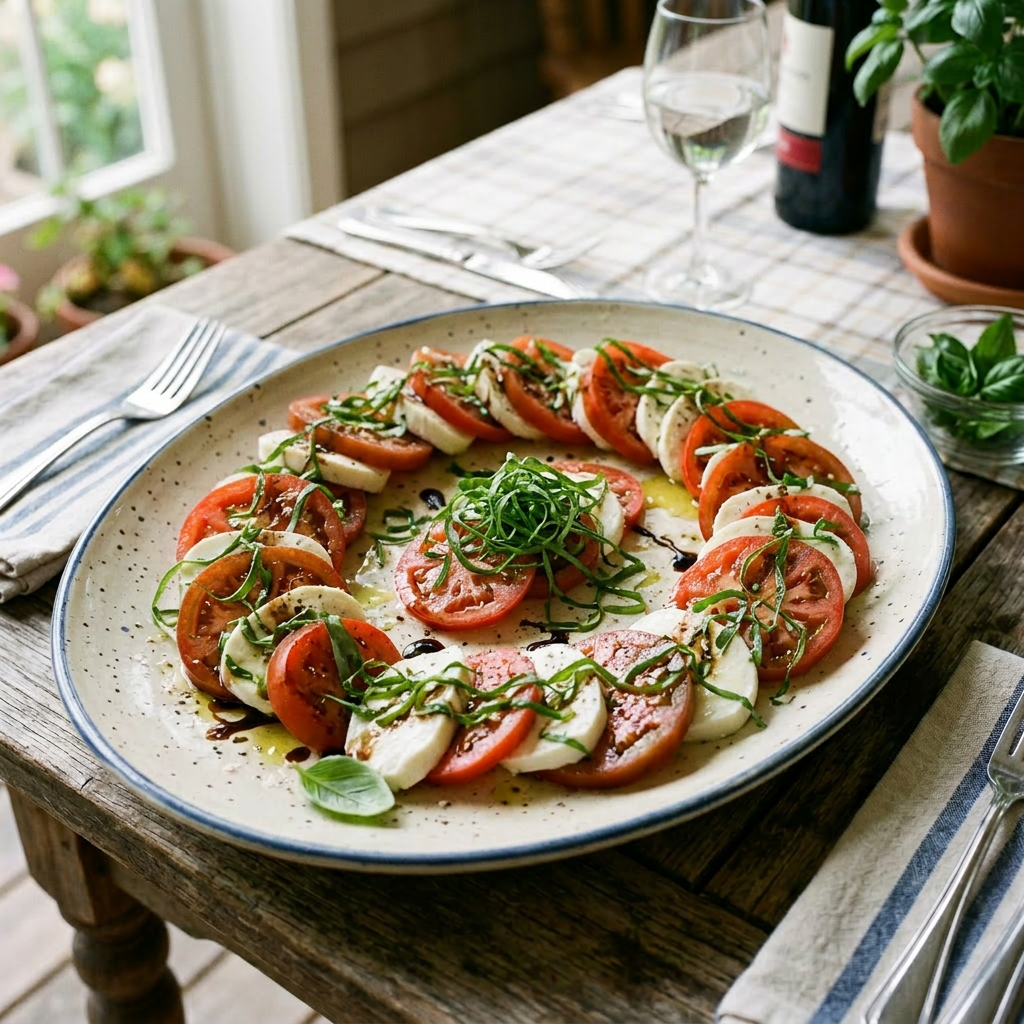
Juicy tomatoes, pillowy mozzarella and basil shimmy together. Add peppery arugula, drizzle tangy balsamic or basil pesto, or stack these flavors into a ciabatta for a grab-and-go Caprese sandwich. Fold in prosciutto, creamy avocado or charred peppers for surprising textures. Thread ingredients onto skewers for a party-ready bite — bright, fresh, and totally irresistible. Try four fun Caprese variations and even a cheeky eggs Benedict twist with mozzarella, tomatoes, and pesto for a brunch surprise.
Version #1
Classic Caprese layered salad
INGREDIENTS
Fresh Spinach, or arugula (optional)
4 medium sized juicy, ripe tomatoes, sliced in ¼ inch slices
6 ounces of fresh mozzarella cheese, sliced
1 bunch of fresh basil, rinsed and pulled apart into individual leaves
PROCESS
Line a plate or platter with washed spinach leaves, stems removed.
Arrange the tomato slices on top of the spinach
Sprinkle with ½ teaspoon of kosher or sea salt
Layer half of the basil ribbons on top of the tomatoes
Layer the mozzarella cheese on top of the basil
Sprinkle remaining basil on top of the cheese
Pour the Balsamic vinegarette on top of layers
Serve at room temperature
Balsamic Vinegarette
2 Tablespoons of extra-virgin olive oil
2 Tablespoons of good balsamic vinegar
2 cloves of garlic sliced into slivers or grated
½ teaspoon of cracked pepper
1 teaspoon Kosher or Sea salt, divided
In a small bowl with a lid mix the extra virgin olive oil, balsamic vinegar, ½ teaspoon cracked pepper, ½ teaspoon salt, and garlic. Mix together and set aside for at least 15 minutes to blend flavors.
Version #2
Chopped Tossed Salad
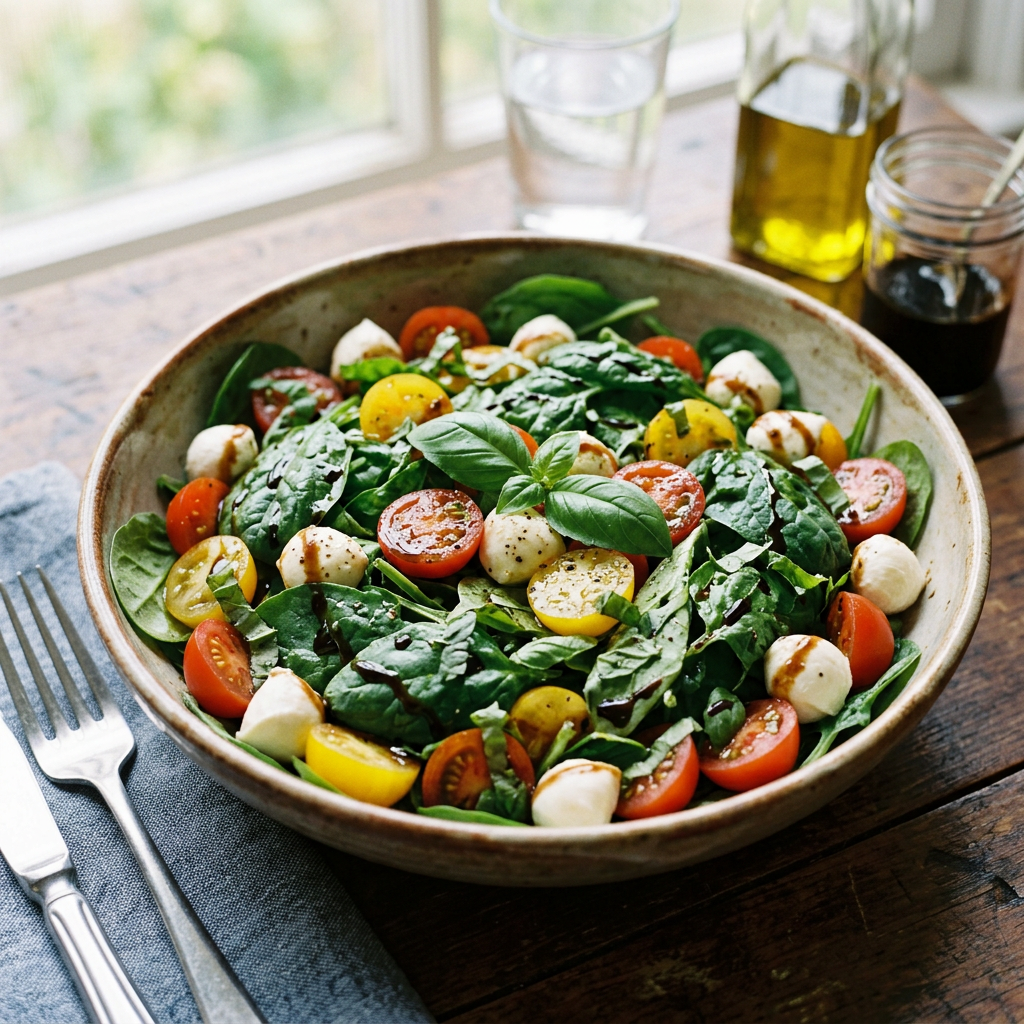
A vibrant spinach salad with cherry tomatoes, mozzarella balls, and balsamic drizzle
Chop or dice the tomatoes and the mozzarella and tear up the spinach or arugula, and basil leaves to make the Caprese salad more like a traditional salad served in bowls. This is a nice option if you’re serving the Caprese as a side dish. Serve the Balsamic vinaigrette at the table to let guests choose how much to add.
Version #3
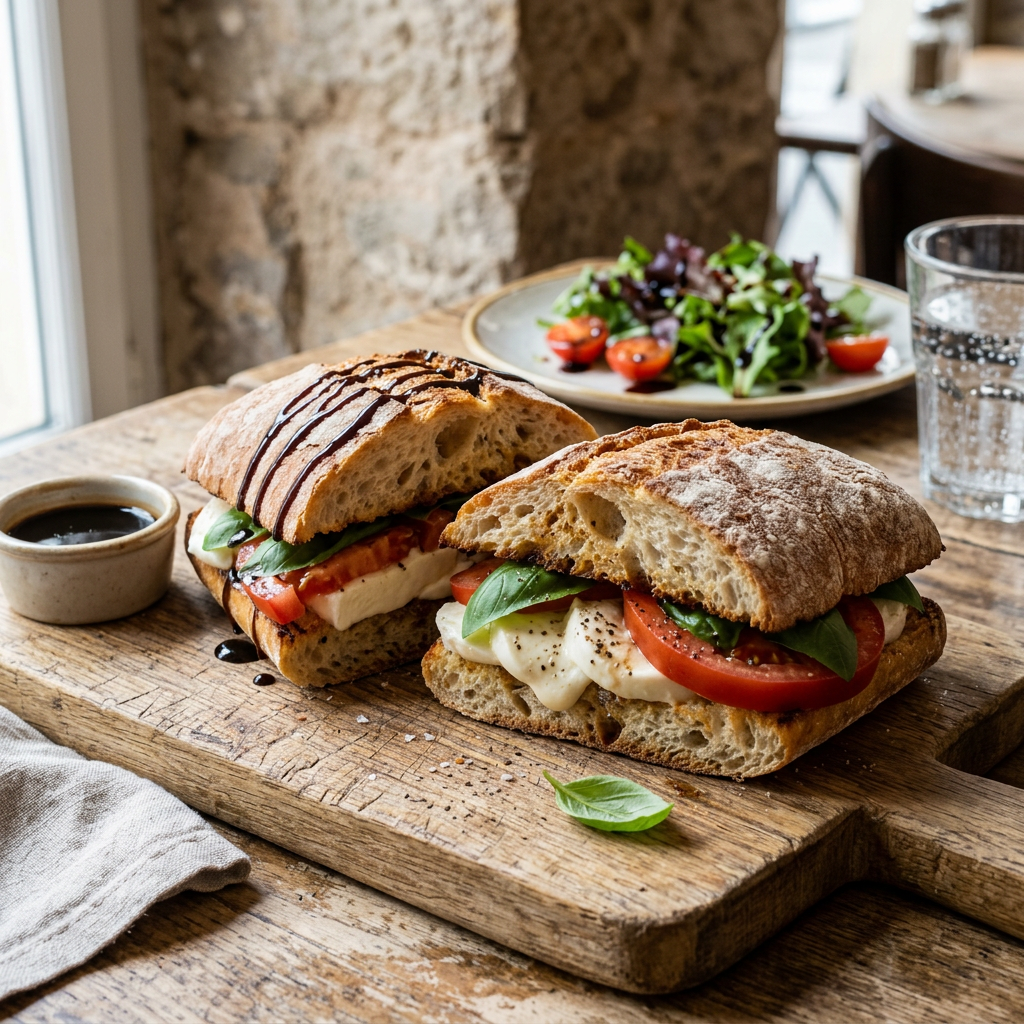
A delicious caprese sandwich served with a fresh salad and balsamic drizzle
Caprese sandwiches capture the flavors of a Caprese salad in a handheld form. On ciabatta or a baguette split horizontally, drizzle balsamic vinaigrette, then layer tomato slices, fresh mozzarella, basil leaves and a smear of basil pesto. Serve toasted so the cheese melts. For more flavor, add sun-dried tomatoes and a handful of arugula before serving.
Version #4
Caprese Skewers
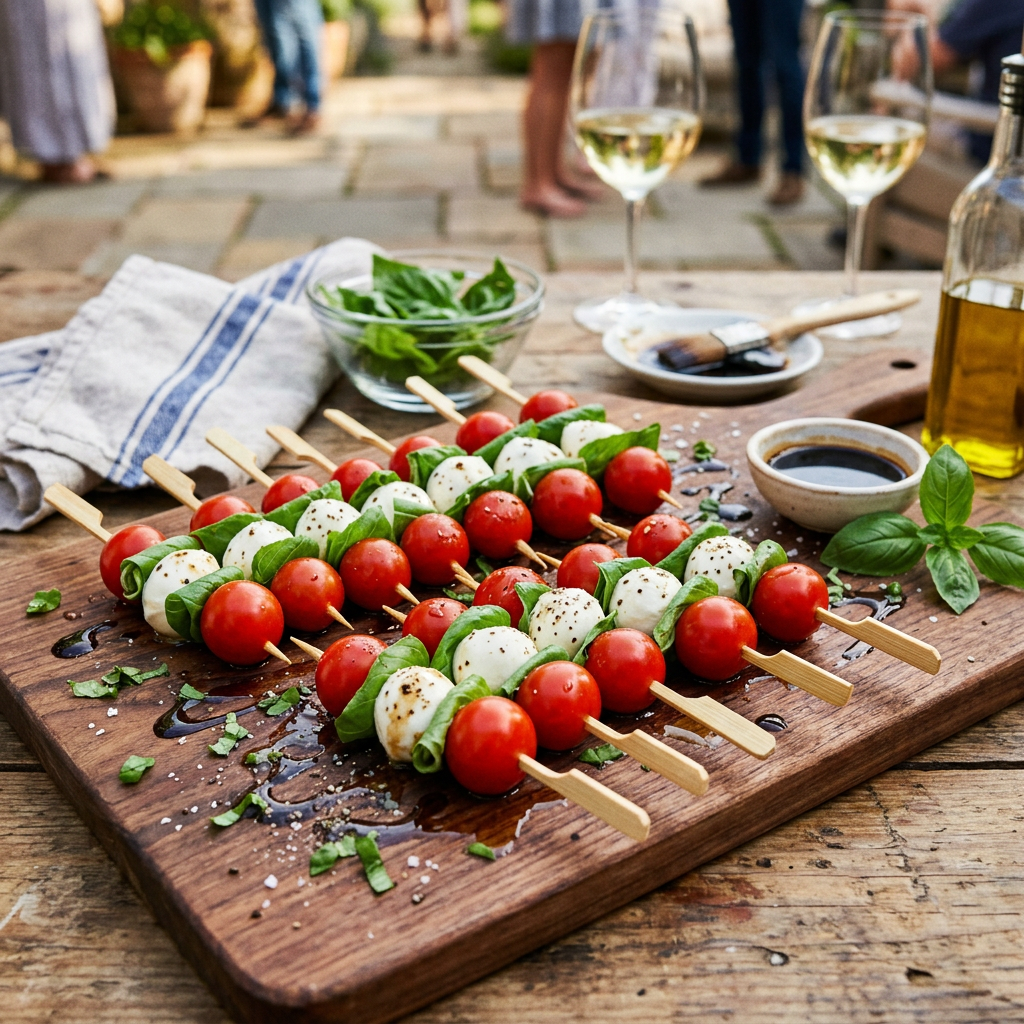
Fresh Caprese skewers with cherry tomatoes, mozzarella, and basil drizzled in balsamic glaze.
Ingredients
Small wooden skewers (or toothpicks)
Grape tomatoes
Fresh mozzarella cheese pearls
Fresh basil leaves
1 tablespoon Extra Virgin Olive Oil
1 teaspoon of Balsamic Glaze
Sea salt (to taste)
Cracked black pepper
Process
Thread one cherry tomato, followed by a fresh basil leaf (fold in half if large), then a mozzarella pearl. Repeat until all skewers are assembled.
If not using it immediately, cover with plastic wrap and refrigerate for up to 2 hours.
Right before serving, plate the skewers and drizzle with olive oil, and balsamic glaze.
Finish with a pinch of sea salt and cracked black pepper.
Version #5
Caprese Eggs Benedict
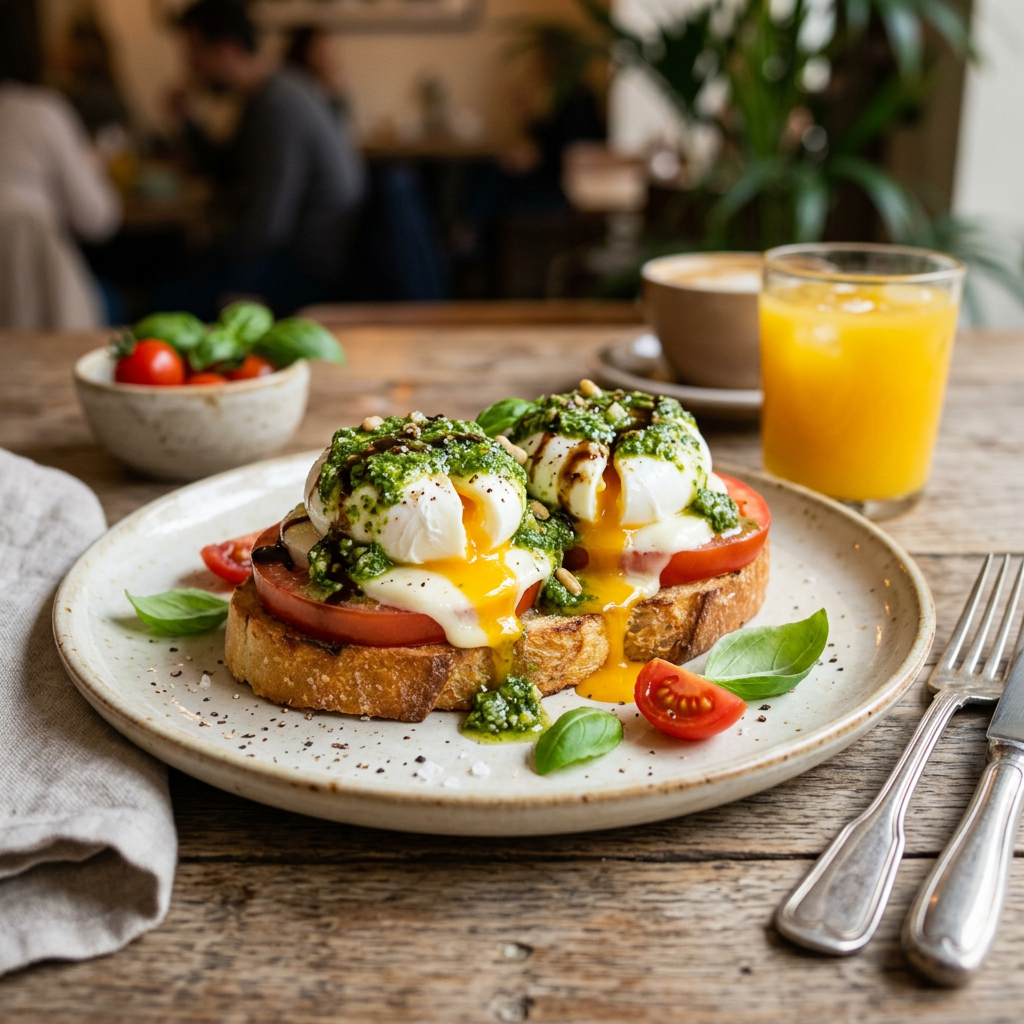
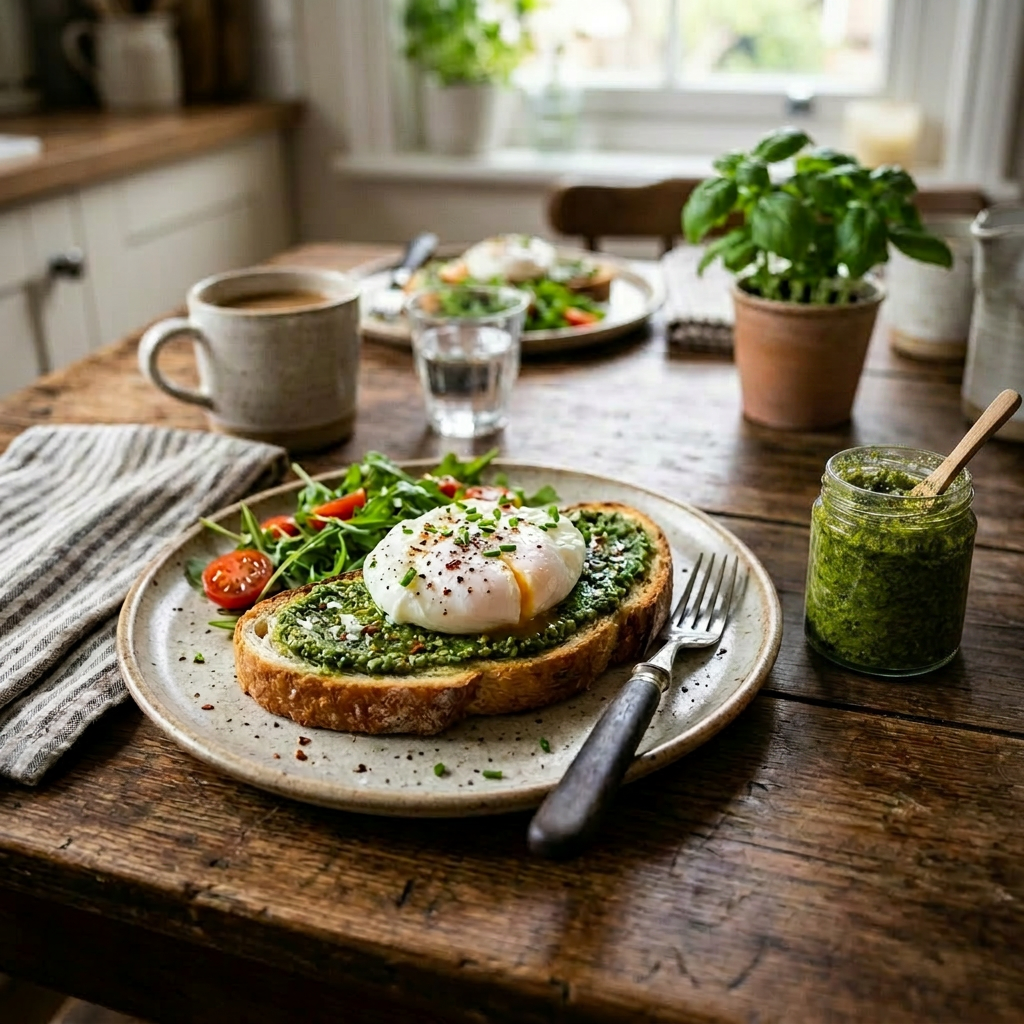
Delicious poached eggs with pesto on toast and fresh tomato slices
Ingredients
1 tablespoon distilled white vinegar
1 ounce of mozzarella cheese, sliced into 4 pieces
Fill a large saucepan with 3 inches of water and bring to a boil over high heat. Reduce heat to medium-low, pour in vinegar, and keep water at a gentle simmer.
While waiting for water to simmer, place 1 mozzarella cheese slice and 1 tomato slice onto each English muffin half.
Cook in a toaster oven until cheese softens and the English muffin has toasted.
Crack an egg into a small bowl. Holding the bowl just above the simmering water’s surface, gently slip egg into the water. Repeat with the remaining eggs.
Poach eggs until whites are firm, and yolks have thickened but are not hard, about 3 – 3 ½ minutes.
Remove eggs from water with a slotted spoon and dab them on a paper towel to remove excess water.
Place a poached egg on top of each English muffin. Spoon 1 teaspoon of pesto sauce onto each egg and sprinkle with salt.
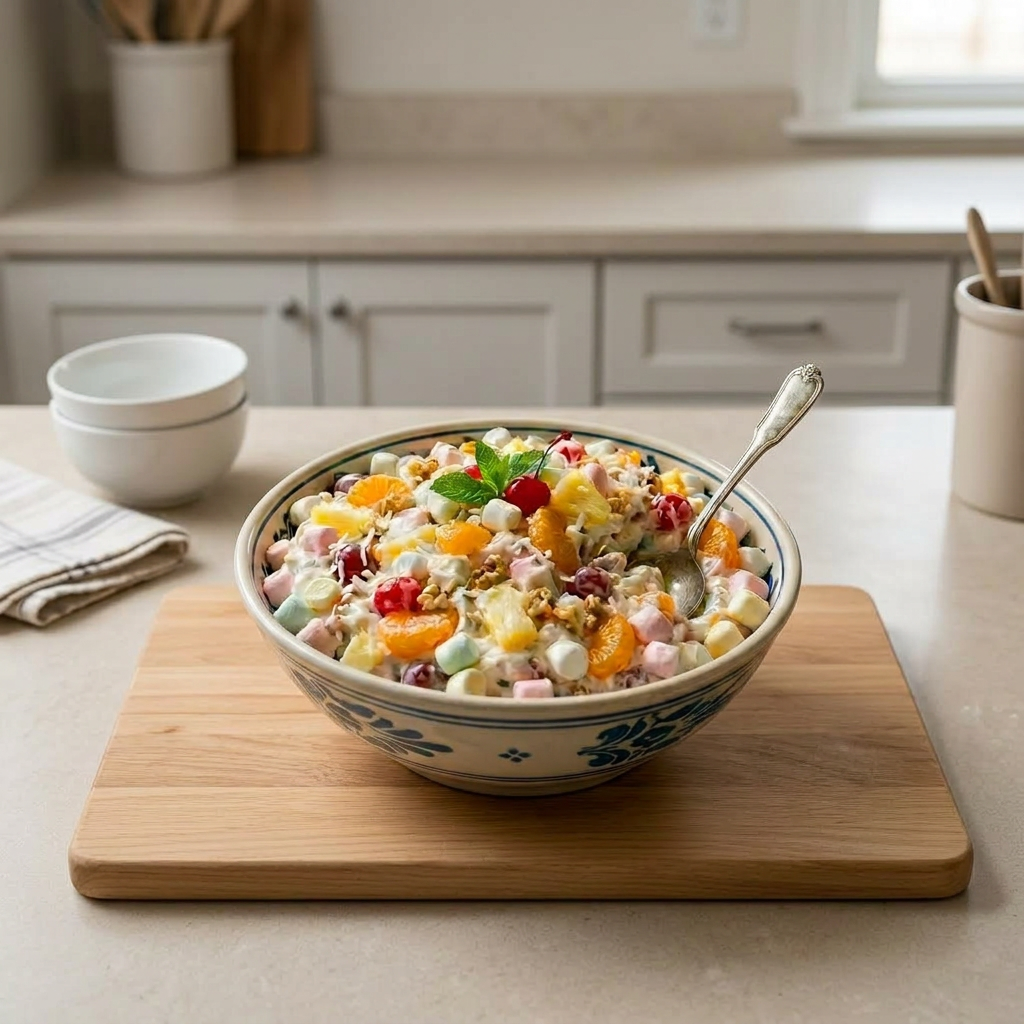
Dive into a playful summer salad pitch! This Ambrosia remix swaps sour cream for tangy Greek yogurt, then tosses in strawberries and blueberries for bright color and punchy texture. Try colored mini-marshmallows or toasted coconut for whimsy, or a splash of citrus to brighten flavors—happy experimenting!
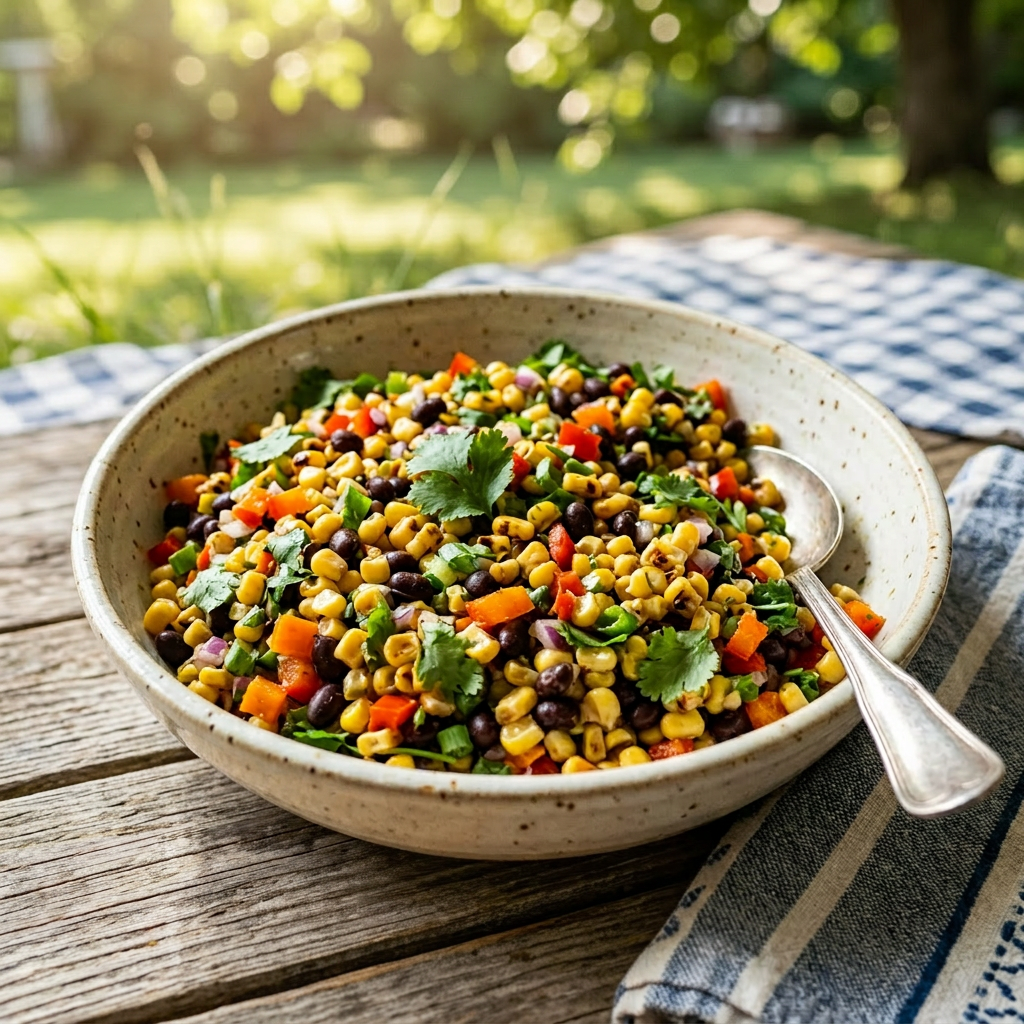
Born in mid-20th century Texas, Texas Caviar is a playful, crowd-pleasing celebration of fresh, bold flavors. This zesty corn salad dazzles at parties, picnics, and casual get-togethers, ready to be tweaked however you like: stir in creamy avocado, dice jalapeño for a spicy kick, add cumin for a warm hug of spice, or splash in hot sauce for mischief. Spoon it with crunchy tortilla chips, pile it next to grilled meats, or crown tacos and salads—every bite sings. Whether you’re feeding friends or craving a quick, vibrant side, Texas Caviar brings cheerful color, lively textures, and irresistible taste.
Ingredients
For the vegetables
2 15-ounce cans of black-eyed peas
1 15-ounce can of black beans
1 15-ounce can of corn (or 1 ½ cups frozen and thawed)
1 red bell pepper
1 cup cherry tomatoes
3 green onions
1 medium jalapeno, seeded, diced
1 avocado, sliced into cubes
½ cup of chopped cilantro
2 teaspoons of kosher salt
For the dressing
2 tablespoons lime juice
4 tablespoons apple cider vinegar
2 tablespoons sugar
½ teaspoon garlic powder
½ teaspoon cumin
1 teaspoon oregano
4 tablespoons olive oil
Instructions
Drain and rinse the beans and corn.
Dice the red bell pepper, slice the cherry tomatoes, and thinly slice the green onions on a diagonal. Seed and dice the jalapeno pepper; finely chop the cilantro. Slice the avocado into cubes.
Add all the vegetables and beans to a bowl. Stir in the kosher salt.
In a medium bowl, whisk together the vinegar, sugar, garlic powder, and cumin. Gradually whisk in the olive oil. Pour the dressing over the vegetables and mix to combine.
Refrigerate until serving; allow to marinate for 30 minutes or longer. Serve with chips for dipping or serve as a side.
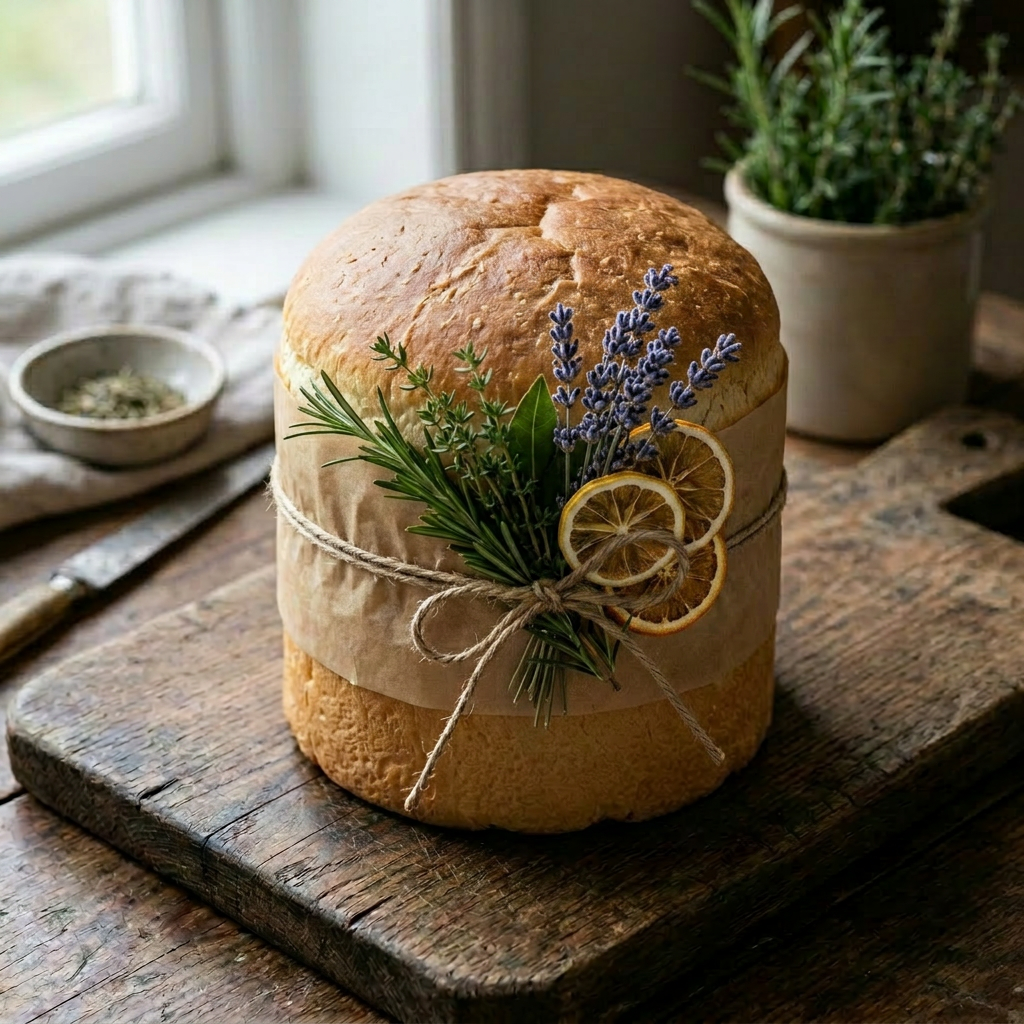
A loaf of Cheesy Beer bread wrapped in parchment and twine, adorned with fresh herbs.
Cheesy Beer Bread transforms humble ingredients into a delightful, crowd-pleasing loaf that’s fun to bake and impossible to resist. Picture a tall, golden cylinder with a slightly crisp crust and a pillowy, cheese-studded interior that releases savory aromas as you slice it. No yeast fuss—baking powder and lively beer bubbles do the rising—so it’s a quick, satisfying bake. The vertical pan traps steam, keeping the crumb tender while concentrating cheesy, toasty flavors in every bite. Serve warm with butter, dunk into soups, or package for fundraisers and friendship baskets—this bread practically sells itself. For variety, try baking the batter in mugs for single servings or in a standard loaf pan for easy sharing. It’s playful, flavorful, and ideal for spontaneous baking adventures.
Ingredients
3 cups of all-purpose flour
2 tablespoons of granulated sugar
1 tablespoon of baking powder
1 teaspoon of kosher salt
1 cup of shredded sharp cheddar cheese
12 oz. beer (see note)
¼ cup of butter melted and divided
½ tsp garlic powder
½ Tbsp minced fresh parsley
¼ cup of shredded sharp cheddar cheese (for top of loaf)
Process
Preheat oven to 350°F.
Spray pan or mugs with nonstick cooking spray; set aside.
Using a large mixing bowl, add the flour, sugar, baking powder and salt; stir until well combined.
Add 1¼ cups of cheddar cheese; stir until well combined.
Add beer; stir until well combined.
Transfer batter into prepared pan, or mugs.
Brush half of the melted butter (2 Tbsp) and sprinkle ¼ cup of cheese evenly on top of the batter.
Bake for 40-45 minutes, or until top of bread is golden brown.
Topping for Bread
Using a small bowl, whisk together the remaining melted butter (2 Tbsp), garlic powder and parsley.
While bread is still hot from oven, brush the butter mixture evenly on top.
Let bread cool for 10 minutes in pan before transferring to a wire rack until completely cool.
Notes
For beer bread, I recommend using a lighter beer like ales or pilsner. Hoppy beers (like IPAs) are not recommended as they tend to overshadow the flavors in the bread.
My potted basil exploded with growth in this humidity, so I snipped it back before blooms appeared. I didn’t have enough basil for classic pesto—only an ounce—plus a handful of parsley. Undeterred, I grabbed almonds and macadamia nuts, silky avocado oil, vibrant purple garlic, grated Parmesan, salt and pepper. The result was a playful pesto spread, packed with nutty richness and herb brightness, perfect for jazzing up sandwiches, dolloping on pasta, or spreading on warm crusty bread. I hope you enjoy it as much as I do.
Ingredients
1 – 2 ounces of fresh basil leaves or basil and parsley
1/3 cup of avocado oil (or olive oil)
¼ cup shredded parmesan cheese
1/3 cup of nuts (almonds, walnuts, pine or macadamia)
2 cloves of fresh purple garlic (spicy) or regular garlic
½ teaspoon of table salt
¼ teaspoon freshly ground pepper
Process
Add the nuts and garlic to a food processor and pulse until everything is minced.
Add the remaining ingredients; basil, (and parsley if using), parmesan, and half of the oil, salt and pepper, pulse until the basil is well blended with the nuts and garlic, add the remaining oil. Add more oil to get a loose, spreadable consistency.
Refrigerate in a glass jar with a lid for 3 – 4 days or freeze for up to 3 months.
Tip: freeze in ice cube trays for individual portions.
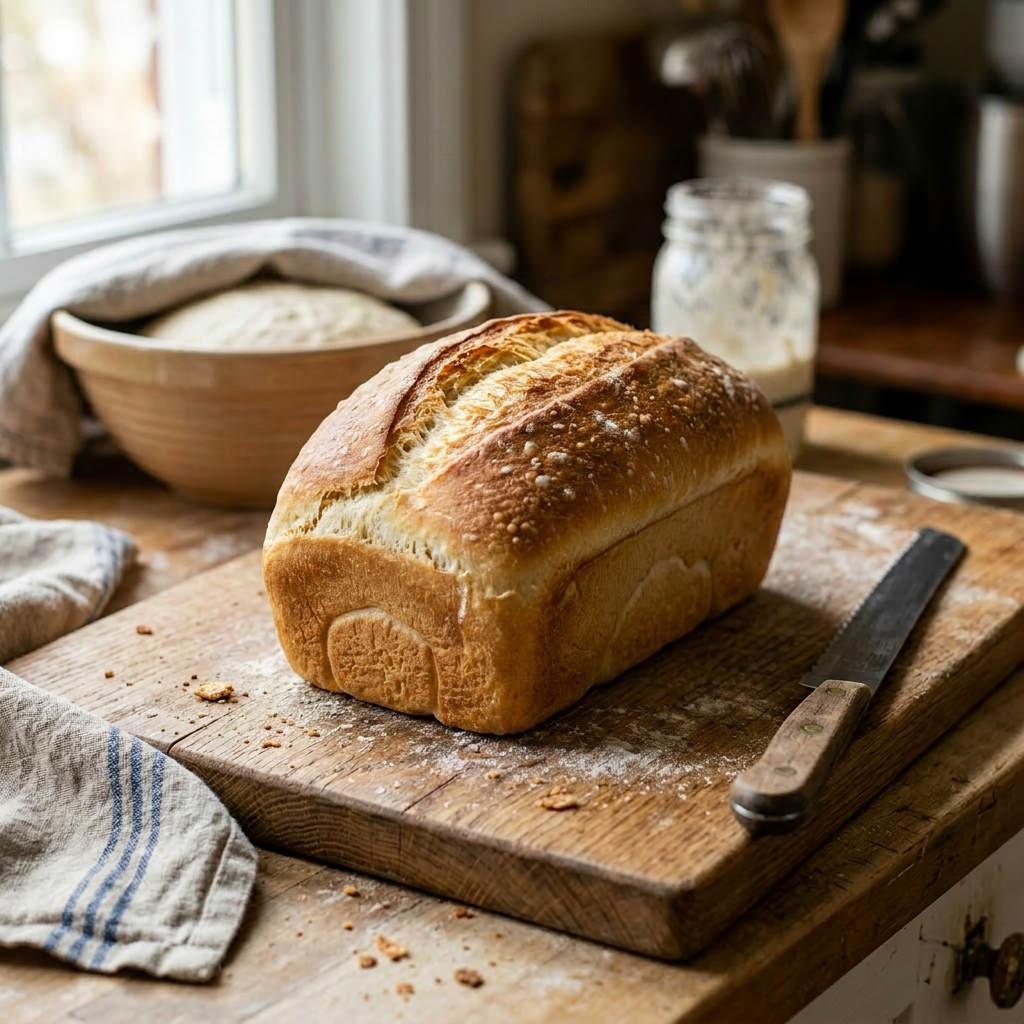
A golden loaf of freshly baked bread rests on a wooden cutting board next to a serrated knife.
Sourdough bread undergoes fermentation, which produces lactic acid, giving it a tangy flavor. Traditional sourdough has a chewy texture, large air pockets, and a crusty outside, distinguishing it from bread made with commercial yeast. However, this recipe combines sourdough starter with commercial yeast, resulting in a softer, lighter bread similar to sandwich bread. It lacks the chewy interior and crusty crust typical of traditional sourdough. Many consider sourdough healthier because fermentation helps break down gluten and complex carbs, making the bread easier to digest. This process may also support blood sugar regulation, offering additional health benefits. Overall, this version provides a milder, softer bread while retaining some health advantages of traditional sourdough.
Measure Sourdough Starter; let stand at room temperature for 30 minutes.
Combine 2½ cups of bread flour and the dry yeast in a large mixing bowl. Set aside.
Heat water to 120°F, then add sugar, butter, and salt. When the butter nearly melts, pour the liquids into the flour and yeast mixture, then add 1 cup of Sourdough Starter.
Use a dough hook on a stand mixer. Mix at low speed for 30 seconds, then scrape the sides of the bowl. Increase the speed to high and beat for 3 minutes.
Combine the remaining 2½ cups of flour and baking soda, and add to the yeast mixture. Stir until combined. If using a mixer with a dough hook, mix for about 5 minutes until smooth and elastic.
If not using a stand mixer with a dough hook, turn the dough out onto a floured surface and knead for 6 to 8 minutes until smooth and elastic.
Grease a big bowl with butter or shortening. Make the dough into a ball and put it in the bowl. Turn the dough over once to coat it with butter or shortening.
Cover the bowl with plastic wrap and place it in a warm spot to rise for 60 minutes.
After 60 minutes, punch the dough down with your fist and turn the dough out onto a floured surface.
Cut the dough into two pieces, cover with plastic wrap, and let rest for 10 minutes.
Line two baking sheets with parchment paper. After resting for 10 minutes, place the dough halves onto the baking sheet and shape them into a ball by tucking the edges under.
Alternatively, place the dough into two greased bread loaf pans.
Using a sharp knife, make slashes across the tops of the loaves. Cover and let rise in a warm place until doubled for 30 minutes.
Preheat oven to 375°F. and bake for 30 – 35 minutes or until bread sounds hollow when lightly tapped.
Remove from oven and place on wire racks to cool before slicing.
If using bread loaf pans, remove bread from pans and cool on a cooling rack.
Note:
Keep your sourdough loaf in a paper bag, linen bread bag, or bread box to maintain crust crispness and soft crumb. Avoid airtight plastic bags at room temperature, as they trap moisture and can soften the crust or promote mold growth.
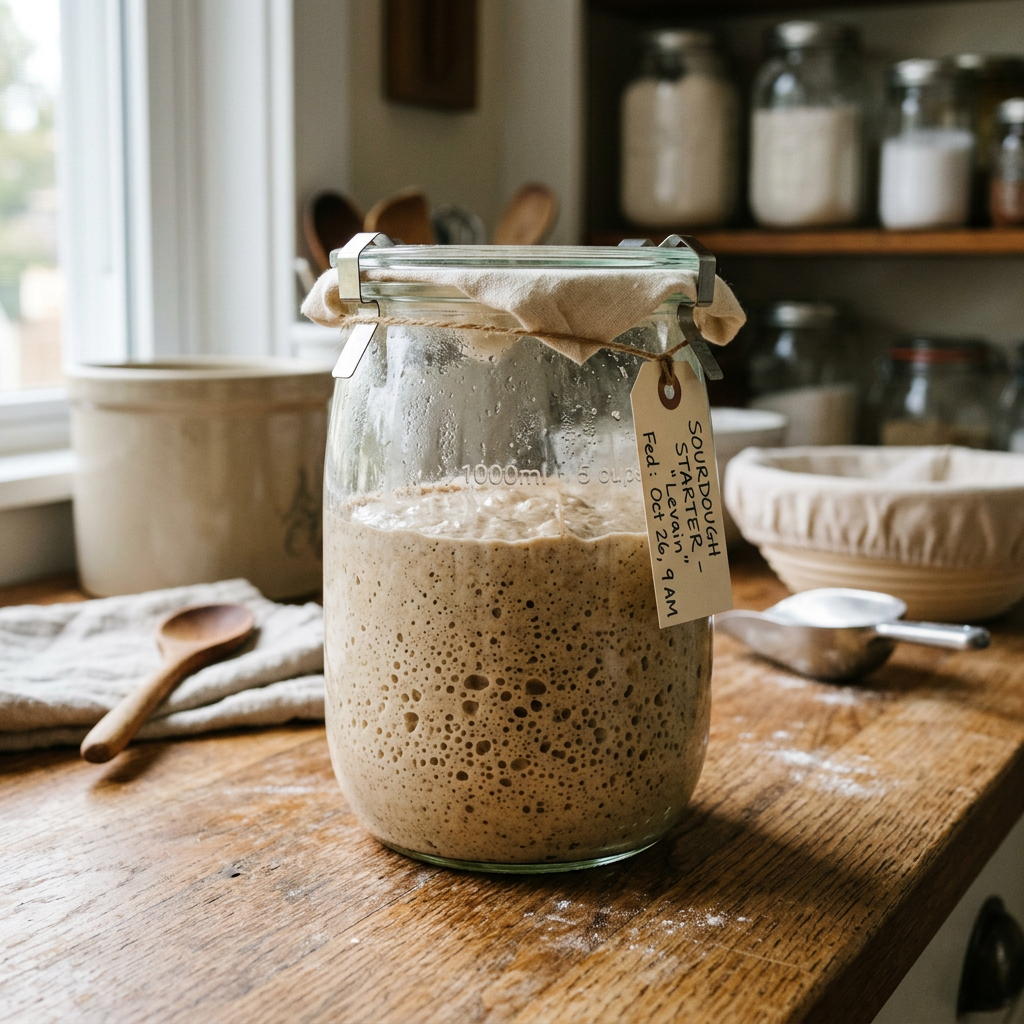
A glass jar with bubbly sourdough starter ready for baking.
Embark on a delicious adventure with this simple sourdough starter recipe! It takes about a week to develop, but patience pays off with irresistibly fresh, homemade bread. Plus, you get to be the boss of your ingredients, making every loaf healthier and tastier. Baking fun starts now!
Ingredients
1 package of active dry yeast
2 ½ cups of warm water (105°F. to 115°F)
2 cups of all-purpose flour
1 tablespoon of sugar or honey
Process
Dissolve the yeast in ½ cup of the warm water.
Stir in the remaining warm water, flour, and sugar or honey.
Using a wooden spoon, beat until smooth.
Pour mixture into a 5-cup jar and cover with 100% cotton cheesecloth.
Let stand at room temperature (75°F – 85°F) for 5 to 10 days or until the mixture has a fermented aroma and the active bubbling stops. Your starter is ready to use for baking.
Be sure to stir your starter 3 times a day.
If you’re not baking bread right after the 10-day fermenting process, store your starter in a 1-quart container after it finishes bubbling. Cover it with a lid and put it in the fridge.
If you don’t use your starter within 10 days of putting it in the refrigerator, add 1 teaspoon of sugar or honey. Keep adding 1 teaspoon of sugar or honey every 10 days while it’s stored in the fridge, unless you replenish the starter after using it in a recipe.
Replenish starter after each use by stirring in:
¾ cup of all-purpose flour
¾ cup warm water
1 teaspoon of sugar or honey
Add into the remaining starter for each 1 cup removed for the recipe.
Cover replenished starter with cheesecloth and let stand at room temperature for 1 day or until bubbly.
Cover with a lid; chill for later use following instructions in step 8 above to keep it active.
Recipe for easy, delicious soft Sourdough Bread to follow in the next post.