Brussels sprouts are often overlooked but offer many health benefits and culinary uses. They taste similar to small cabbages and can be made more appealing by adding ingredients like bacon, garlic, or sweet onions. These vegetables go well with beef or pork dishes. To keep their nutrients, it’s best to steam or stir-fry Brussels sprouts, as boiling can reduce important compounds like sulforaphane. They also contain indole-3-carbinol, which is being studied for its potential to help repair DNA and slow cancer growth in lab tests. Including Brussels sprouts in your meals can support a healthy diet and add variety to your cooking. Their nutritional value and versatility make them a good choice for many recipes, helping more people enjoy this nutrient-rich vegetable.
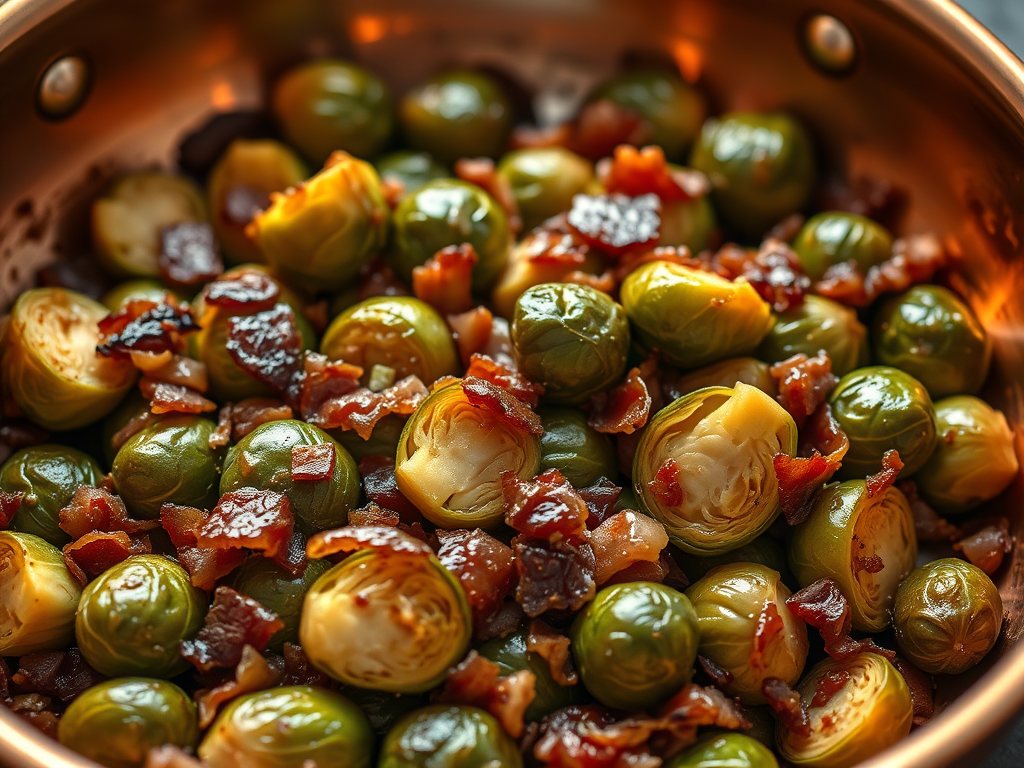
Brussels Sprouts with Bacon, Garlic, and Onion
Ingredients
- 6 slices bacon
- ½ cup sweet onion, diced
- 2 pounds Brussels sprouts, trimmed and halved
- 4 garlic cloves, grated
- 1/2 cup fat-free chicken broth
- 1/8 teaspoon salt
- 1/8 teaspoon red pepper flakes or Korean Red Pepper Powder
- 1 tablespoon red currant jelly
Process
- Heat a large nonstick skillet over medium-high heat. Add bacon, and sauté until bacon begins to brown. Remove pan from heat. Remove the bacon from pan, reserve one tablespoon drippings in pan (discard the remaining drippings).
- Chop bacon into small pieces
- Return pan to medium-high heat, and stir in bacon pieces, onion, and Brussels sprouts; sauté 4 minutes.
- Add garlic, and sauté for 4 minutes or until garlic begins to brown, stirring frequently.
- Add the chicken broth and bring it to a boil. Cook for 2 minutes until the broth reduces and is almost completely gone and the sprouts are crisp-tender, stirring occasionally.
- Remove from heat; stir in salt and red pepper flakes, toss with a tablespoon of currant jelly.
- For a colorful, special Thanksgiving or Christmas dinner or any holiday dinner, try stirring in pomegranate seeds.