Tag Archives: side dish

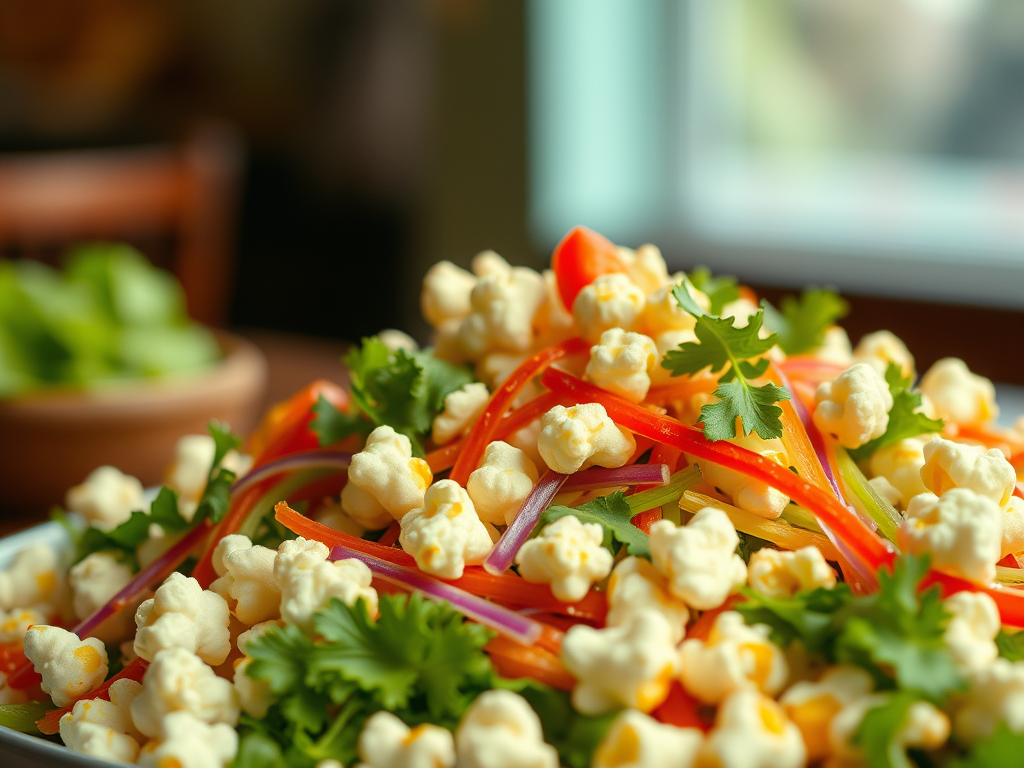
Popcorn Salad

Popcorn salad comes across as one of those dishes that sounds quirky at first, then wins you over the moment you take a bite. It’s the contrast that makes it so delicious: crunchy, lightly salted popcorn folded into a creamy, tangy dressing, brightened with fresh veggies like snap peas, celery, or scallions, and often finished with herbs and a touch of sharp cheddar. Every forkful its a different note—crisp, cool, savory, and just a little indulgent, and a great way to get your kids to eat vegetables!

What makes it memorable is how unexpectedly balanced it is. The dressing softens the popcorn just enough to cling without turning soggy, the vegetables keep everything fresh, and the whole bowl feels like a playful twist on a classic potluck salad. It’s comfort food with personality, and it tends to disappear faster than anyone expects.

Ingredients

  • 1 bag of microwave buttered popcorn popped (about 6 cups)
  • 1 cup grated cheddar cheese
  • ½ cup of diced green pepper or bell pepper
  • 6 – 8 strips of cooked bacon crumbled (or substitute 1/3 cup bacon bits)
  • 1 cup of roasted corn cut off the cob, or a can of corn, drained
  • 1 cup of the following vegetables can be mixed in for color and flavor:
    • Shredded iceberg lettuce for crunch
    • Cherry tomatoes, sliced or quartered
    • Celery, sliced thin
    • Baby peas
    • Snap peas
    • French cut green beans
    • Grated carrot
    • Sliced water chestnuts, excellent crunch factor
    • Tiny little broccoli flowerets that have been steamed until crunch tender
    • Pomegranate seeds
    • Shredded cabbage, red or white
    • Shallots
  • ½ cup of lite mayonnaise or plain full fat Greek yogurt
  • 1 clove garlic, peeled and grated
  • 2 teaspoons of Dijon mustard
  • 2 tablespoons of white wine vinegar
  • 1 teaspoon of Worcestershire sauce
  • Salt and Pepper to taste

Process

Make Dressing

In a blender combine the following and blend until fully incorporated.

  1. Lite mayonnaise or plain full fat Greek yogurt, garlic, Dijon mustard, white wine vinegar, Worcestershire sauce, salt and pepper to taste.

Salad

Mix salad options together in a large bowl:

  1. 6 cups of popcorn, green onion or red onion, green or bell pepper, bacon, additional vegetables of choice.
  2. Pour dressing over salad and top with finely grated cheddar cheese.
  3. Serve immediately.

Cooking Endive

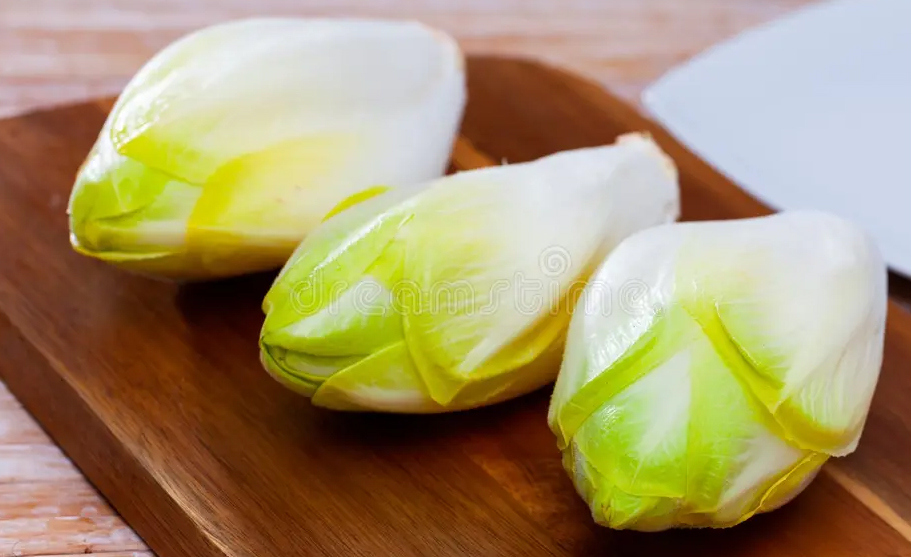
How to cook endive. Endive belongs to the chicory genus, which includes several similar bitter leafed vegetables. I am talking about the little bullet shaped endives, not the curly leaf or chicory. Endives are rich in many vitamins and minerals, especially in foliate and vitamins A and K, and are high in fiber. Endive has a bitter-sweet taste, but I thought it was very savory, almost nutty. I served it up with my baby potatoes and flounder; it made a very filling side dish. Let your kids eat these little “boats” with their fingers. Make it fun.

Here are a few suggestions on how to enjoy your endive:

Baked endive:

  1. Preheat oven to 375° F.
  2. Slice endive lengthwise, remove core. Keep the root end intact as it will hold the leaves together after slicing.
  3. Brush both halves with olive oil.
  4. Slice a fresh garlic clove into very thin slices and place the slices in between the endive leaves.
  5. Sprinkle with kosher salt and pepper, and a little garlic powder.
  6. Bake at 375°F. for 20 minutes.
  7. Remove them from the oven and sprinkle balsamic vinegar over them.

Pan braised endive:

  1. Slice your endives in half.
  2. Sprinkle cut side with kosher salt and pepper, and any other seasoning you might like.
  3. Melt 1 tablespoon of butter in a heavy pan along with 1 tablespoon coconut oil.
  4. Place the endive halves cut side down in the pan, cook on medium-high heat until they are brown.
  5. Add ½ cup chicken broth and simmer until almost all liquid is gone. Remove from pan sprinkle with Kosher salt, and drizzle with balsamic vinegar

Maple glazed endive:

  1. Preheat oven to 350°F.
  2. Halve 6 small endives, remove as much of the core as possible.
  3. Arrange endive into one layer on a baking sheet with raised edges.
  4. In a small saucepan, melt 2 tablespoons of butter then stir in 2 tablespoons of real maple syrup, 2 teaspoons of thyme and ¼ teaspoon salt. When hot, pour over the endive and bake until tender and the edges begin to brown, 20 to 25 minutes.

Brussels Sprouts with Bacon, Garlic, and Onion

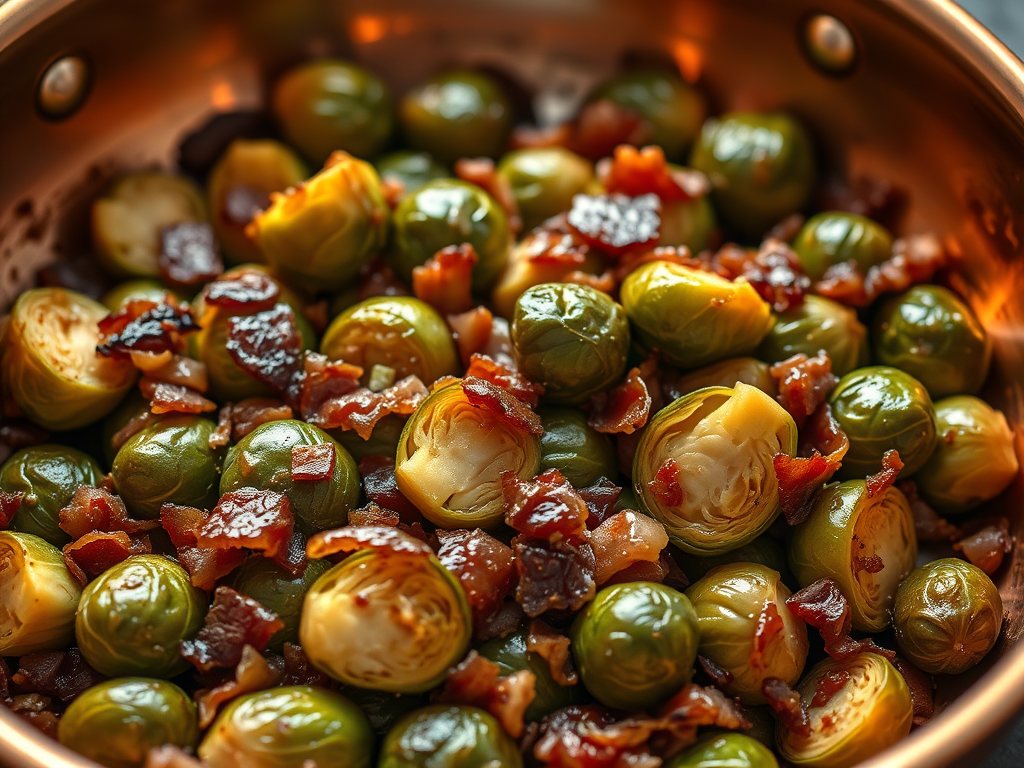
Brussels sprouts are often overlooked but offer many health benefits and culinary uses. They taste similar to small cabbages and can be made more appealing by adding ingredients like bacon, garlic, or sweet onions. These vegetables go well with beef or pork dishes. To keep their nutrients, it’s best to steam or stir-fry Brussels sprouts, as boiling can reduce important compounds like sulforaphane. They also contain indole-3-carbinol, which is being studied for its potential to help repair DNA and slow cancer growth in lab tests. Including Brussels sprouts in your meals can support a healthy diet and add variety to your cooking. Their nutritional value and versatility make them a good choice for many recipes, helping more people enjoy this nutrient-rich vegetable.

Brussels Sprouts with Bacon, Garlic, and Onion

Ingredients

  • 6 slices bacon
  • ½ cup sweet onion, diced
  • 2 pounds Brussels sprouts, trimmed and halved
  • 4 garlic cloves, grated
  • 1/2 cup fat-free chicken broth
  • 1/8 teaspoon salt
  • 1/8 teaspoon red pepper flakes or Korean Red Pepper Powder
  • 1 tablespoon red currant jelly

Process

  1. Heat a large nonstick skillet over medium-high heat. Add bacon, and sauté until bacon begins to brown. Remove pan from heat. Remove the bacon from pan, reserve one tablespoon drippings in pan (discard the remaining drippings).
  2. Chop bacon into small pieces
  3. Return pan to medium-high heat, and stir in bacon pieces, onion, and Brussels sprouts; sauté 4 minutes.
  4. Add garlic, and sauté for 4 minutes or until garlic begins to brown, stirring frequently.
  5. Add the chicken broth and bring it to a boil. Cook for 2 minutes until the broth reduces and is almost completely gone and the sprouts are crisp-tender, stirring occasionally.
  6. Remove from heat; stir in salt and red pepper flakes, toss with a tablespoon of currant jelly.
  7. For a colorful, special Thanksgiving or Christmas dinner or any holiday dinner, try stirring in pomegranate seeds.

Cream Cheese Banana-Nut Bread

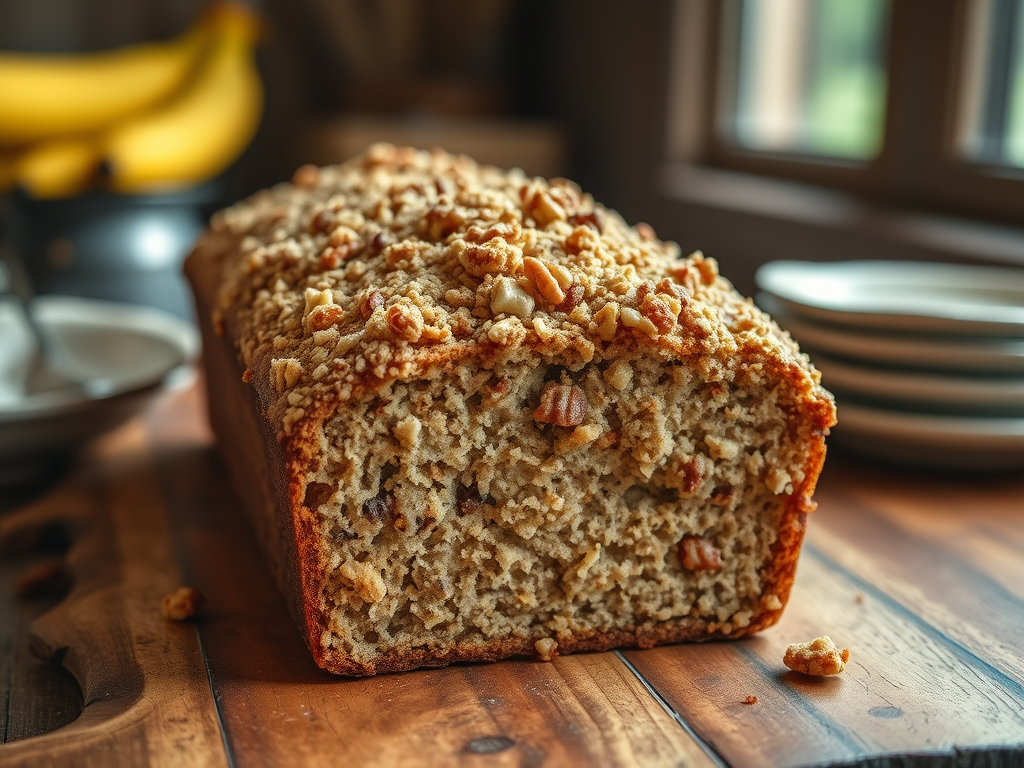
There are so many recipes for Banana Nut Bread and truthfully, they are all pretty good. I discovered this recipe about 10 years ago and decided it is the best recipe I have ever made for Banana Nut Bread, moist, dense with an intense banana flavor highlighted by toasted walnuts and cinnamon streusel topping. This recipe makes two loaves, great for gifting or freezing for later use.

Ingredients

  • ¾ cup butter, softened
  • 1 8oz package of cream cheese, softened
  • 2 cups of sugar
  • 2 large eggs
  • 3 cups of all-purpose flour
  • ½ teaspoon baking powder
  • ½ teaspoon baking soda
  • ½ teaspoon salt
  • 1-1/2 cups mashed ripe bananas (about 4 with dark spots) *
  • 1 cup chopped toasted walnuts
  • 1 teaspoon vanilla extract

Process

  1. Preheat oven to 350°F. Grease and flour two 8 x 4-inch bread pans.
  2. Mix butter and cream cheese with an electric mixer until smooth.
  3. Gradually add sugar and beat until the mixture is light and fluffy.
  4. Add eggs one at a time, beating until just blended after each addition.
  5. COMBINE flour and next three ingredients
  6. Gradually add to the butter mixture at low speed until blended.
  7. Add bananas, vanilla and nuts.
  8. Spoon batter into two greased and floured bread pans.
  9. Top with streusel topping.
  10. Bake for 1 hour until a toothpick inserted in the center comes out clean and sides pull away from pan.
  11. Cool pans on wire rack for 10 minutes before removing from pans.
  12. Cool completely before slicing.

STREUSEL TOPPING

Ingredients

  • ½ cup firmly packed brown sugar
  • ½ cup chopped toasted walnuts
  • 1 tablespoon melted butter
  • 1 tablespoon flour
  • 1/8 tsp ground cinnamon.

Process

  1. Mix all ingredients for streusel together in a bowl.
  2. Sprinkle over the batter before baking
  3. Press streusel into the dough with the back of a spoon to ensure streusel is baked into the loaf and doesn’t shed when removed from the pan.

*Note: the riper the bananas (black even) the more banana flavor will impart in your recipe. I use frozen bananas that have been defrosted in the refrigerator, they are overripe and work wonderfully.

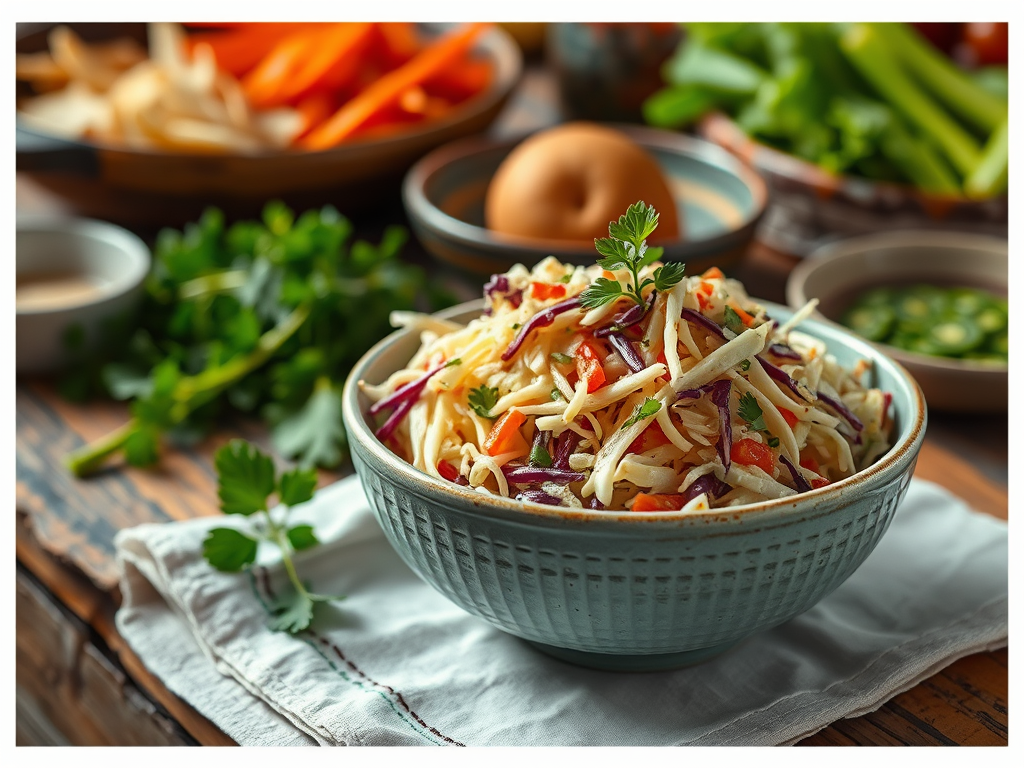
Light and Traditional Coleslaw

Eating cabbage regularly can improve your health. It helps boost your immune system, aids digestion, and supports overall wellness. Cabbage also benefits your heart by reducing inflammation and oxidative stress thanks to its antioxidants. Besides health benefits, cabbage is versatile in cooking. You can use it on tostadas, sandwiches, fish tacos, or in dishes like Egg Roll in a Bowl. Using pre-shredded coleslaw mix makes it easy to prepare quick cabbage soup or cabbage pancakes. I like the Light Coleslaw recipe during the week. It tastes good and stays fresh for a few days.

LIGHT COLESLAW DRESSING

Ingredients

  • 3 tablespoons of reduced calorie mayonnaise
  • 2 tablespoons cider vinegar (substitutes: rice or white vinegar)
  • 1 tablespoon of dill seeds (substitute: caraway seeds, or none)
  • 1 teaspoon of sugar
  • ¼ teaspoon freshly ground pepper
  • 1 bag of pre-grated coleslaw mix
  • 1 small, sweet onion, grated on a box grater

Process

  1. Mix dressing ingredients together in a larger bowl. Whisk together the mayonnaise, vinegar, dill seeds, sugar, and pepper.
  2. Grate onion.
  3. Stir in the pre-grated bag of coleslaw mix and onion until blended.
  4. Cover and refrigerate for at least 1 hour.
  5. Stir before serving.

Nutrition per serving

Calories: 65kcal | 3 g Total Fat | 1 g Saturated Fat | 3 mg Cholesterol | 74 mg Sodium | 10 g Total Carbohydrate | 2 g Dietary Fiber | 2 g Protein | 48 mg Calcium

TRADITIONAL COLESLAW DRESSING

Ingredients

  • ½ cup mayonnaise
  • 1-1/2 tablespoon apple cider vinegar
  • 2 teaspoons Dijon mustard
  • 1 tablespoon sugar adjust to taste
  • 1 teaspoon kosher salt
  • ¼ tsp black pepper
  • ½ tsp celery seed optional

Process

  1. Whisk together in a large bowl: mayonnaise, vinegar, Dijon mustard, sugar, salt, pepper and celery seed.
  2. Stir in the bag of pre-grated coleslaw until well blended.
  3. Cover and refrigerate for at least 1 hour.
  4. Stir before serving.

Nutrition

Calories: 127kcal | Carbohydrates 7g | Protein 1g | Fat 11g | Saturated Fat 2g| Polyunsaturated fat 6g | Monounsaturated Fat 2 g | Trans Fat 6g | Cholesterol 6mg | Sodium 416mg | Potassium 158mg | Fiber 2g | Sugar 5 g

Notes: Note that coleslaw reduces in volume as it sits and the cabbage releases its moisture. Don’t be tempted to add more mayo even if it appears dry at first: it will become saucier quickly as it stands (even more so the next day!).

Optional Seasoning add-ins:

  • Onion powder
  • Garlic powder
  • Celery seed
  • Dry mustard or Dijon mustard
  • Cilantro

Optional Mix-ins:

You can also add other mix-ins to the coleslaw things like:

  • Apples – diced
  • Dried cranberries
  • Sliced almonds
  • Bleu cheese or cheddar cheese
  • Pineapple
  • Poppyseeds
  • Fresh strawberries

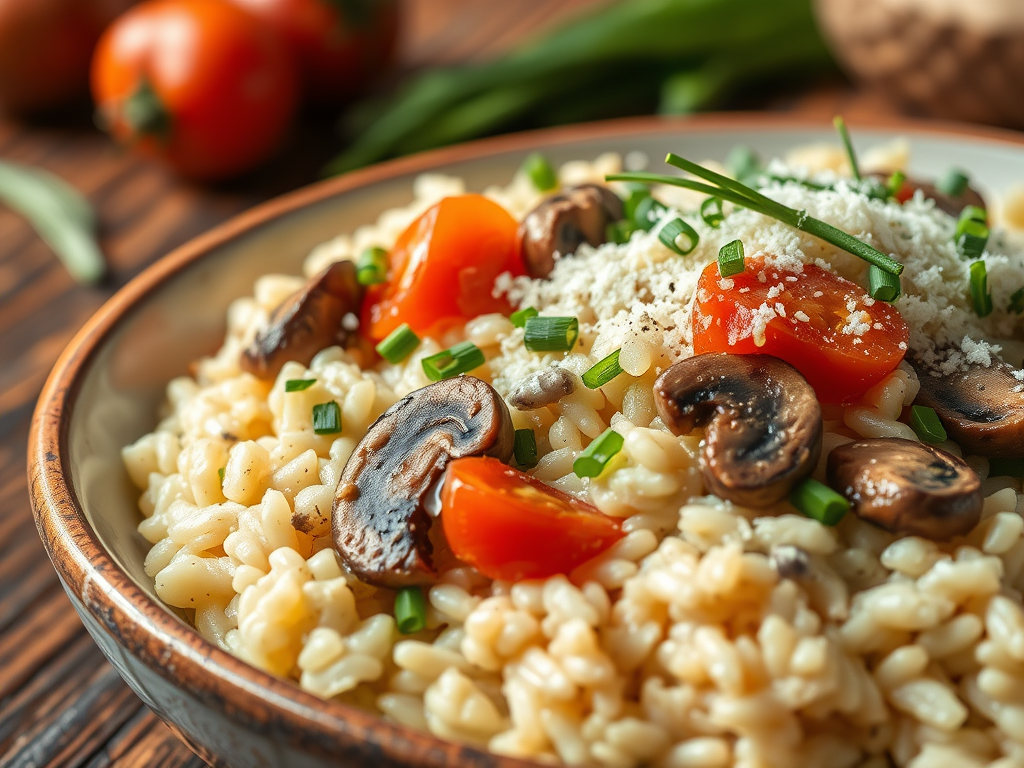
Mushroom & Chive Risotto

Creamy risotto is a classic Italian dish renowned for its rich, velvety texture and comforting flavor. Made with Arborio rice, which has a high starch content, risotto achieves its signature creaminess through slow cooking and gradual addition of broth. The process involves sautéing onions or shallots in butter or olive oil, then adding the rice to toast it lightly. Gradually, warm broth is added in small increments, allowing the rice to absorb the liquid slowly, releasing its starch and creating a smooth, creamy consistency. Preparing creamy risotto at home takes about 40 minutes, start to finish. Served as a main meal or side dish, it is so worth the effort.

Ingredients

  • 4 cups of Vegetable Stock
  • 8 ounces of button mushrooms, sliced very thin
  • 1 medium onion, or shallots peeled and finely chopped
  • 2 cloves of garlic, peeled and grated or pressed
  • 1-1/2 cups of Arborio Rice
  • 8 ounces of grape tomatoes, quartered or sliced into thirds
  • ¼ ounce chives, snipped fine
  • 4 tablespoons of garlic butter
  • 1 tablespoon of unsalted butter
  • 1/3 cup freshly grated Parmesan cheese (or substitute with Asiago, Sharp Cheddar, Gruyere, or Pecorino Romano)
  • 1 teaspoon Korean red chili flakes
  • Salt & pepper to taste

Process

  1. Heat vegetable stock in a medium pot, bring to a low simmer.
  2. Heat a drizzle of olive oil in a large pan over medium-high heat. Add sliced mushrooms, spread out in a layer and cook until brown on underside, flip mushrooms and continue to cook until browned and slightly crispy., Season with salt and pepper.
  3. Turn off heat and transfer mushrooms to a plate. Set aside.
  4. In the same pot, drizzle olive oil over medium heat. Add onion or shallots, cook stirring until slightly softened and very lightly browned about 2 – 3 minutes.
  5. Add garlic, rice and 1 tablespoon unsalted butter. Cook, stirring for about 2 minutes until garlic is fragrant and rice is translucent. Season with salt and pepper.
  6. Begin making Risotto by adding ½ cup vegetable stock to the pan with rice. Stir until liquid is mostly absorbed. Repeat with remaining stock, adding ½ cup at a time and stirring until liquid has mostly absorbed until the rice is “al dente” and risotto is creamy. This will take about 30 minutes.  Season with salt and pepper.
  7. Stir in mushrooms, tomatoes, garlic herb butter, half of the cheese and half of the chives.
  8. Cook until the tomatoes are softened for about 6 minutes.
  9. If risotto is too thick, stir in a little water or more vegetable stock. Risotto should be soft and creamy, not thick.
  10. Stir in red chili flakes.
  11. To serve, top bowl with remaining chives and remaining Parmesan.

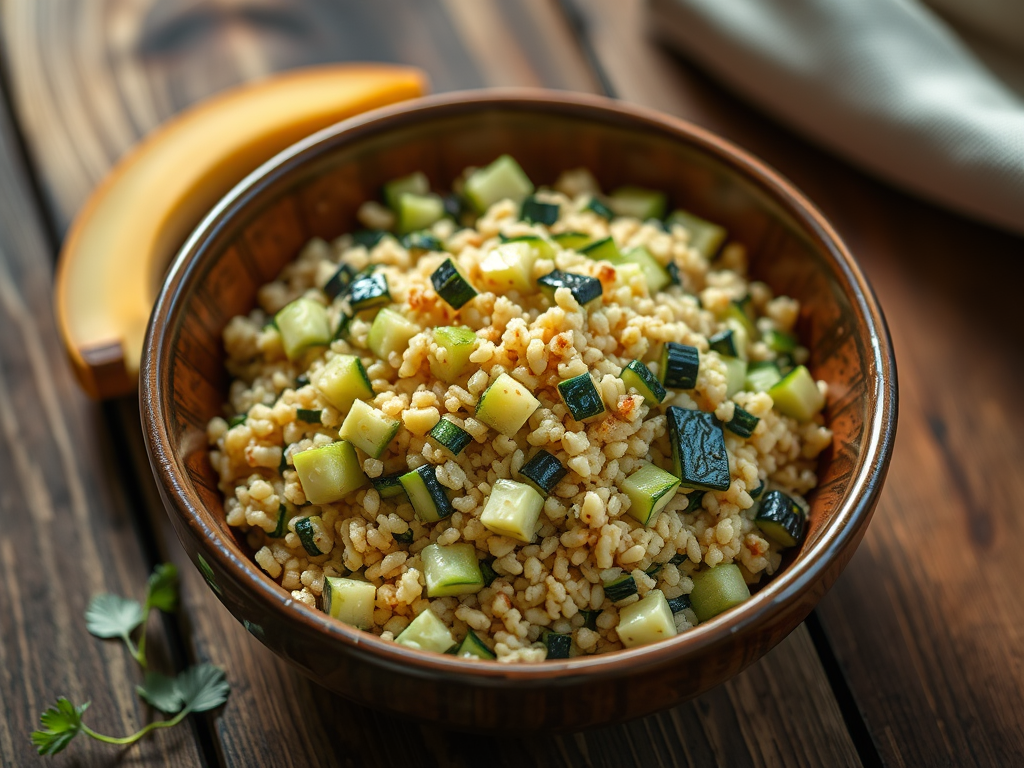
Zucchini Couscous

Zucchini Couscous is a delightful dish that combines the tender, mild flavor of zucchini with the fluffy, light texture of couscous. The entire process is quick, often taking less than 20 minutes, making it an easy and satisfying meal option. Its lightness and flavor make it a popular choice for those seeking a healthy yet flavorful dish. Whether served as a main course or a side dish, Zucchini Couscous offers a delicious and effortless way to enjoy fresh vegetables and grains in one bowl.

Ingredients

  • 2 small – medium zucchini diced into 1/4 -inch pieces
  • 5 ounces of Couscous
  • 1 tablespoon of Olive Oil
  • 4 cloves of garlic, minced
  • 2 scallions, sliced separate white from green (use whites for another recipe)
  • 1 lemon, zest lemon and set aside,
  • quarter remaining lemon and set aside
  • 1 tablespoon butter
  • ½ teaspoon salt
  • ¼ teaspoon black pepper

Process

  1. Heat oil in pan over medium-high heat.
  2. Add zucchini and season with half of the garlic, salt and pepper.
  3. Cook stirring frequently, until browned and tender, 4 – 7 minutes.
  4. Remove from heat and cover to keep warm.
  5. Melt 1 tablespoon of butter In a small pot over medium-high heat.
  6. Add couscous and remaining garlic, stir until fragrant, 30 seconds.
  7. Stir in 1-1/2 cups of water and a pinch of salt. Bring to a boil, cover and reduce to a low simmer. Cook until couscous is tender, follow package instructions. Drain excess water.
  8. Stir in zucchini, scallion greens, and lemon zest. squeeze juice from one lemon quarter and stir, add salt and pepper to taste.

Note: Asparagus can be used in place of Zucchini

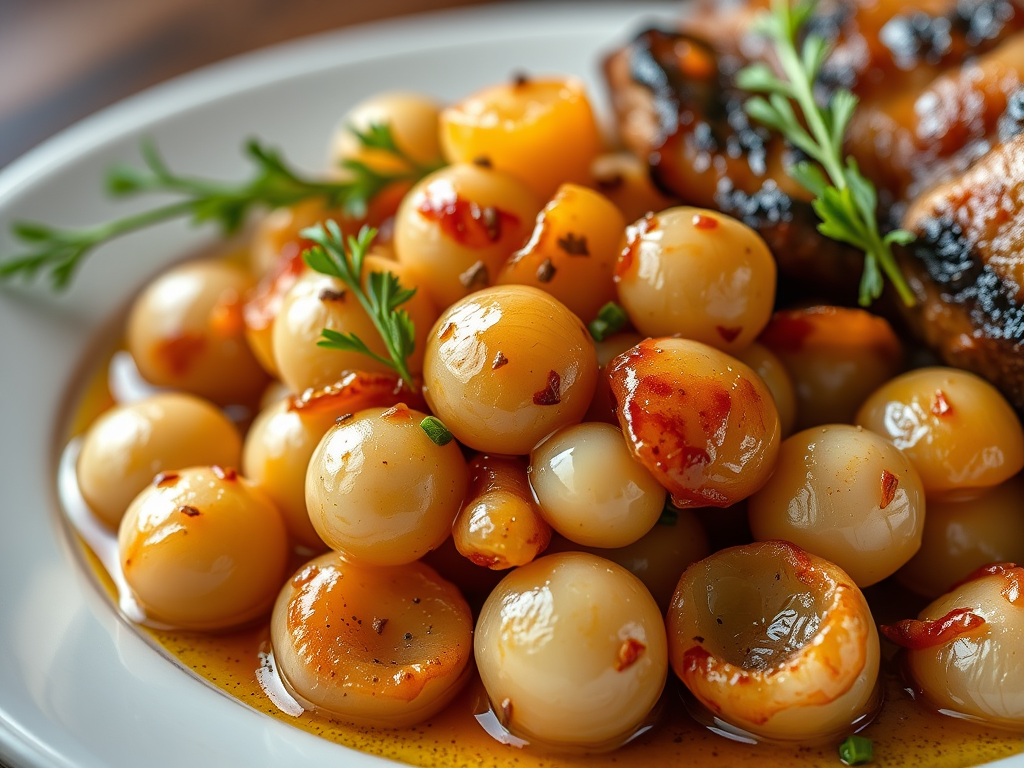
Glazed Sweet Pearl Onions

These glazed onions are versatile and pair well with a variety of savory entrees such as roasted meats, grilled steaks, or hearty vegetable dishes. They can be served as a side dish or used as a topping to enhance the flavor of the main course. The sweetness of the brown sugar glaze complements the savory elements of the entree, creating a balanced and satisfying dish that appeals to a broad range of palates. I started making these for my family 30 years ago, I am asked to bring them to every holiday dinner celebration. Start your own traditions!

Ingredients

  • 2 12-ounce bags of frozen pearl onions
  • 3 tablespoons of butter
  • ¼ teaspoon Koren Red Pepper Powder
  • ½ teaspoon dried rosemary
  • 2 tablespoons of brown sugar

Process

  1. Defrost onions for about an hour before cooking, it’s okay if they are still partially frozen before cooking.
  2. In a heavy 12” frying pan or cast-iron pan melt the butter on medium heat, add the pepper flakes and the rosemary and stir into the butter to infuse the flavors.
  3. When the melted butter begins to foam, add the onions.
  4. Spread the onions out in the pan and let cook slowly, releasing the water from the onions.
  5. Cook for about 5 – 7  minutes on medium heat and stir. The water that has been released from the onions will begin to evaporate, leaving the butter. At this point turn the heat up to medium high and let the onions brown. Stir occasionally until they become a nice golden color. Start to finish this should take about 10 to 12 minutes.
  6. Reduce the heat to medium low and add brown sugar, stirring continuously until the sugar has melted and the onions are fully coated.

Note: Onions can be made a day in advance of the meal, just reheat and serve.