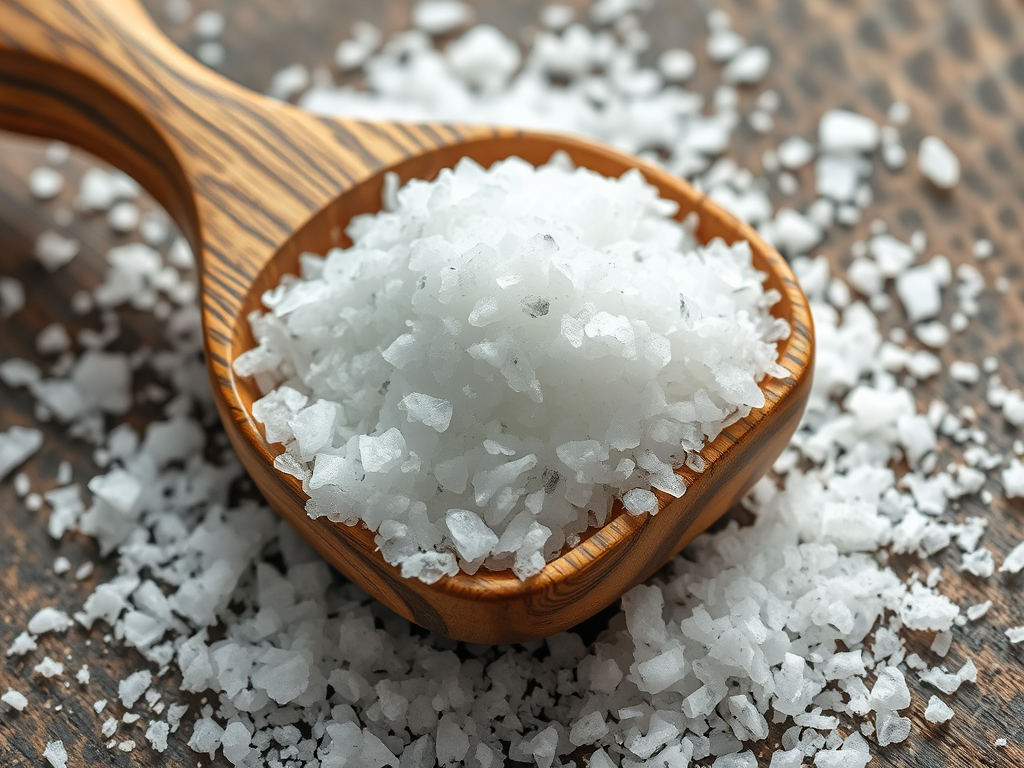
Salt, we take it for granted, did you know that the word salad literally means “salted”, and comes from the ancient Roman practice of salting leaf vegetables. In Africa, salt was used as currency south of the Sahara, and slabs of rock salt were used as coins in Abyssinia. Moorish merchants in the 6th century traded salt for gold, weight for weight. We know salt melts ice in winter, we know salt seasons food, we know salt causes rust on metal, but did you know there is a way to use salt to remove rust. Salt is awesome, salt – a mineral substance composed primarily of sodium chloride (Na Cl).
Check out these other great uses for salt in the home.
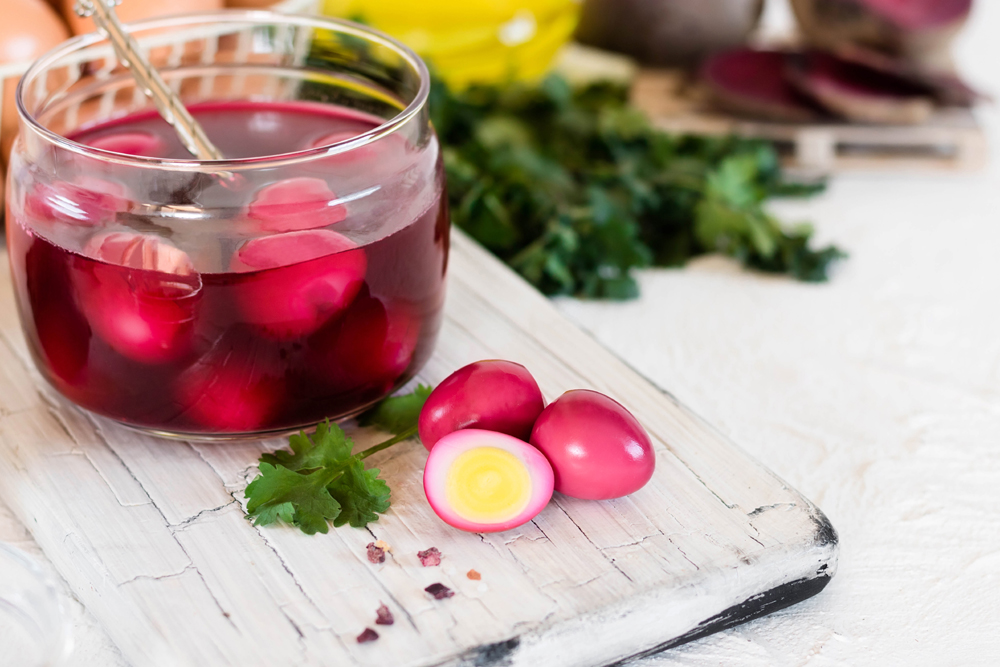
- Test egg freshness: Put two teaspoons of salt in a cup of water and place an egg in it. A fresh egg will sink; an older egg will float. Because the air cell in an egg increase as it ages, an older egg is more buoyant. This doesn’t mean a floating egg is rotten, just more mature. Crack the egg into a bowl and examine it for any funky odor or appearance — if it’s rotten, your nose will tell you. (Bonus fact: if you have hard-boiled eggs that are difficult to peel, that means they are fresh!)
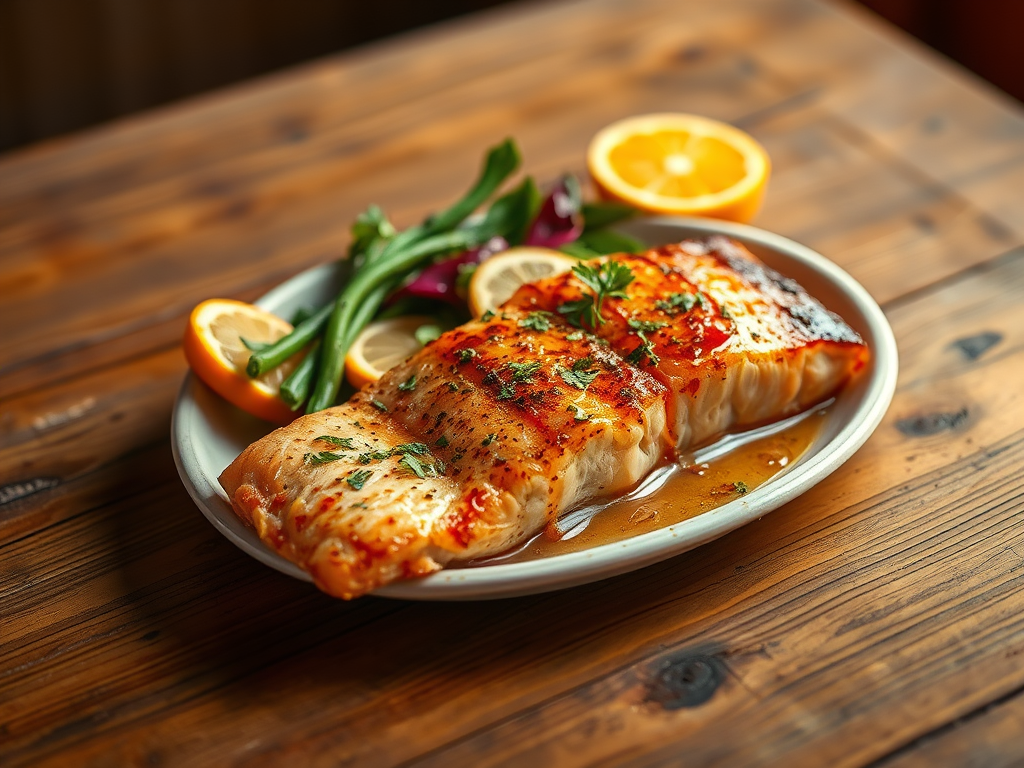
- Set poached eggs: Because salt increases the temperature of boiling water, it helps to set the whites more quickly when eggs are dropped into the water for poaching.
- Prevent fruits from browning: Most of us use lemon or vinegar to stop peeled apples and pears from browning, but you can also drop them in lightly salted water to help them keep their color.
- Shell nuts more easily: Soak pecans and walnuts in salt water for several hours before shelling to make it easier to remove the meat.
- Prevent cake icing crystals: A little salt added to cake icing prevents it from sugaring.
- Remove odors from hands: Rubbing hands on anything made of stainless steel (it really works), but you can also rub your fingers with a salt and vinegar combo.
- Reach high peaks: Add a tiny pinch of salt when beating egg whites or whipping cream for quicker, higher peaks.
- Extend cheese life: Prevent mold on cheese by wrapping it in a cloth moistened with saltwater before refrigerating.
- Clean teeth: Use one-part fine salt to two parts baking soda — dip your toothbrush in the mix and brush as usual. You can also use the same mix dissolved in water for orthodontic appliances.
- Ease mouth sores: For cankers, abscesses, and other mouth sores, rinse your mouth with a weak solution of warm saltwater several times a day.
- Relieve bee-sting pain: Ouch? Immediately dampen area and pack on a small pile of salt to reduce pain and swelling.
- Treat mosquito bites: A saltwater soak can do wonders for that special mosquito bite itch a poultice of salt mixed with olive oil can help, too.
- Treat poison ivy: Same method as for treating mosquito bites. (Salt doesn’t seem to distinguish between itches.)
- Ease throat pain: Mix salt and warm water, gargle to relieve a sore throat.
- Extinguish grease fires: Keep a box of salt near your stove and oven, and if a grease fire flares up, douse the flames with salt. (Never use water on grease fires; it will splatter the burning grease.) When salt is applied to fire, it acts like a heat sink and dissipates the heat from the fire — it also forms an oxygen-excluding crust to smother the fire.
- Drip-proof candles: If you soak new candles in a strong salt solution for a few hours, then dry them well, they will not drip as much when you burn them.
- Keep cut flowers fresh: A dash of salt added to the water in a flower vase will keep cut flowers fresh longer. (You can also try an aspirin or a dash of sugar for the same effect.)
- Make play dough: Use 1 cup flour, 1/2 cup salt, 1 cup water, 2 tablespoons oil, and 2 tablespoons cream of tartar. Stir together flour, cream of tartar, salt, and oil, and slowly add water. Cook over medium heat stirring frequently until dough becomes stiff. Spread onto wax paper and let cool. Knead the dough with your hands until it reaches a good dough consistency.
- Kill poison ivy: Mix three pounds of salt with a gallon of soapy water (use a gentle dish soap) and apply to leaves and stems with a sprayer, avoiding any plant life that you want to keep.
- Salt works as an effective yet gentle scouring agent: Salt also serves as a catalyst for other ingredients, such as vinegar, to boost cleaning and deodorizing action. For a basic soft scrub, make a paste with lots of salt, baking soda and dish soap and use on appliances, enamel, porcelain, etc.
- Remove water rings: Gently rub a thin paste of salt and vegetable oil on the white marks caused by beverage glasses and hot dishes on wooden tables.
- Clean brass or copper: Mix equal parts of salt, flour, and vinegar to make a paste, and rub the paste on the metal. After letting it sit for an hour, clean with a soft cloth or brush and buff with dry cloth.
- Clean a glass coffee pot: Every diner waitress’ favorite tip: add salt and ice cubes to a coffee pot, swirl around vigorously, and rinse. The salt scours the bottom, and the ice helps to agitate it more for a better scrub.
- Remove blood stains: Soak the stained cloth in cold saltwater, then launder in warm, soapy water and boil after the wash. (Use only on cotton, linen, or other natural fibers that can take high heat.)
- Stained Coffee and Teacups: Pour half a teaspoon of salt into a stained coffee cup or teacup, scrub with a dry paper towel, then rinse. The alkaline in the salt gets rid of stains like magic.
- Rust: make a paste of six tablespoons salt and two tablespoons lemon or lime juice on a dry cloth to wipe away rust from almost anything. Use on bicycles, outdoor furniture, and tools. Rinse and dry thoroughly.
- Wine stains: Blot the area with a dry cloth, then pour on a heaping mound of salt – it’ll help lift the stain off the fabric. Let it sit for 30 minutes, then blot clean with cold water and wash.
- Stinky kitchen drains: add a heaping tablespoon of salt to a quart of boiling water, then pour it down the drain to clear away odor-causing grease and bits of food.
- Clean a cast iron skillet: Add a splash of water and a teaspoon of kosher salt to a cast-iron skillet then use a paper towel to wipe off food without causing the pan to lose its seasoning.